
Crafters: Print on Vellum with a Two Sheet Test and Manual Feed
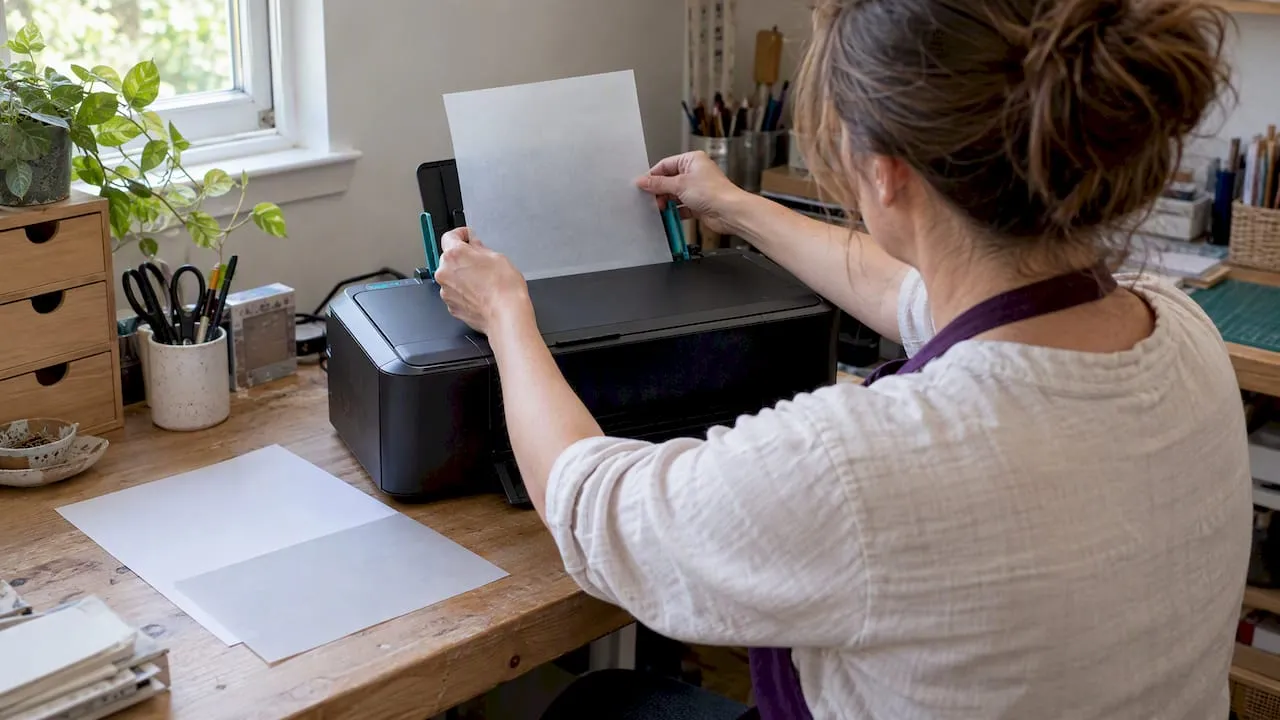
Yes, you can print on vellum at home, and inkjet printers handle it best because they skip the heat that warps or melts translucent stock. Choose manual or rear feed, run one sheet at a time, pick a “Vellum” or “Transparency” media setting where your driver offers one, and give every print extra drying time before you touch it.
TL;DR:
- Using an inkjet printer with manual or rear feed produces the best results, as it avoids the heat that causes vellum to warp or melt.
- Lighter vellum around 110gsm is ideal for delicate overlays, while heavier options near 220gsm suit layered cards or folders; most home printers prefer 24 to 32 lb stock.
- Always test print on plain paper first to check alignment and color, and confirm your vellum’s printable side with a moist finger before actual printing.
- Reduce ink saturation, simplify designs with less dense color coverage, and allow ample drying time to prevent smudging or patchy colors on vellum.
- When using laser printers, feed sheets manually, select the correct media profile, and run a test print to avoid curling, jams, or melting caused by heat.
Table of Contents
- Choosing the right vellum stock and gathering your supplies
- Inkjet vs laser: how heat and moisture change your results
- Preparing your files for translucent paper
- Step-by-step: printing your first vellum sheet
- Drying, handling and finishing your printed vellum
- Troubleshooting common vellum printing problems
- Rob’s practical checklist for reliable vellum prints
- Why the standard vellum advice misses the point
- Templates and supplies that take the guesswork out of vellum projects
- FAQ
- Sources
Choosing the right vellum stock and gathering your supplies
Vellum comes in a range of weights, and the one you pick changes how easy it is to print and how your colours read once light passes through. Lighter sheets around 110gsm suit delicate overlays and invitations, while heavier options nearer 220gsm give you a more substantial feel for layered cards or pocket folders. For most home printers, a working weight of roughly 24 to 32 lb strikes the best balance between translucency and reliable feeding, according to supplier guidance on consumer-grade stock.
The biggest mistake crafters make before they even load the tray is grabbing vellum that is not labelled for their printer type. Inkjet vellum and laser vellum are coated differently, and mixing them up causes smearing, jams or worse.
Before you start a print run, gather:
- A lint-free cloth to wipe your hands and the paper tray
- A craft knife or paper trimmer for clean post-print cuts
- A few spare sheets of plain paper for test prints
- An optional fixative spray for ink that needs extra protection
Inkjet vs laser: how heat and moisture change your results
Printer manufacturer guidance from 2026 generally recommends inkjet machines for vellum because they avoid the fuser heat that laser printers rely on, and that heat is exactly what causes vellum to curl, warp or occasionally melt against the rollers, according to manufacturer support documentation. Inkjet ink also sits closer to the surface rather than being fused under pressure, which gives you more control over how much colour the translucent sheet actually absorbs.
Laser printers are not off limits, but they demand extra care. If you must use one:
- Always feed manually through the rear or straight-through tray, never the main cassette
- Select a media weight setting that matches your vellum, not a default “plain paper” profile
- Check your printer’s specification sheet for a minimum supported paper weight before you start
- Run a single test sheet first rather than committing a full project to the tray
When you are not sure which approach suits your machine, default to manual feed and single-sheet printing every time. It costs a few extra minutes and saves you a ruined sheet.
Preparing your files for translucent paper
A design that looks perfect on white card can look washed out or patchy once light passes through vellum, so your file needs some adjustment before it reaches the printer. Colours read softer on translucent stock, so many crafters push saturation or contrast slightly higher than they would for ordinary cardstock, or lean into high-contrast monochrome designs that work well for overlays.
Export your artwork as a flattened PDF or a high-resolution PNG rather than a layered file, since flattening avoids rendering errors that can appear as faint lines or missing elements once printed. Avoid dense, full-bleed blocks of colour wherever possible. Heavy ink coverage is the single biggest cause of smudging on vellum because the sheet does not absorb ink the way paper does.
A few practical checks before you export:
- Set your page dimensions to match your project exactly, not an approximate size
- Add trim marks if your design needs precise cutting after printing
- Reduce large solid colour fields in favour of lighter tones or linework
- Preview your file at actual size to judge how translucency will affect contrast
Step-by-step: printing your first vellum sheet
Once your file and your vellum stock are ready, work through the print itself in a fixed order rather than guessing at settings.
- Print your design on a sheet of ordinary paper first to confirm alignment, sizing and colour balance.
- Identify the printable side of your vellum using a moist-finger test on a spare corner, since one side typically takes ink better than the other.
- Load a single sheet into the manual or rear feed tray, following the step-by-step guidance that most printer manufacturers publish for specialty media.
- In your print driver, select “Vellum,” “Transparency,” or “Heavy Matte” if your printer offers it, and choose the best available quality setting.
- If your printer has no vellum-specific option, try a lower-ink setting such as plain paper or rough cardstock first, a method reported to work well on common home printers including the HP Envy range.
- Print one copy at a time, lifting each sheet by the edges only and letting it dry fully before stacking or handling further.
Pro Tip: Mark two test sheets before your real print run, one face-up and one face-down, so you know exactly which side of your vellum stock takes ink cleanly.
Drying, handling and finishing your printed vellum
Drying times on vellum vary more than on ordinary paper and can run from a few minutes to overnight depending on ink coverage and the stock you chose, so patience matters more than speed here. Never use a hairdryer or any heat source to speed things along, since warm air can warp or melt vellum before the ink has had a chance to settle.
Once a sheet is fully dry:
- Cut with a sharp craft knife or paper trimmer for clean edges without tearing
- Store finished sheets flat rather than rolled, to prevent curling in storage
- Use a light adhesive or double-sided tape designed for layering, rather than wet glue
- Apply a fixative spray only if your ink type is prone to smudging under handling
Our guide to storing printed papers covers flat storage options in more depth if you are building up a stock of finished sheets for future projects.
Troubleshooting common vellum printing problems
Most vellum printing failures trace back to one of three causes: too much ink, too much heat, or too little drying time. Vellum is essentially non-porous, closer to film than paper, which is why ink that would soak into cardstock instead sits on the surface and smears if you rush it.
- Smudging: lower your ink saturation setting, extend drying time, and consider a fixative spray on your next print
- Jams or curling: switch to manual feed, try a heavier vellum weight, and double-check your printer’s supported media specifications
- Faint or patchy colour: boost contrast or saturation in your file, or test a different vellum weight, since lighter stock sometimes absorbs less evenly
If a problem persists across several sheets, the issue is usually the stock rather than the file. Swapping to vellum explicitly labelled for your printer type, as recommended by specialist paper suppliers, solves most of these cases outright.
Rob’s practical checklist for reliable vellum prints
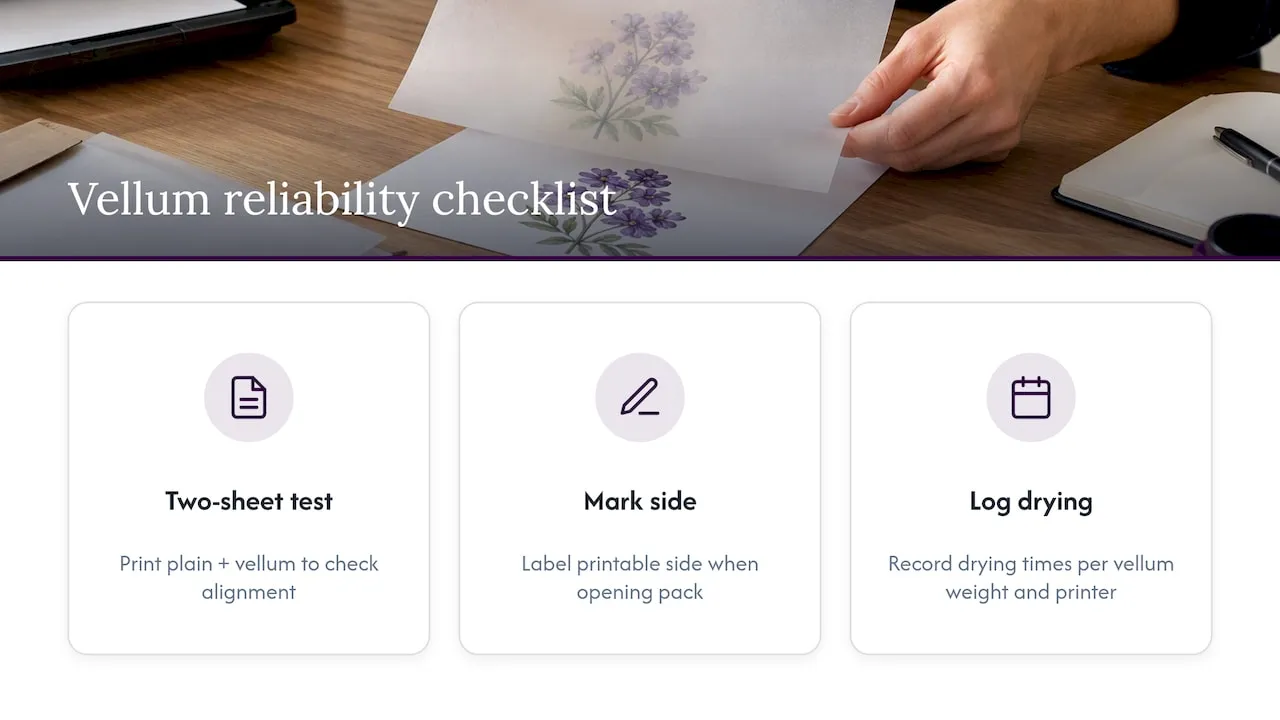
After years of helping crafters troubleshoot overlays and invitations, I always come back to the same three habits. First, run a two-sheet test before committing to a full batch, one plain paper and one vellum, so you catch alignment or colour issues early. Second, mark the printable side of your stock the moment you open a new pack, because guessing wastes sheets. Third, keep a simple log of drying times for each vellum weight you use, since this varies by brand and by your own printer’s ink output.
Our tutorials on trimming and assembling printable envelopes and printable card design ideas build directly on these habits once your vellum sheets are dry and ready to use.
Why the standard vellum advice misses the point
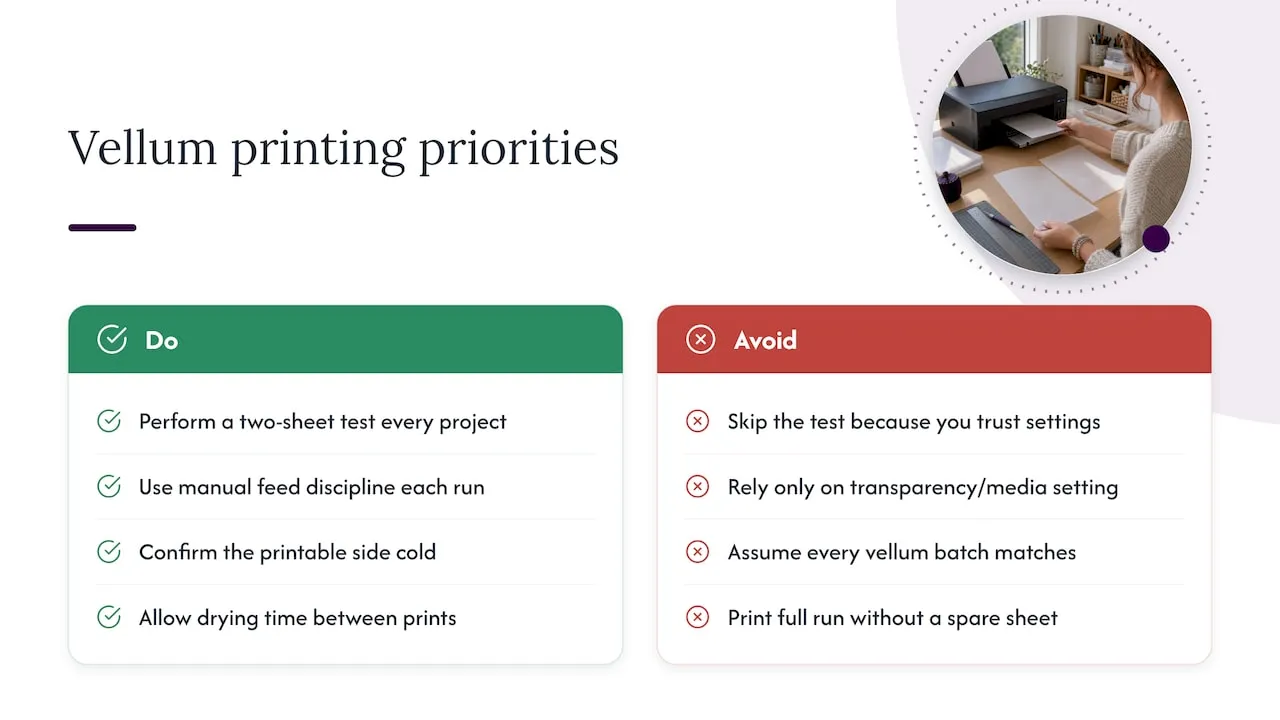
Most guides treat vellum printing as a one-off technical hurdle: get the settings right, print, done. That misses what actually separates a good result from a wasted sheet, which is treating it as a repeatable workstation habit rather than a single transaction. The crafters who struggle most are the ones who skip the test print because they are confident their settings are correct, then discover the hard way that every vellum batch behaves slightly differently depending on humidity, ink levels and the specific stock in hand.
The conventional advice to “just use transparency settings” also oversells how much a media setting alone fixes. Settings help, but the real variables are manual feed discipline, drying patience and knowing your printable side cold. If you prioritise one thing from this guide, make it the two-sheet test before every new project, not the driver menu. It costs you a spare sheet of paper and saves you an afternoon of ruined cardstock.
— Rob
Templates and supplies that take the guesswork out of vellum projects
Once your printer settings are sorted, the next source of error is usually the design itself, not the machine — and our easy guide to create wine labels for gifts and beginners can help you make perfect labels for your vellum projects. Browsing ready-made card making templates or paper craft downloads gives you files already sized and tested for layering, so you are not guessing at dimensions or trim marks on your own.

Our craft supplies range also covers the trimmers, adhesives and finishing tools mentioned throughout this guide, so you can gather what you need for your next vellum project in one place.
FAQ
Can a regular printer print on vellum?
Most standard inkjet printers can print on vellum, provided you use manual or rear feed and select a lower-ink or transparency-style setting. Laser printers can work too, but the fuser heat raises the risk of warping or melting the sheet, so extra caution is needed.
What is the best way to print on vellum?
The most reliable method is a test print on plain paper first, followed by a single vellum sheet fed manually with a “Vellum,” “Transparency,” or reduced-ink media setting selected in your driver. Allow the print to dry fully before handling it, since drying can take anywhere from a few minutes to overnight depending on ink coverage.
Can I print on vellum paper in my printer?
Yes, as long as your vellum is labelled for your printer type, inkjet or laser, and you feed it one sheet at a time through the manual tray rather than a stacked cassette. Mixing inkjet-only vellum with a laser printer, or vice versa, often leads to smudging or jamming.
Can you print a photo on vellum?
You can print a photo on vellum, though colours will appear softer and less saturated than on white photo paper because light passes through the translucent sheet. Increasing contrast and saturation slightly in your file before printing helps the image read clearly once layered or displayed.
Sources
- How to print on vellum paper with an inkjet or laser printer – ProlineOffice
- Vellum Printing UK - Translucent vellum (Dynamic Print)
- Printing with Vellum Paper on HP Envy 7900 - HP Support Community
- A4 translucent vellum paper product/spec page – The Paper Box