
Printer settings for card printables that stop jams and smudges
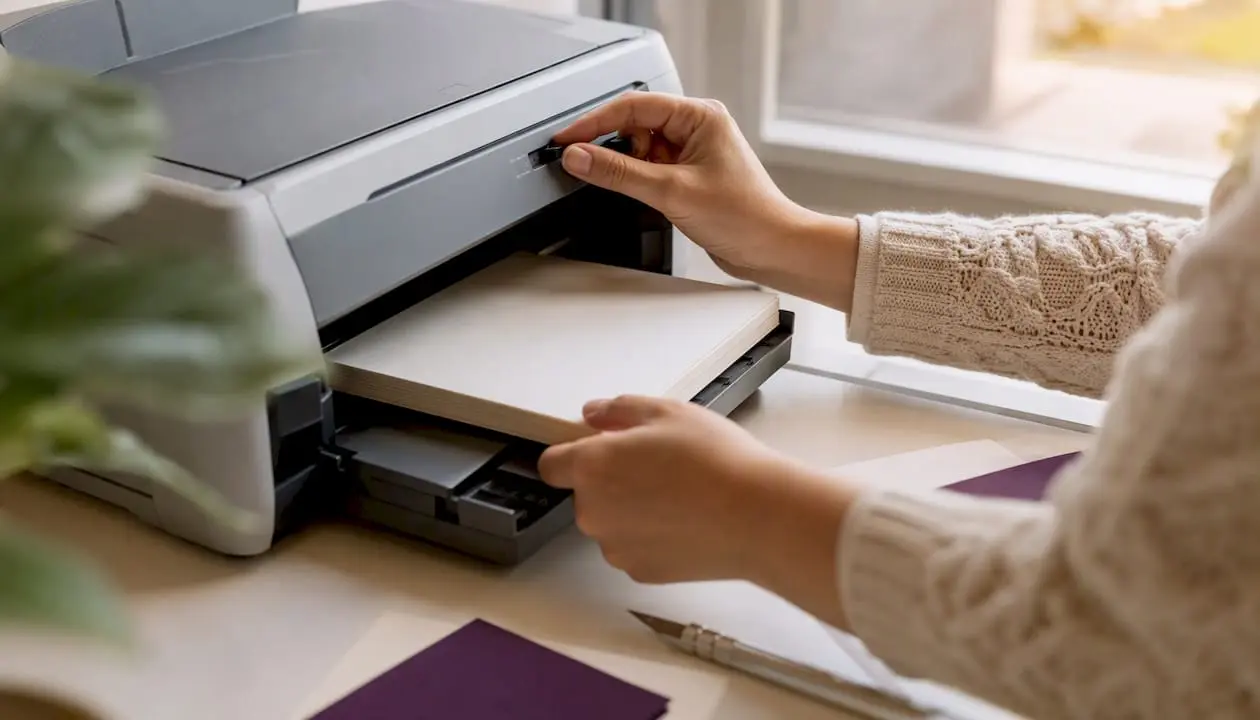
Six changes fix most card-printing failures: set media type to “Cardstock” or “Matte Photo Paper”, feed through the rear or manual tray, set quality to High, lock scaling at 100%, proof one sheet, then let it dry properly. Each step solves a specific problem. Media type slows the feed and boosts ink saturation. Manual feed keeps the paper path straight instead of curling it round rollers. High quality adds passes for solid colour. Locked scaling stops your printer shrinking or stretching the design. A single test sheet catches errors before you waste a whole stack.
- Media type: Cardstock or Matte Photo Paper
- Tray: rear/manual feed, not the main cassette
- Quality: High or Best
- Scaling: 100%, “fit to page” switched off
- Proof: one sheet before the full run
- Drying: several minutes minimum before stacking
Pro Tip: Fan the cardstock stack between your fingers before loading it. Sheets stick together with static, and a jammed second sheet is the single most common cause of a mangled print run.
Key Takeaways
Reliable card printing at home comes down to matching media type, feed tray and scaling to your cardstock, then proving every batch with a single test sheet first.
| Point | Details |
|---|---|
| Set media type correctly | Choose Cardstock or Matte Photo Paper to slow the feed and boost ink saturation. |
| Use manual or rear feed | Straight paper paths avoid the jams caused by curved main-tray feeding on heavy stock. |
| Lock scaling at 100% | Never let “fit to page” resize your template away from its true dimensions. |
| Always proof one sheet | Catch alignment, colour and feed-direction issues before committing the full run. |
| Try Craftsuprint’s test template | Its registration marks and colour patch help verify settings before printing a ready-made design. |
Table of Contents
- Choosing the right cardstock for printer settings on card printables
- How do you set up a template for printing cards accurately?
- What printer settings should you use for card printables?
- How should you load and feed heavy card sheets?
- Why is my card printable smudging or misaligned?
- Which printer features matter most for card printing?
- Craftsuprint’s printable checklist and test template
- Ready-to-print templates and a free test sheet from Craftsuprint
- Sources
- FAQ
Choosing the right cardstock for printer settings on card printables
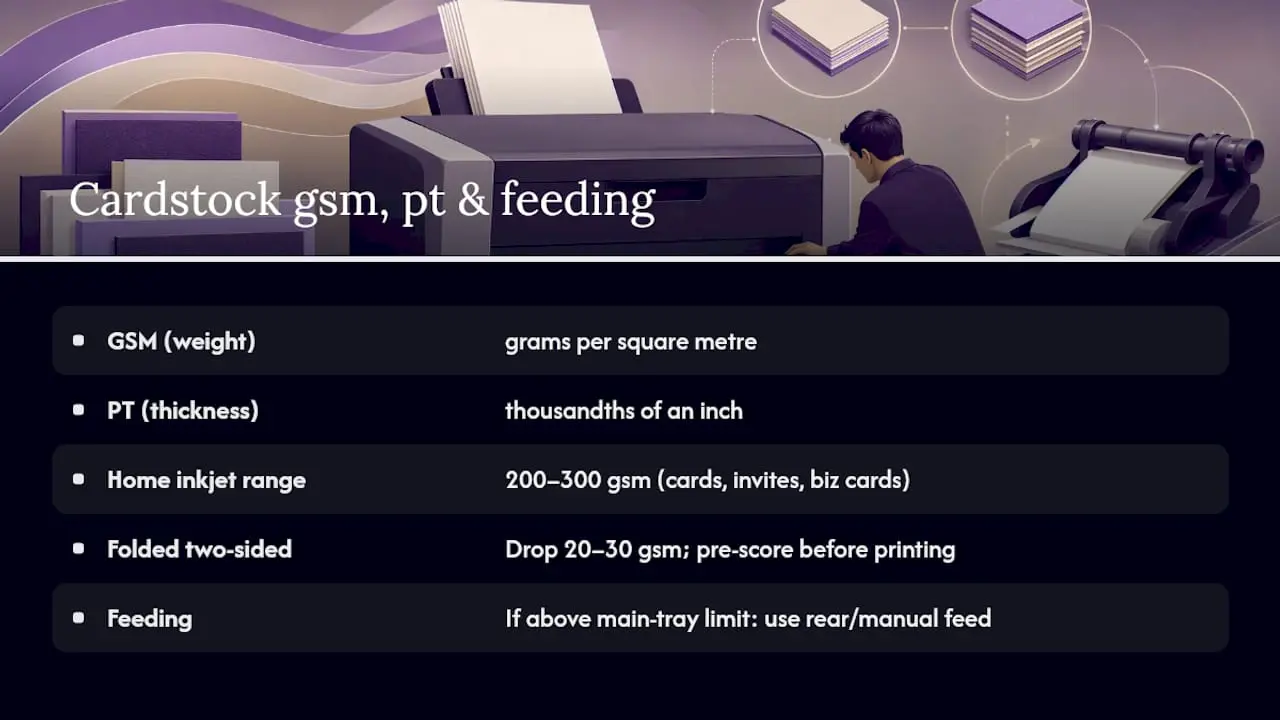
Weight and thickness aren’t the same thing, and mixing them up causes half the jams reported by home printer owners. GSM (grams per square metre) measures weight; pt measures thickness in thousandths of an inch. Two 250gsm cards can feel completely different depending on how they’re pressed. For home inkjets, 200 to 300gsm covers most greeting cards, invitations and business cards without straining the mechanism.
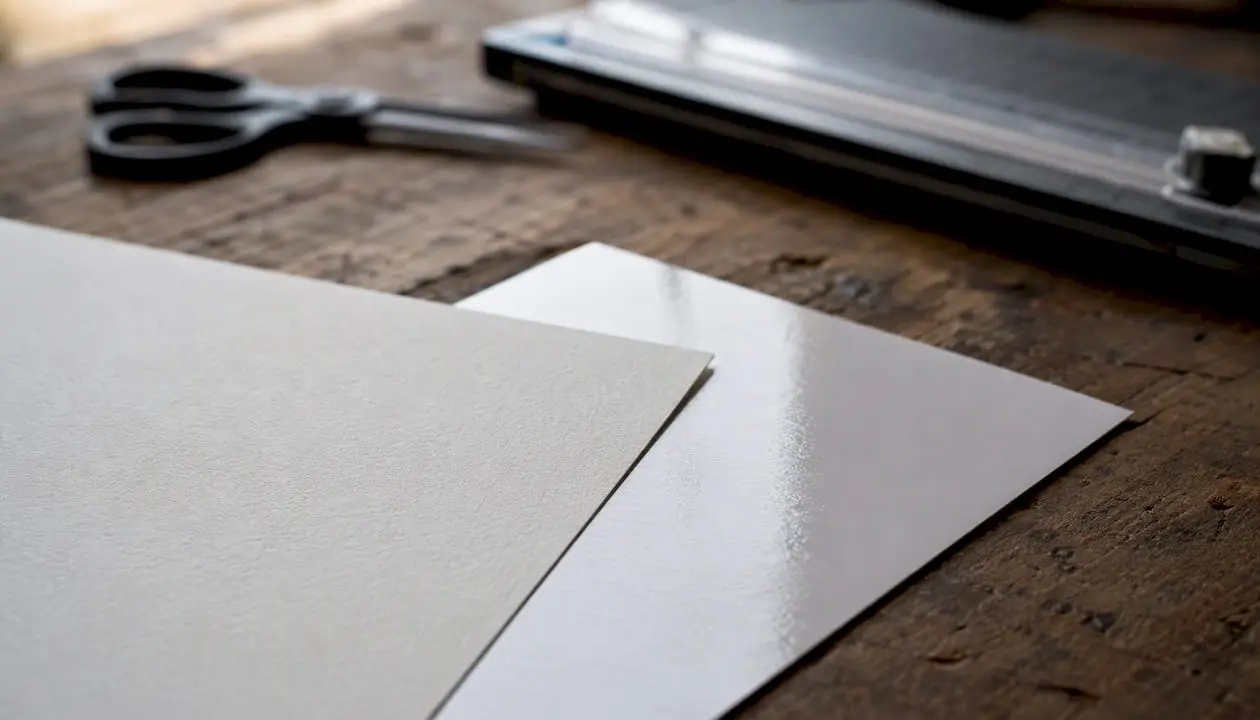
Finish matters as much as weight. Matte suits text-heavy designs and anything you’ll write on by hand, since it resists smudging and takes ink cleanly. Glossy suits photographic designs but holds wet ink longer on inkjet printers, so handle it by the edges until fully cured.
Folded and scored cards need lighter stock than flat cards of the same finished thickness, because doubling 300gsm at the fold creates a ridge that resists creasing cleanly. Pre-scoring with a bone folder or scoring board before printing, rather than after, gives sharper folds on thicker stock.
Always check your printer’s maximum supported gsm in the manual before buying paper in bulk. Anything above the main tray’s limit needs rear or manual feed.
Pro Tip: For two-sided folded cards, drop down 20 to 30gsm from what you’d choose for a single-sided flat card. It folds cleaner and reduces the chance of cracking along the crease.
How do you set up a template for printing cards accurately?
Your document size has to match the physical sheet size exactly. A template built at A4 and printed onto a trimmed A5 sheet will misalign every time, because the printer is still positioning ink for a full A4 canvas.
- Set the document to the exact paper size you’re loading (A4, A5, A6) and choose the correct orientation.
- In the print dialogue, select “actual size” or 100% scaling. Never leave “fit to page” or “shrink to fit” enabled.
- Add a small alignment mark or “X” in one corner of your test sheet so you can see which way the printer feeds and flips the paper.
- Print one proof sheet before committing the full template to your final stock.
Common layouts include A4 sheets with two A5 cards, or four A6 cards to a sheet, both standard for craft printables sold as digital downloads.
- Match template size to physical sheet size, not the other way round
- Confirm scaling is locked at 100% before every print job
- Use registration marks for anything folded or double-sided
Pro Tip: Menu wording varies wildly between drivers. Look for “Actual Size”, “No Scaling” or “100%” under Page Setup or Print Options; some drivers hide it under “Poster” or “Custom” scaling by mistake.
Does scaling affect card size when printing? Yes. Any setting other than 100% or “actual size” can resize your design, so what prints won’t match your template’s dimensions.
What printer settings should you use for card printables?
Open the print dialogue and work through these in order:
- Media type: choose “Cardstock”, “Heavyweight” or “Thick Paper”. If none exist, Matte Photo Paper is a reliable substitute, since it forces the same slower pass speed and heavier ink laydown.
- Print quality: set to High or Best. This adds extra ink passes for solid, even colour. It’s slower, but speed isn’t the priority on a stack of twenty cards.
- Paper source: select rear or manual feed where your printer has one, and set the paper size field to match your sheet exactly.
- Scaling: confirm 100% / actual size, with “fit to page” off.
- Colour management: leave this printer-managed for standard craft runs. Only bother exporting a print-ready file with an embedded ICC colour profile if you’re running a colour-critical batch for resale.
- Resolution: 300 to 600 dpi covers nearly all card printables; select your printer’s photo or high-quality mode rather than typing a dpi figure manually.
- Cardstock or Matte Photo Paper, never plain paper mode
- High or Best quality, not draft or normal
- Manual/rear feed for anything above your main tray’s limit
- 100% scaling, always
Pro Tip: If your driver has no “Cardstock” option at all, Matte Photo Paper is your best fallback. It’s built for the same slow, ink-heavy pass that cardstock needs, even though the name suggests photos.
How should you load and feed heavy card sheets?
Rear feed trays use a straight paper path; main cassette trays curve the sheet through rollers in a U-turn, which is exactly what jams heavy stock and cracks folded edges. That’s why Brother and other manufacturers recommend manual feed for anything beyond standard copy paper weight.
- Fan the stack to separate sheets stuck together by static.
- Load one sheet at a time into the rear feed, aligning the guides snugly but not tight.
- Print a single test sheet first and check orientation, margins and colour against your screen before running the batch.
- Let each printed card sit for several minutes before stacking, longer if the design has heavy ink coverage.
- Never overfill a manual feed slot with heavy card
- Handle wet prints by the edges only
- Stack with a sheet of plain paper between prints if ink feels tacky
Pro Tip: Mark the top corner of your test sheet with a small pencil “X” before printing. It tells you exactly how the printer flips or feeds the sheet for duplex work, so you’re not guessing on the real run.
Why is my card printable smudging or misaligned?
Most problems trace back to one of three causes: wet ink, a scaling mismatch, or a printer that needs cleaning.
| Problem | Likely cause | Quick fix |
|---|---|---|
| Smudging | Ink still wet, or media type set to plain paper | Increase quality setting, extend drying time, switch media type to Cardstock |
| Misalignment | Scaling not at 100%, or template size mismatched | Reset scaling to actual size, re-check template dimensions against sheet |
| Banding or streaks | Clogged nozzles or low ink | Run a head clean and nozzle check, then reprint |
| Faint colour | Draft quality or wrong media setting | Switch to High/Best quality, confirm Cardstock or Matte Photo mode |
- Run an alignment utility before any long batch, not just when something looks wrong
- Check ink levels before starting a big print run, not halfway through
Pro Tip: If a card jams mid-feed, don’t yank it out forwards. Switch the printer off, open the rear access panel if it has one, and pull the sheet gently backwards along the direction it entered to avoid tearing it or bending internal rollers.
Which printer features matter most for card printing?
Look for a straight or rear paper path, a dedicated manual feed slot, a stated maximum gsm in the specifications, and a genuine photo or high-quality print mode. Pigment inks tend to resist smudging better than dye inks on coated cardstock, though dye inks often produce richer colour on matte finishes. Always check the manual before attempting anything above 250gsm; some inkjets handle up to 300gsm via rear feed but jam badly through the main tray.
- Rear/straight paper path over U-turn feed
- Stated maximum gsm in the printer’s own specifications
- Manual feed tray as standard, not an add-on
Craftsuprint’s printable checklist and test template
Craftsuprint’s downloadable test template gives you registration marks, a scale reference box, duplex alignment guides and a small colour patch, all on one sheet. Print it first, before touching your actual card stock.
- Check the scale box against a ruler to confirm 100% scaling held
- Use the registration marks to spot any offset on double-sided prints
- Read the colour patch against your screen to judge whether printer-managed colour needs adjusting
The template downloads as a print-ready PDF plus a layered editable version if you want to adapt the registration marks to a non-standard sheet size.
Pro Tip: Print the template at the exact sheet size you intend to use for your final cards. A registration offset of even 1 to 2mm on the test print will show up doubled once folded, so catch it here first.
Where can I find Craftsuprint’s test template? It’s available as a free download through Craftsuprint’s designer resources, ready to print before starting any new card batch.
When to print at home and when to send it out
Most hobby and small-business runs, up to a few hundred cards, are entirely doable at home with the steps above. Outsourcing starts making sense past that volume, or when a design needs foiling, embossing or heavy varnish that home inkjets simply can’t replicate. Turnaround pressure and equipment cost are the real deciding factors, not skill.
Ready-to-print templates and a free test sheet from Craftsuprint
Getting settings right is only half the job. You still need a design worth printing, and that’s where Craftsuprint’s card templates save the guesswork many home printers face when building layouts from scratch.

Every design comes as a ready-to-print download, sized correctly for standard sheet layouts, so you skip the template-building step covered earlier and go straight to testing your settings. Browse Craft Supplies for compatible paper and envelopes, or start with a free asset through the Create and Craft members gift page. If you want to dress up a finished card afterwards, a rubber stamp adds a nice handmade touch once the ink’s fully dry.
What you get with a download:
- Print-ready PDF sized to standard A4/A5/A6 layouts
- Matching envelope templates on many designs
- Editable layered files on select designer downloads
Head to the Craft Supplies category now to find a template that matches the sheet size and gsm you’ve already settled on.
Sources
Check Epson’s media type guidance and Brother’s card printing guide for model-specific gsm limits, plus your own printer’s manual before heavy stock runs.
Where else can I learn about printer maintenance for card printing? Manufacturer support pages cover model-specific cleaning cycles; the Craftsuprint blog covers paper selection and template sizing for craft projects.
- Brother support — a guide to printing on card
- EatHealthy365 — the best printer settings for cardstock printing
FAQ
What printer settings should I use for cardstock?
Set media type to Cardstock or Matte Photo Paper, quality to High or Best, scaling to 100%, and feed through the rear or manual tray if your printer has one.
What printer settings should I use for printable sticker paper?
Use a photo or glossy media setting rather than Cardstock, since sticker sheets are thinner, but keep scaling locked at 100% and print quality on High for crisp text and colour.
How do I print business cards with the correct printer settings?
Select Cardstock or Heavyweight media type, High quality, manual feed for stock above your main tray’s limit, and always proof one sheet to check margins before printing a full batch.
How do I set up a printer to print on cardstock?
Can Craftsuprint templates help me get printer settings right?
Yes. Craftsuprint’s downloadable test template includes registration marks and a colour patch that help you confirm scaling and alignment before printing your actual card design.