
Make Shop Quality Printable Envelopes Using Templates and Scoring
Yes, you can print and assemble neat, custom envelopes at home using printable templates, and the result can genuinely rival a shop-bought one. This tutorial covers gathering the right tools, printing at the correct scale, cutting, scoring and folding, then gluing everything into a sturdy finish. Some craft template libraries and print tips can make the whole process quicker if you’d rather not start from a blank page.
TL;DR:
- Most home printers can produce custom envelopes, but use heavy paper of 100-160 gsm and ensure proper scaling before printing.
- Precise cutting, scoring, and folding are key to achieving professional-looking results, especially with heavier cardstock.
- Using pre-sized templates from craft sources speeds up the process and improves accuracy over freehand measuring.
- Adhesive choice impacts durability; double-sided tape is the most reliable for assembly, especially with heavier or textured paper.
- Store paper flat and dry, and run test prints to prevent misalignment, warping, or incorrect sizing during the printing process.
Table of Contents
- Tools and materials for your printable envelopes tutorial
- Choosing paper and printer settings for a clean result
- How do you size a template to fit the insert?
- Cutting, scoring and folding technique for a crisp finish
- Adhesive and assembly best practice
- Adding liners and decorative touches without ruining the fit
- Troubleshooting tips from experienced crafters
- Why templates make the biggest difference in this hobby
- Where to find printable templates and matching downloads
- Sources
- FAQ
Tools and materials for your printable envelopes tutorial
Get everything on the bench before you print anything. Stopping halfway to hunt for a bone folder is how creases go wrong.
- Printer: inkjet or laser, either works, though laser handles volume printing more cheaply.
- Cutting tools: a craft knife or sharp scissors, plus a metal ruler for straight edges.
- Cutting mat: a self-healing mat protects your worktop and keeps blade depth consistent.
- Bone folder or scoring stylus: essential for crisp creases, especially on heavier stock.
- Optional extras: a corner rounder or envelope corner punch for a softer, finished look.
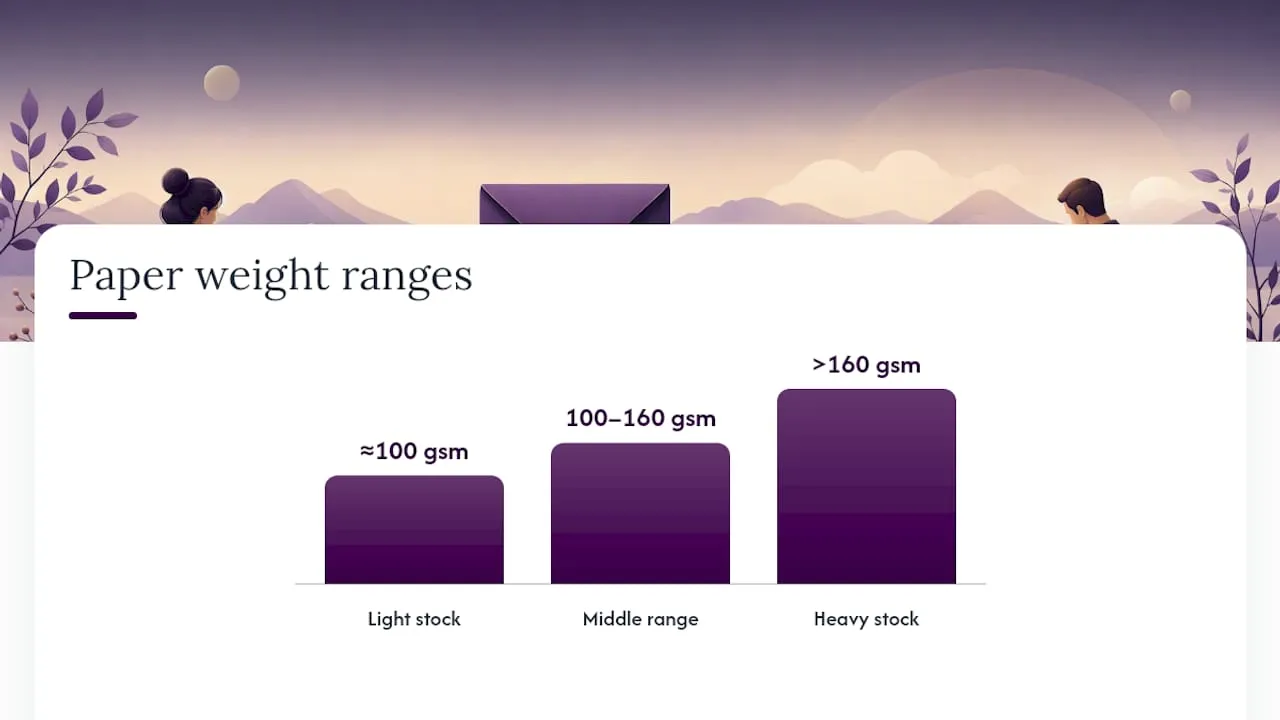
For paper, 100 to 160 gsm suits most everyday envelopes, giving enough body to hold shape without fighting you at the fold. Cardstock above 160 gsm feels more premium but needs careful scoring or it cracks along the crease. For adhesive, double-sided tape is the easiest option to control. A glue roller works well too, while a standard glue stick is convenient but weaker over time. Steer clear of runny, high-water glues on thin paper. They warp the sheet before it even dries.
Choosing paper and printer settings for a clean result
Paper weight decides how forgiving your envelope will be. Lighter stock (around 100 gsm) folds easily but feels flimsy, while anything past 160 gsm holds its shape brilliantly and needs precise scoring to avoid cracked creases. Somewhere in the middle is where most home crafters land, and it’s a good starting point if you’re unsure.
Before you print anything, dig into your printer’s settings and select “heavy paper” or “cardstock” as the media type if that option exists. Thicker stock often needs the manual feed slot or a rear straight-through tray rather than the standard paper drawer, which reduces jams and stops ink smudging on the way through. Inkjets tend to give richer colour on craft paper, though laser printers are usually more economical if you’re printing several sheets at once.
Always run a test print on scrap paper first and check the scale against a ruler before committing your good stock. Set the printer dialog to “Actual Size” or “100%”, never “Fit to Page”, which quietly shrinks your template and throws off every measurement that follows.
Pro Tip: Store your card stock flat in a dry spot away from radiators or windows. Paper that’s absorbed even a little ambient moisture tends to curl slightly through the printer rollers, and that small warp is enough to throw off your scoring lines.
How do you size a template to fit the insert?
Getting the fit right matters more than almost any other step. A template that’s too tight will jam your invitation card on the way in; too loose, and the card rattles around and slips out.
- Leave 5 to 10 millimetres of clearance on every side beyond your insert’s dimensions.
- Match the template to a standard size where possible: A7 and A2 for greeting cards, C5 or DL for letters.
- Check scale in your PDF reader before printing. Most readers show a percentage box in the print dialog.
- Print a test copy, cut it roughly, and slide your actual card or invitation inside to confirm the fit.
- Resize slightly in a PDF editor if the fit is off, then reprint and retest rather than guessing.
Many templates from digital craft sources include dielines and built-in margins, which removes this guesswork for you entirely if you’d rather start from a ready-made file.
Cutting, scoring and folding technique for a crisp finish
This is the stage that separates a wobbly homemade envelope from one that looks properly finished.
-
Cut the outer shape first. Use a metal ruler and craft knife for every straight edge, making long, confident strokes rather than short jabs, which tend to leave jagged lines. Rotate the paper, not your hand, when you reach curved corners.
-
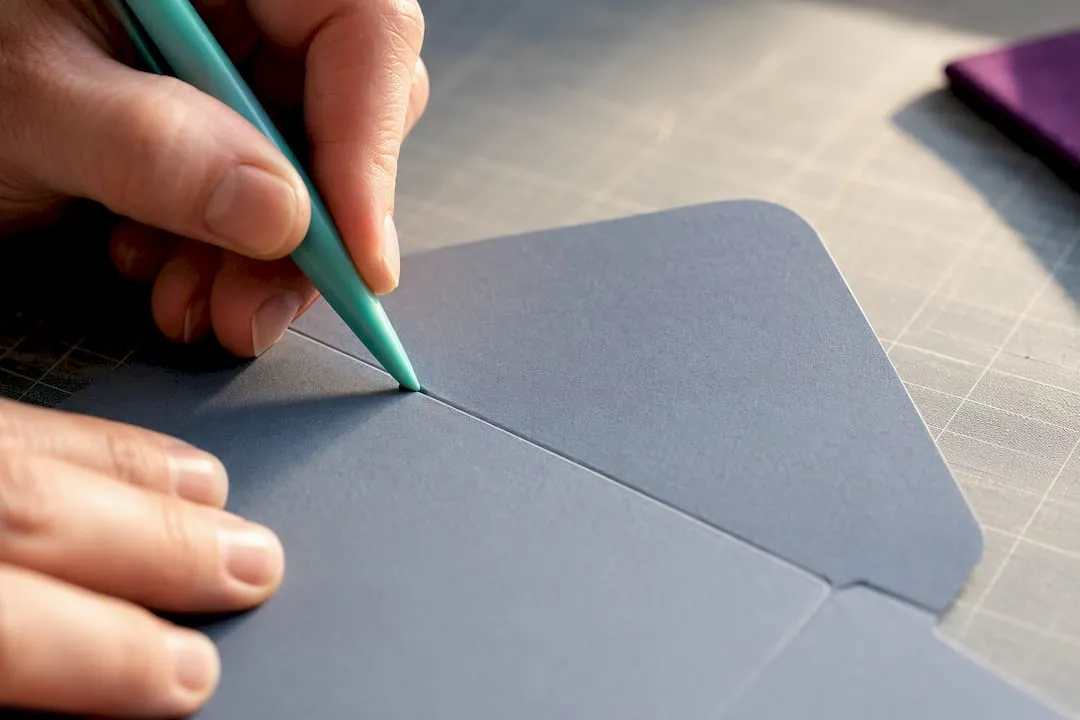
Score before you fold. A bone folder or scoring stylus pressed firmly along each fold line compresses the fibres so the crease bends cleanly instead of cracking, particularly on stock above 160 gsm.
-
Fold in the correct order. Side flaps come first, then the bottom flap, and the top flap goes last. This sequence keeps the structure square and stops flaps overlapping awkwardly.
-
Burnish every crease. Run the bone folder along each fold with firm pressure to lock in a sharp, professional line.
If a crease looks weak or slightly off, don’t force a second fold on top of it. Open the paper flat, re-score along the original line with a touch more pressure, then fold again. Forcing a fresh crease at a slightly different angle usually leaves a double line that’s hard to disguise.
Pro Tip: For very heavy cardstock, try a two-pass score: one light pass to soften the fibres, then a second firmer pass along the same line to deepen the groove without cutting through the paper.
Adhesive and assembly best practice
Assembly is where a lot of otherwise good envelopes fall apart, usually from too much glue in the wrong place.
- Apply adhesive in thin strips along the outer edge of the side tabs only, never across the whole flap.
- Leave the top flap unglued until your contents are safely inside.
- Double-sided tape dries instantly and causes almost no warping, making it the most reliable choice overall.
- A glue tape roller gives a similarly clean result with slightly more control over placement.
- Glue sticks are handy for quick jobs but weaken over time, especially in a warm room.
- Liquid PVA works, but use it sparingly and press the seam for a few seconds so it doesn’t seep through and mark the front.
If a seam pops later, a fresh strip of double-sided tape usually fixes it faster than trying to re-wet old glue. Warped paper from too much liquid adhesive can sometimes be flattened again under heavy books overnight, though it’s not always a full recovery.
Adding liners and decorative touches without ruining the fit
Liners and patterned inserts lift a plain envelope, but they need to be sized correctly or they’ll interfere with the seal.
- Trim the liner so its top edge sits below the gum line, letting the flap open and close freely.
- If the liner overlaps the adhesive zone, trim another 5 to 10 millimetres off the top and test-fit again before gluing anything down.
- Double-sided tape or a glue tape roller works best for liners, since liquid glue can wrinkle thinner decorative papers.
- Recycled or textured papers add character but can be fragile. Back thin sheets with a lightweight cardstock for stability.
- When printing patterned sheets, use registration or corner marks so repeated designs line up if you’re producing several envelopes in a batch.
Troubleshooting tips from experienced crafters
Most envelope problems trace back to moisture, adhesive choice, or the printer feed, not a lack of skill.
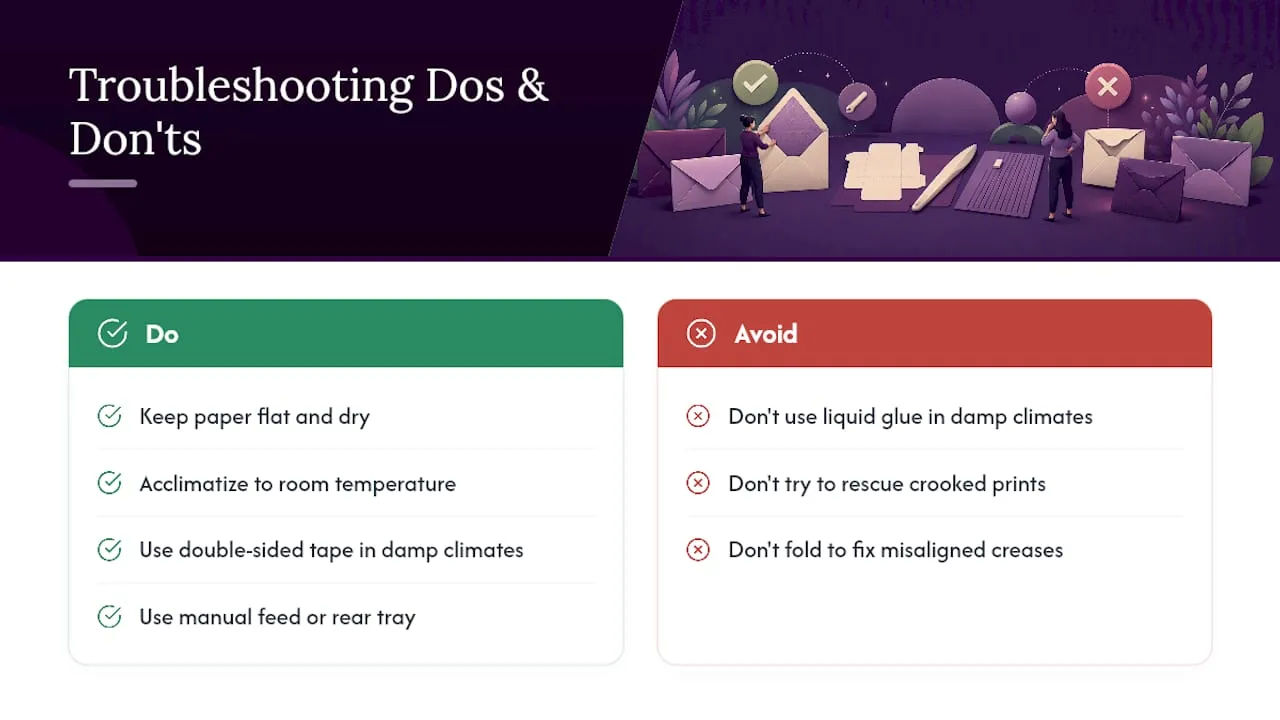
Humidity is the quiet culprit behind warped stock. Keep paper flat in a dry area and let it acclimatise to room temperature before printing, since cold-to-warm shifts can cause faint curling. In damp climates, double-sided tape holds up more consistently than liquid glue, which is prone to introducing moisture that liquid adhesives simply don’t avoid. For feeding heavier card through your printer, use the manual feed slot or rear tray and set the correct media type. This single adjustment prevents most jams and smudged ink on thicker stock.
If a sheet prints crooked or a score line lands in the wrong spot, don’t try to rescue it with extra folds. Scrap it and reprint. A misaligned crease rarely disguises itself once the envelope is assembled, and the fix wastes more paper than starting fresh.
Why templates make the biggest difference in this hobby
Rob has spent years covering paper crafts and print-based hobbies, and the pattern is consistent: crafters who start with a properly sized template finish faster and get straighter results than those cutting freehand every time. Craftsuprint’s template range and printer guidance are built around exactly this problem. Invitations, wedding RSVPs and gift card envelopes are the most common projects readers tackle, and a ready-made dieline shaves real time off each one compared with measuring from scratch.
— Rob
Where to find printable templates and matching downloads
Some digital craft platforms give you ready-sized dielines rather than a blank page and a ruler, which saves the trial-and-error most beginners hit on their first few envelopes. The Card Making category pairs envelope templates with matching card designs, while Paper Craft covers a broader spread of downloadable projects if envelopes are just one piece of what you’re making.

If you want to customise dimensions or build your own dieline from scratch, the Designer Resources section has the raw assets for that, and Cutting Files are worth a look if you’re working with a cutting machine rather than a craft knife. Every download arrives as a print-ready PDF, cutting out the guesswork over margins and scale that trips up a lot of first attempts. Start by downloading a free sample template, run a test print on scrap paper to check the fit against your card, and once you’re happy with it, pick up a themed pack for the finished project.
Sources
For pre-sized dielines across common formats, the Pacdora envelope template maker covers A2, A7, C5 and DL sizes with exportable PDFs. For scoring tools and technique, see Tonic Studios’ scoring and folding range.
- How to make an envelope: a step-by-step guide
- How to make custom envelopes using printable templates: step-by-step guide
- How to use our printable envelope liner templates
FAQ
What is the easiest way to print envelopes at home?
Use a printable template sized to your card or letter, print it at 100% scale on suitable paper, then cut, score and fold along the guide lines. Craftsuprint’s templates already include dielines and margins, which removes most of the measuring.
Is there an envelope template in Word?
Word includes a basic envelope printing tool under its Mailings tab, but it’s designed for printing addresses directly onto standard envelopes rather than building a custom decorative one from a flat sheet. For custom designs with liners or patterns, a dedicated printable PDF template gives far more control over size and finish.
Where can I find free templates for printing envelopes?
Free dielines are available from template generator tools such as Pacdora, and Craftsuprint also runs regular free downloads through its weekly offers alongside its paid template ranges.
Is there any free software I can download to print envelopes?
Most free options are template generators rather than standalone software. You pick a size, export a print-ready PDF, and print it from any standard PDF reader. No specialist software is needed beyond that.
How much clearance should I leave between the template and my card?
Leave roughly 5 to 10 millimetres of clearance on every side of the insert. Too little and the card jams on the way in; too much, and it slides around loosely once sealed.