
Test in 30 Seconds, UK Crafters: Foam Tape or Glue Dots for Cards
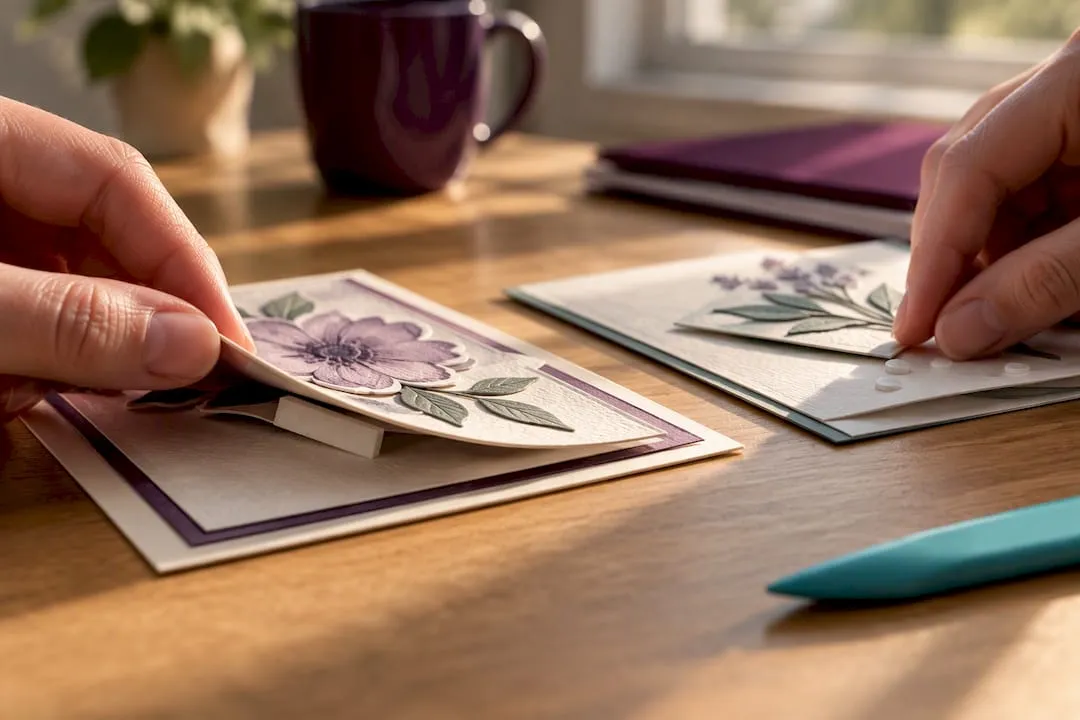
For shaker cards and added lift, use foam tape. For small embellishments and neat, low-mess placement, use glue dots. Foam tape builds dimension and bridges gaps, while glue dots give you instant, precise tack with far less squeeze-out. Layered panels usually call for foam, delicate trims and ribbon call for dots, and many finished cards use both.
TL;DR:
- Foam tape provides substantial lift and fills gaps, making it ideal for shaker cards and layered panels, but it creates a visible edge and is difficult to remove cleanly.
- Glue dots bond instantly, are low-mess, sit flat under embellishments, and are suitable for small or delicate items requiring a flush finish or removable placement.
- Foam tape offers high shear strength for long-term adhesion on heavier components, while glue dots vary by formulation, with removable types useful for temporary layout adjustments.
- Proper surface testing on offcuts and cleaning surfaces with alcohol before application can prevent surprises, especially on textured or dusty foam and coated papers.
- Matching adhesive type with project needs—such as lift, permanence, and finish—is crucial, and building a small adhesive sampler helps prevent costly rework.
Table of Contents
- Comparing foam tape and glue dots for craft projects
- Pros and cons of foam tape and glue dots
- Which projects call for foam tape or glue dots
- A quick checklist for choosing the right adhesive
- Studio techniques for neater, stronger results
- Testing adhesives before you commit to a project
- Why the right adhesive is a design decision, not an afterthought
- Finding the right supplies and templates for your next card
- Sources
- FAQ
Comparing foam tape and glue dots for craft projects
The two adhesives solve different problems, and once you see them side by side the choice gets easier.
Bond strength and permanence differ in how they behave over time rather than in raw grip. 3M double-coated urethane foam tape is built for high shear strength and stays conformable under pressure, which suits heavier card elements that need to stay put for years. Glue Dots bond on contact and hold well for most paper and foam applications, though Glue Dots Craft Dots vary by formulation, so a permanent variant behaves differently to a removable one.
Thickness is where the two part ways most obviously. Foam tape typically adds a visible raised edge, which is exactly why it works so well for shaker windows and layered panels. Glue dots add almost no height, sitting flat under the item they secure, which makes them the better pick when you want a flush finish.
Application speed and mess also separate them:
- Foam tape needs to be cut to length or shape, peeled and pressed, which takes a little longer but gives you control over exact placement and coverage.
- Glue dots come pre-measured and tack instantly, so there is no drying time and almost no risk of the stringy residue you get with wet glue.
- Foam tape leaves a visible foam edge unless it is trimmed flush, while glue dots sit invisibly beneath most embellishments.
- Removable glue dot formats can be lifted away cleanly, whereas most foam tape is designed to stay put once pressed.
Repositionability is a genuine point of difference. Removable Glue Squares are made for temporary mounting and can be pulled up without residue on many lightweight materials, which is handy for planning a layout before committing. Foam tape, by contrast, is built for permanence: once the acrylic or urethane adhesive beds in under pressure, pulling it up usually damages the paper or leaves foam behind.
Surface compatibility deserves a test before you commit to either. Glue Dots list foam among their intended materials and can bond instantly to it, but results depend on the specific product and how textured or dusty the foam surface is, so a quick check on an offcut is worth the thirty seconds it takes. Industry comparisons of acrylic foam tape against thin double-sided tape note that foam tape handles gap filling and stress buffering better, which matters if your cardstock has an uneven surface or you are joining layers of different thicknesses.
Pros and cons of foam tape and glue dots
Neither adhesive is the right answer for everything on your workbench, so weighing the trade-offs before you reach for one saves rework later.
Foam tape:
- Fills gaps and adds genuine lift, ideal for raising panels or creating shadow-box depth.
- Offers strong, lasting hold once pressed firmly, standing up well to handling over time.
- Leaves a visible foam edge unless trimmed flush with the card.
- Is difficult to remove cleanly once bonded, so placement mistakes are costly.
Glue dots:
- Bond instantly with almost no drying wait, letting you keep working without pauses.
- Stay low-mess and precise, avoiding the stringy overflow of liquid glue.
- Add negligible thickness, which is not what you want when a project needs lift.
- Some formulations, like Removable Glue Squares, can be lifted without residue, though permanent versions cannot.
Pro Tip: Keep a craft knife or small scissors nearby to trim foam tape flush with an edge, and a spare dot on your finger to test tack strength before committing it to your project.
Safety and clean-up are minor but worth a mention. Both adhesives are solvent-free and safe for regular craft use, though foam tape adhesive can transfer to fingers during cutting, so wiping the blade occasionally keeps things tidy. Glue dots rarely need clean-up at all, which is part of their appeal for anyone working on a shared table or with young helpers.
Which projects call for foam tape or glue dots
Match the adhesive to the job rather than reaching for whatever is closest to hand.
- Shaker cards and window perimeters need foam tape’s thickness to create the cavity that lets loose sequins or beads move, and its strong bond keeps the seal intact.
- Layered panels and raised elements benefit from foam tape or foam dimensionals, since the added height creates visible depth between design layers.
- Small embellishments, ribbon and trims suit glue dots because they bond instantly without soaking into delicate materials or leaving visible bulk.
- Temporary displays and photo boards work best with removable glue dot formats, letting you swap items without damaging the backing.
- Combining adhesives often gives the cleanest result: a foam perimeter for structure paired with a spot glue dot in the corners for a heavier centrepiece, a technique Stampin’ Up’s craft guidance also points to when mapping adhesive types to papercraft tasks.
A quick checklist for choosing the right adhesive
Run through this before you commit glue or foam to a finished piece.
- Check the substrate and weight of what you are attaching: heavier embellishments need foam tape’s shear strength, lighter ones suit a dot.
- Decide if you need repositionability: choose a removable glue dot format if the layout might change, or foam tape if the placement is final.
- Assess the lift or gap you need to fill: any visible dimension or shadow-box effect calls for foam, not a flat dot.
- Consider the finish: a visible foam edge might need trimming, while a dot stays hidden but can’t hide a gap.
- Test on scrap first, especially with textured or dusty foam, low-surface-energy plastics or coated cardstock.
Pro Tip: When in doubt, test both adhesives on an offcut of your actual project material rather than a generic scrap. Foam and coated papers can behave very differently from plain cardstock.
Watch for a few red flags: dusty or heavily textured foam can weaken instant bonds, low-surface-energy plastics resist most craft adhesives without special formulations, and very cold or very hot rooms slow tack on both foam tape and glue dots.
Studio techniques for neater, stronger results
A few small habits make a visible difference to the finished card.
- For shaker windows, lay foam tape strips around the frame perimeter in one continuous run rather than several short pieces, which avoids weak points where sequins can escape, a method shown in Craftsuprint’s shaker card tutorial.
- Use a Dot N’ Go style dispenser to place glue dots with one hand, keeping placement consistent across multiple cards in a batch.
- For very small embellishments, cut a single glue dot in half with scissors rather than using a full one, which avoids overflow around delicate edges.
- Store adhesive rolls and dot sheets away from direct heat and out of the packet edge once opened, since both formulations lose tack over time if left exposed to air.
- Pair a foam perimeter with a single spot dot in the centre when mounting a slightly warped embellishment, which keeps the edges lifted while pulling the middle flat.
Testing adhesives before you commit to a project
A short test avoids ruining a finished card days after it is sealed in an envelope.
- Apply a small piece of tape or a single dot to an offcut of the actual material you are using and press firmly for a few seconds.
- Leave it for 24 hours, then check for lifting edges or any sticky residue left behind on the surface.
- Clean glossy or coated surfaces beforehand with a 50:50 mix of isopropyl alcohol and water, following the guidance in 3M’s technical datasheet, and let the surface dry fully before applying adhesive.
- Apply in a room between roughly 21 and 38 degrees Celsius where possible, since both tack and dwell time improve at these temperatures.
Textured foam and heavily embossed cardstock are the two surfaces most likely to surprise you, so treat any adhesive that explicitly lists foam compatibility, rather than one that stays silent on it, as the safer starting point. More general tips on matching adhesives to paper crafting materials and to different cardstock weights are worth a look before a big batch run.
Why the right adhesive is a design decision, not an afterthought
Technique and creativity aren’t separate skills on this one. The adhesive you choose shapes how a card looks and feels before a single embellishment goes on, so it deserves the same thought as your colour palette. Build a small adhesive sampler, a scrap card with a dot, a foam square and a strip, and keep it on the desk for quick reference. Share what works on your projects with the wider Craftsuprint community so others can skip the trial and error.
— Rob
Finding the right supplies and templates for your next card
Once you know which adhesive suits your project, the templates and materials matter just as much as the glue. 
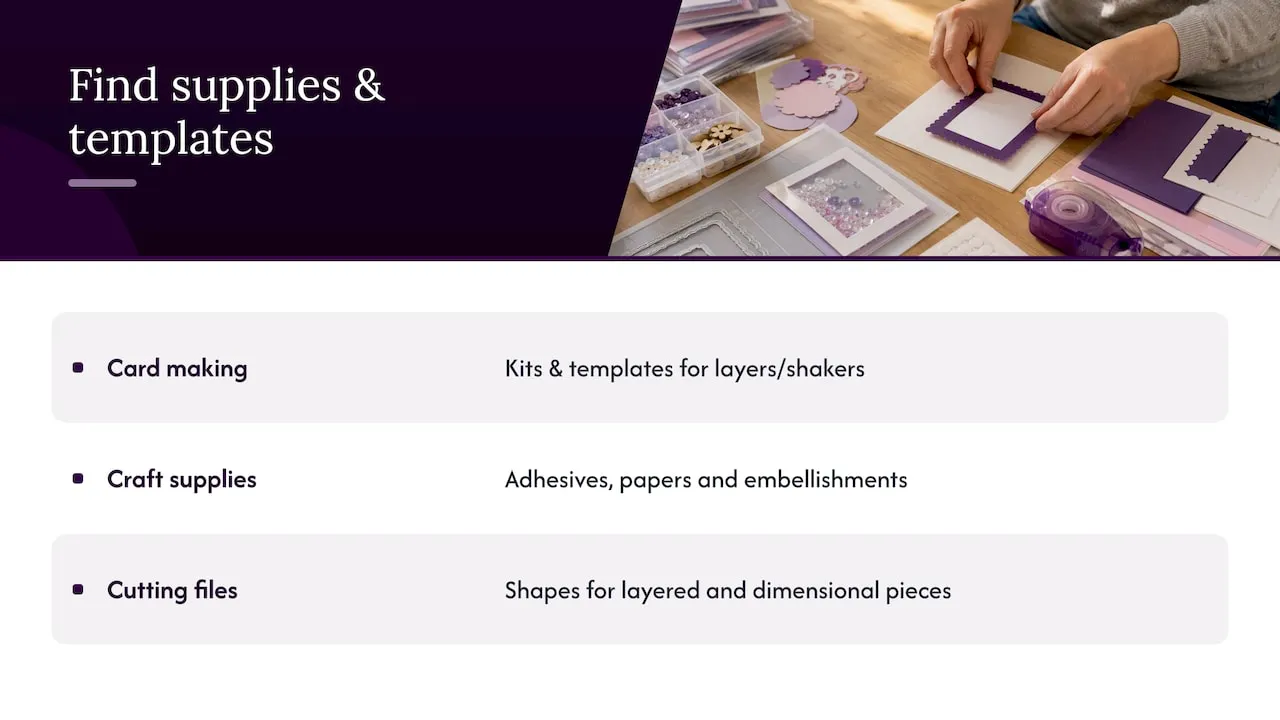
The card making category offers kits and templates designed with layers and shaker windows in mind, so you can plan foam placement before you start cutting. If you’re stocking up on adhesives, papers or embellishments to go with a project, the general craft supplies section covers a variety of options. For anyone building layered panels or dimensional pieces from cut files, the cutting files library offers shapes that pair well with various adhesives. Browse the categories, find templates that match your next design, and acquire the supplies needed for your projects.
Sources
- 3M™ double-coated urethane foam tape technical datasheet
- The best double-sided tape and adhesive strips for crafters – Stampin’ Up blog
FAQ
Which is better, glue or tape, for card making?
Neither wins outright: foam tape suits jobs needing lift or gap-filling, while glue dots suit precise, low-mess placement of small items. Choose based on the thickness and permanence your project needs rather than picking one as a default.
What to use instead of glue dots for small embellishments?
Foam tape cut into small squares can work for slightly heavier pieces, though it adds visible thickness that dots avoid. A liquid craft glue applied sparingly is another option when you need a completely flat, invisible bond.
Do glue dots stick to foam?
Yes, Glue Dots products list foam among their intended materials and can bond instantly to it, though results depend on the formulation and how textured or dusty the foam surface is. Testing on an offcut first avoids surprises on a finished project.
What are the differences between glue dots and double-sided tape?
Glue dots are pre-measured, instant-bonding adhesive pads with almost no added thickness, while double-sided foam tape adds visible dimension and handles gap filling better, according to industry comparisons of acrylic foam tape. Glue dots suit small, flat embellishments, while foam tape suits layered or raised elements.