
Paper crafting tips to transform your projects in 2026
TL;DR:
- Proper tool selection, including a bone folder and sharp craft knife, is essential for professional-looking paper crafts.
- Choosing the right paper weight and folding with the grain prevent cracking and warping, ensuring durability and precision.
- Patience and deliberate techniques, such as scoring before folding and thin glue application, significantly improve project quality.
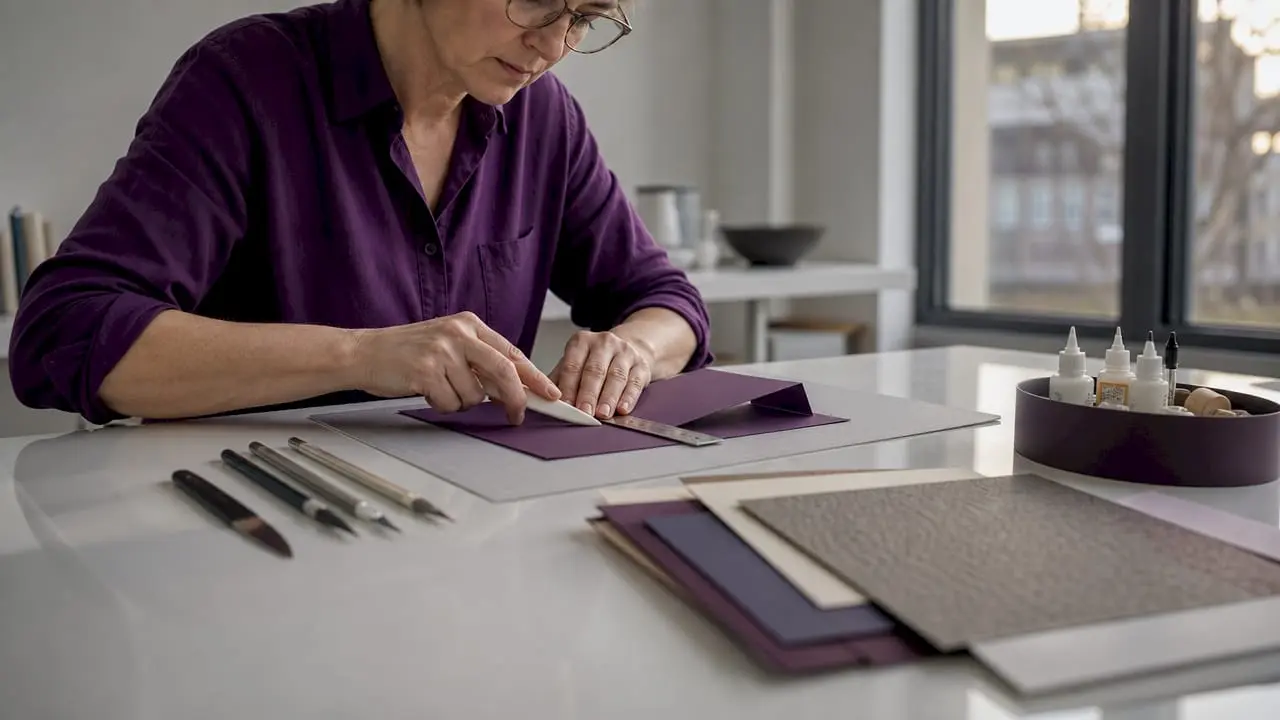
Paper crafting tips are practical methods, tool choices, and techniques that determine whether a finished project looks polished or amateurish. The craft itself, known formally as papercrafting or paper arts, spans card making, origami, scrapbooking, and 3D paper modelling. The right bone folder, a sharp craft knife, and a proper cutting mat are not optional extras. They are the difference between clean, professional results and frustrating, ragged edges. This guide covers the techniques and tools that genuinely move the needle, whether you are just starting out or looking to sharpen skills you already have.
1. Which tools are must-haves for paper crafting?
The foundation of every successful paper craft project is the right set of tools. Without them, even the best design falls apart at the cutting stage.
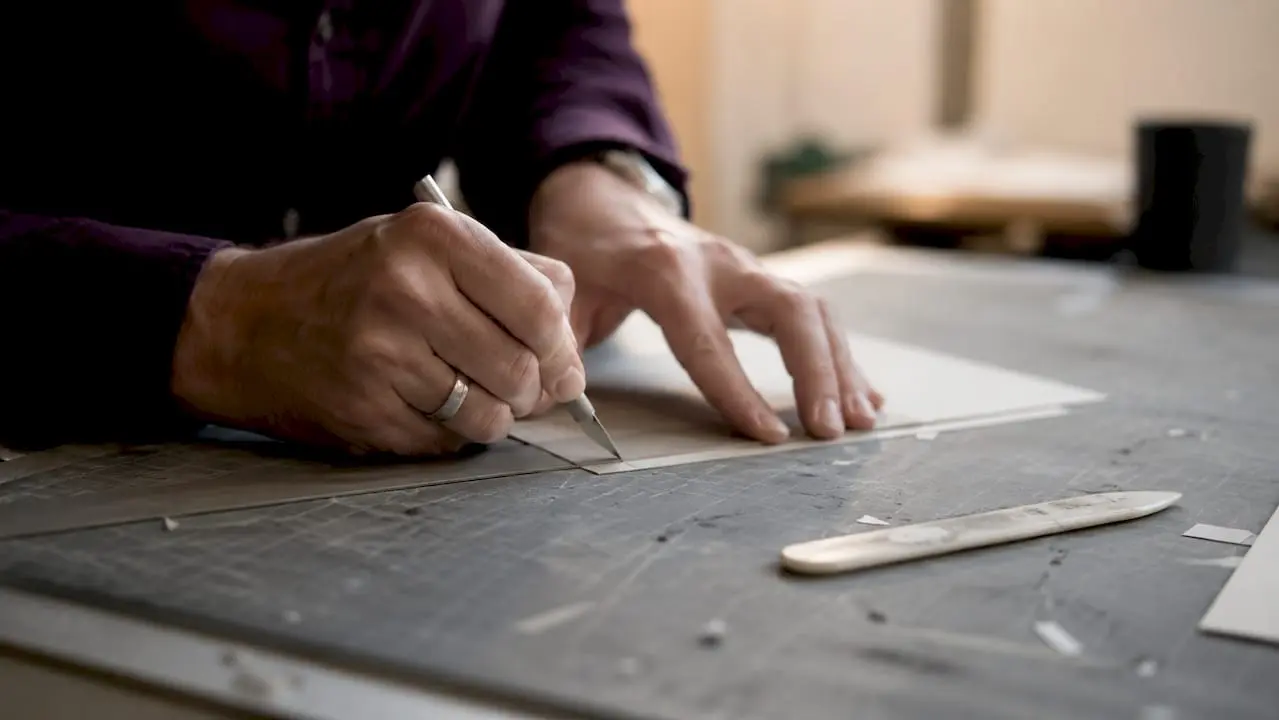
A bone folder is the single most underrated tool in papercrafting. It costs under £8 and prevents the uneven folds and gaps that ruin 3D paper models and card structures. Run it firmly along a scored line and the fold becomes crisp, flat, and professional. No fingernail dragging, no creased edges.
A craft knife with a fresh blade is equally non-negotiable. Blades dull faster than most crafters realise, and a dull blade tears rather than cuts. Replace blades frequently, far more often than feels necessary, and you will immediately notice cleaner edges. Pair your knife with a self-healing cutting mat to protect your work surface and extend blade life.
Scoring tools deserve their own mention. A dedicated scoring stylus or the back of a bone folder creates precise fold lines before you ever crease the paper. This is especially important with thick cardstock, where folding without scoring causes cracking.
For adhesives, keep three types to hand:
- PVA glue for strong, permanent bonds on heavier card
- Glue sticks for lightweight decorative papers where speed matters
- Double-sided tape for clean, instant bonds without moisture
Pro Tip: Keep a silicone mat or scrap paper under your work when applying PVA. Even a small amount of excess glue on your cutting mat will transfer to the next project.
2. What paper types and weights suit different projects?
Choosing the wrong paper weight is one of the most common mistakes in DIY paper projects. The paper itself is a structural decision, not just an aesthetic one.
Structural cardstock weighs 65 to 110 lb, making it the right choice for card bases, box structures, and 3D models that need to hold their shape. Lighter decorative papers in the 20 to 24 lb range work well for embellishments, layered backgrounds, and delicate details where flexibility is an advantage.
Grain direction is a factor most beginners ignore entirely, and it causes real problems. Folding against the paper grain produces jagged cracking along the spine that cannot be undone. To find the grain, gently bend the paper in both directions. The direction with less resistance is with the grain. Always fold with it.
Specialty papers open up a different range of creative paper crafts. Vellum adds translucency and elegance to layered designs. Kraft paper gives a natural, rustic texture that suits botanical and vintage themes. Metallic papers catch light in ways that standard cardstock cannot replicate.
| Paper type | Weight range | Best use |
|---|---|---|
| Cardstock | 65 to 110 lb | Card bases, 3D structures, box making |
| Decorative paper | 20 to 24 lb | Embellishments, backgrounds, layering |
| Vellum | 17 to 30 lb | Overlays, translucent details, envelopes |
| Kraft paper | 40 to 60 lb | Rustic themes, packaging, mixed media |
| Metallic paper | 28 to 32 lb | Focal accents, festive designs, borders |
Store paper flat, away from humidity, and in sealed bags or folders if possible. Warped or damp paper behaves unpredictably under a blade and resists clean folding.
Pro Tip: Before committing to a full project, test your chosen paper with a small folded sample. Check for cracking, tearing, and how it responds to your adhesive of choice.
3. How to master cutting and folding for professional results
Cutting and folding are the two skills that separate tidy, professional-looking paper crafts from projects that look rushed. Both reward patience and a deliberate approach.
For straight cuts, use a metal ruler rather than a plastic one. A craft knife will eventually cut into plastic rulers and send the blade off course. For curves, the technique that makes the biggest difference is rotating the paper rather than the blade. Keep your knife hand steady and move the paper into the blade. The result is a smoother, more controlled curve every time.
For any cut that requires precision, multiple light passes produce cleaner edges than a single heavy stroke. One firm pass tears fibres. Three light passes sever them cleanly. This is especially true with thick cardstock or layered sheets.
Folding technique matters just as much as cutting. Score every fold line before creasing, without exception. Then use a bone folder to press the crease firmly. For complex 3D models, fold all pieces before applying any glue. This approach makes assembly up to three times faster and significantly more accurate because you can check fit and alignment before anything is permanently bonded.
- Score before you fold, always
- Fold with the grain, not against it
- Use a bone folder on every crease, not just the main ones
- Pre-fold all components before opening the glue
“Assemble paper craft templates starting from the smallest parts to maintain glue tab access and improve accuracy.” — The Ultimate Guide to Papercraft
4. Best adhesive choices and how to apply them without warping
Adhesive choice is where many otherwise well-executed projects go wrong. The wrong glue, or the right glue applied badly, causes warping, staining, and bonds that fail within days.
PVA glue is the workhorse of papercrafting. It is water-based, dries clear, and creates a strong permanent bond. The critical rule is thin, even application. Applied too thickly or pressed too soon, PVA causes paper to buckle and warp. Apply a thin layer, wait 10 to 15 seconds for the moisture to begin evaporating, then press firmly. This small pause makes a measurable difference to the flatness of the finished piece.
- PVA glue: Use for permanent bonds on cardstock and heavier papers. Apply thinly with a brush or spreader. Wait before pressing.
- Glue sticks: Ideal for lightweight papers and quick assembly. Less moisture means less warping risk. Not suitable for long-term durability on heavy card.
- Double-sided tape: The cleanest option for card making and scrapbooking. No drying time, no moisture, no mess. Use it wherever precision matters more than flexibility.
- Foam adhesive squares: These add dimension to a design by lifting elements off the surface. Foam adhesives create depth and shadow without introducing the moisture that causes warping. They are particularly effective for focal images on cards.
- Super glue: Avoid it for most paper projects. It bonds instantly with no repositioning window, and the fumes can yellow or damage delicate papers.
Pro Tip: Use a cocktail stick or a fine-tipped glue applicator bottle for precision glue placement on small elements. A broad brush on a tiny embellishment is the fastest way to create a sticky mess.
5. Design and layering techniques that make projects look intentional
Good paper crafting ideas do not rely on expensive materials. They rely on deliberate design decisions. The difference between a card that looks complete and one that looks unfinished is almost always a design principle, not a supply issue.
Repeating colours across multiple elements is the single most effective way to create cohesion. If your focal image contains navy blue, echo that colour in the sentiment, the border, or a small embellishment. The eye reads repetition as intention. Colour coordination is often the missing element that makes a card look incomplete or less polished.
Layering works best when you think in three planes: background, midground, and focal point. The background sets the tone with texture or pattern. The midground adds context with supporting elements. The focal point carries the main image or sentiment. Each layer should be visually distinct from the one beneath it, either in colour, texture, or elevation.
- Use foam adhesive squares under your focal image to lift it off the midground and create shadow
- Repeat at least one colour from your focal image in two other places on the design
- Treat your sentiment as a design element, not an afterthought. Frame it, mat it, or angle it deliberately
- Mix patterns with solids rather than layering two busy patterns together
- Customise die cuts by inking the edges in a coordinating colour before placing them
The essential paper crafting resources available through Craftsuprint include printable templates and design kits that already incorporate these layering principles, which is particularly useful when you want a polished result without building a layout from scratch.
6. Advanced paper techniques worth adding to your repertoire
Once the fundamentals are solid, advanced paper techniques open up a new range of creative possibilities. These are not difficult to learn, but they do require the right tools and a willingness to practise on scrap paper first.
Wet folding is an origami technique where the paper is lightly dampened before folding. This allows curves and organic shapes that dry folding cannot achieve. It works best with uncoated papers of at least 90 gsm. The result, once dry, holds its shape permanently without glue.
Quilling, also called paper filigree, involves rolling thin strips of paper into coils and shaping them into flowers, leaves, and scrolls. A quilling tool, which costs very little, is the only specialist item required. Quilled elements add texture and dimension to card fronts and framed art pieces in a way that flat paper cannot replicate.
Iris folding creates a spiral pattern using strips of folded paper arranged around a central aperture. It looks complex but follows a numbered template, making it accessible even for crafters who are relatively new to advanced paper techniques. The finished effect is striking enough to be the sole focal point of a card or frame.
Scoring and embossing with a light box or embossing stylus adds raised texture to plain cardstock. Run the stylus along a template on the reverse side of the paper and the front shows a clean, raised pattern. No ink, no stamps, just texture. This technique pairs particularly well with metallic and pearlescent cardstocks.
For those exploring digital paper crafts, combining printed digital designs with physical techniques like quilling or iris folding creates genuinely unique results that neither approach achieves alone.
Key takeaways
Successful paper crafting depends on matching the right tools, paper weights, and adhesive techniques to each project from the outset, not as an afterthought.
| Point | Details |
|---|---|
| Tools determine quality | A bone folder, sharp craft knife, and cutting mat are the non-negotiable foundation of clean results. |
| Paper weight is a structural choice | Use 65 to 110 lb cardstock for structure and 20 to 24 lb decorative paper for embellishments. |
| Grain direction prevents cracking | Always fold with the paper grain to avoid jagged splits along fold lines. |
| Adhesive technique prevents warping | Apply PVA thinly, wait 10 to 15 seconds before pressing, and use foam squares for dimension. |
| Colour repetition creates cohesion | Repeating one colour across three elements makes any design look intentional and polished. |
Why slowing down is the best paper crafting tip I know
After years of working with paper, card, and printable designs, the insight I keep returning to is this: most mistakes in papercrafting are speed mistakes. A torn edge, a warped panel, a fold that cracks. Almost all of them happen because someone rushed a step that needed thirty more seconds of attention.
Beginners tend to assume that experienced crafters work faster. In my experience, the opposite is true. Skilled crafters work more deliberately. They score before they fold. They let glue tack up before pressing. They test a cut on scrap paper before touching the project piece. That patience is not a personality trait. It is a learnable habit.
The other thing I have noticed is that common beginner pitfalls are almost never about talent. They are about skipping the paper grain check, using a blade one project too long, or applying glue straight from the bottle without thinning it. Fix those three habits and the quality of your work changes noticeably within a single crafting session.
My strongest advice for anyone working through a paper craft techniques checklist is to embrace the mistakes that do happen. A cracked fold teaches you more about grain direction than any written guide. A warped panel teaches you more about PVA application than any tutorial video. The material itself is the best teacher, provided you pay attention to what it is telling you.
Experiment with materials you have not tried yet. Vellum, kraft, and metallic papers all behave differently and reward different techniques. The crafters who develop the most interesting work are the ones who treat every new material as a small experiment rather than a risk.
— Rob
Ready to stock up and start your next project?
Whether you are building your tool kit for the first time or looking for fresh paper craft downloads to inspire your next creative session, Craftsuprint has everything in one place.

Browse the paper crafts classifieds for materials, kits, and printable designs curated for hobby crafters at every level. From card making templates to themed mini kits, the range covers both easy paper crafts for relaxed weekend sessions and more detailed projects for when you want a real challenge. You can also explore the full craft supplies catalogue to find adhesives, tools, and decoration materials without hunting across multiple retailers.
FAQ
What is the most useful tool for paper crafting beginners?
A bone folder is the single most useful tool for beginners. It costs under £8 and produces crisp, professional folds that fingers alone cannot achieve.
How do I stop PVA glue from warping my paper?
Apply PVA in a thin, even layer and wait 10 to 15 seconds before pressing the pieces together. Thick application or pressing too soon introduces moisture that buckles the paper.
What cardstock weight should I use for card making?
Use 65 to 110 lb cardstock for card bases and structural elements. Decorative papers in the 20 to 24 lb range are better suited to embellishments and layered backgrounds.
Why does my paper crack when I fold it?
Cracking along a fold is almost always caused by folding against the paper grain. Folding against the grain creates tension that splits the paper fibres. Always score first and fold in the direction of least resistance.
How do I make my paper craft designs look more polished?
Repeat at least one colour from your focal image in two other places on the design. Colour repetition across elements is the most reliable way to make a card or paper project look cohesive and intentional.