
3mm Bleed Rules for Crafters: Margins, Templates and Rob's Tips
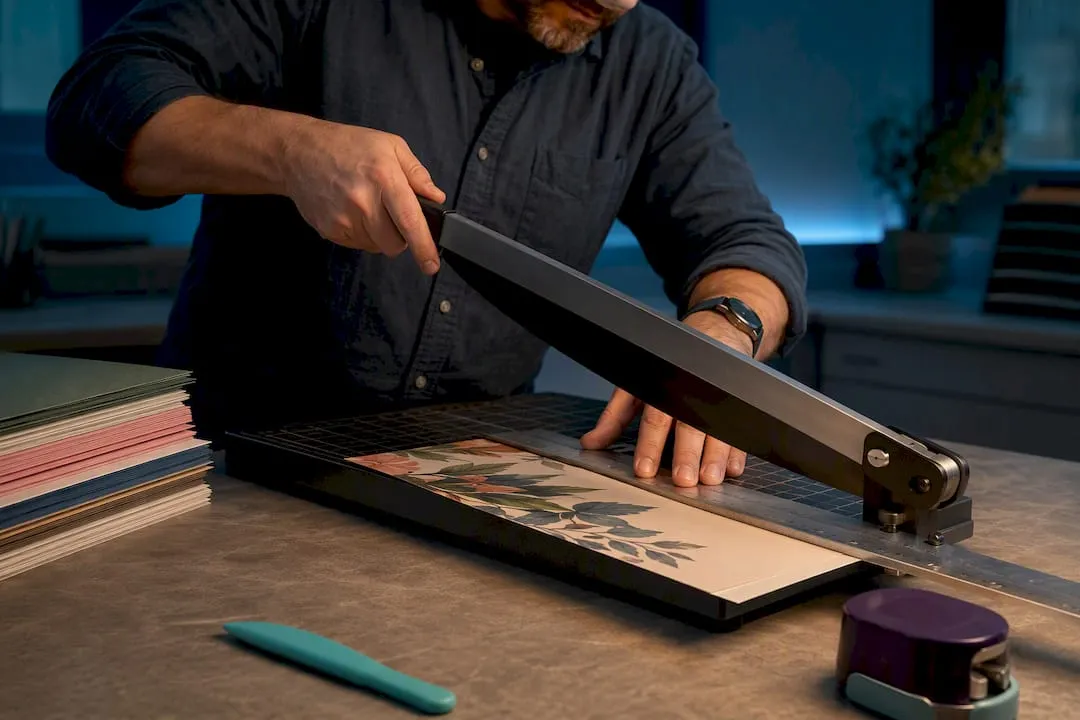
Bleed is the extra artwork that extends past the trim line so a printer can cut through colour without leaving a white sliver at the edge, and it generally needs to be about 3mm on every side for most jobs. The trim line marks the finished size; the safe area sits 3–5mm inside it, and any text, logo or cut line you place inside that zone survives normal cutting drift. Set your document to trim size, add the bleed, keep everything important inside the safe margin, and check the checklist below before you export.
TL;DR:
- Most print projects require a 3mm bleed on all sides, with larger jobs like posters needing at least 5mm, depending on complexity.
- Keep all essential content within 3 to 5 millimeters inside the trim line to prevent clipping during cutting or binding.
- Use specific guidelines in your design software to set bleed and safe margins correctly, and always check guides before exporting.
- Binding and finishing methods like folding or die-cutting often demand increased margins and additional bleed to accommodate shifting and registration issues.
- Always proof print files at full size and, if possible, test with a physical sample before committing to large runs.
Table of Contents
- Bleed and margins printables checklist: the quick rules
- How do I add bleed and margins in Canva, InDesign or Word?
- Margins for folded, stitched and bound printables
- Exporting PDFs, crop marks and the preflight checklist
- Where to find print-ready templates
- Rob’s practical tips for printing craft projects
- How printing materials and finishes change bleed and margin needs
- Adjusting bleed and margins for orientation and page size
- Why bleed and margins affect how a printable actually feels to use
- Where the standard advice on bleed gets it wrong
- Download print-ready templates and tutorials on Craftsuprint
- Sources
- FAQ
Bleed and margins printables checklist: the quick rules
Most printable jobs, whether it’s a greetings card or a set of gift tags, follow the same three numbers. Get these right and you’ll rarely need to think about the rest.
- Bleed: 3mm on every side. This is the commercial-print default, and it’s what most trade printers expect without being asked.
- Safe margin: 3–5mm inside the trim line. Anything closer risks getting clipped during cutting.
- Bigger bleed for bigger or more complex jobs. Large-format posters, foiled finishes, or die-cut shapes often need 5mm or more, so check with your printer before you finalise the file.
- Checklist order: set trim size first, add bleed around it, keep live content inside the safe area, set image resolution, then export as PDF/X with crop marks.
Pro Tip: If you’re not sure how much bleed a job needs, ask the printer directly rather than guessing. A five-minute email saves a reprinted batch.
A 3mm bleed with a 3–5mm safe margin covers the overwhelming majority of printable projects, from cards to tags to single-sheet flyers. It’s only when you move into folding, binding, or specialist finishing that those defaults need adjusting, which the next section covers in detail.
Craft printables rarely need anything more exotic than this. Where it gets more interesting is when you start folding, binding, or working at unusual sizes, which is where a lot of home-designed files go wrong.
How do I add bleed and margins in Canva, InDesign or Word?
Different tools handle bleed in genuinely different ways, and knowing the quirks of your chosen software saves a lot of trial and error.
- Canva: Turn on the “show print bleed” toggle in your document settings. Canva applies a fixed 0.125in (roughly 3.175mm) bleed automatically on printable templates, which you can’t adjust. Since Canva doesn’t offer a numeric margin field on most templates, drag in ruler guides manually to mark your own safe zone and keep text well clear of the bleed line.
- InDesign or Illustrator: Set bleed (and slug, if your printer needs registration marks or notes) directly in Document Setup or File > Document Setup. Add layout guides for the safe area at 3–5mm inside the trim, then export via File > Export > Adobe PDF (Print), choosing a PDF/X preset and ticking “crop marks.”
- Word or Pages: Neither tool has a native bleed feature, so the workaround is to build your canvas larger than the trim size, by the bleed amount on each side, then export to PDF and trim manually or ask your printer to cut to the marked line. If you need crop marks, you’ll usually have to add them in a free PDF editor afterwards or ask your printer to apply them.
- Affinity Publisher: Set bleed under Document Setup exactly as you would in InDesign, with matching options for slug and export presets, including PDF/X output with crop marks included.
Pro Tip: Whatever software you use, name your bleed and safe-area guides clearly on their own layer. It stops you accidentally deleting them halfway through a design, and makes it obvious what to strip out before final export.
The tool matters less than the habit: always check where your bleed sits relative to the trim before you send a file anywhere near a print queue.
Margins for folded, stitched and bound printables
Binding changes the maths. A card that folds in half, a booklet that’s saddle stitched, or a book that’s perfect bound all eat into your margin in ways a flat sheet never does.
- Gutter: the extra space needed near a fold or spine so text doesn’t disappear into the binding.
- Spine allowance: the width taken up by the binding itself, which pushes inner content further from the edge.
- Creep: in saddle-stitched booklets, inner pages shift outward slightly as sheets nest inside one another, which can misalign trim lines if you don’t compensate.
For many perfect-bound projects, increasing the inner margin to 10–15mm keeps text away from the spine. Amazon KDP scales its inner-margin recommendation by page count, larger books need more room near the spine simply because more paper bulk sits between the cover and the centre pages. If you’re producing a saddle-stitched booklet of any length, plan for page creep by widening outer margins on inner pages or let imposition software handle the shift automatically. When in doubt on a binding job, ask the printer for their specific gutter and creep numbers rather than assuming a generic figure will hold, and always run a folded paper proof before committing to a full print run.
Exporting PDFs, crop marks and the preflight checklist
Getting bleed and margins right on screen means nothing if the exported PDF loses them. Export as PDF/X-1a or PDF/X-4, embed all fonts, and include crop marks placed outside the bleed area, never inside it, so the printer can see exactly where to cut without slicing through your artwork.
| Check | Standard to apply |
|---|---|
| Image resolution | 300 DPI for photographs; higher for fine line art |
| Colour mode | CMYK, or the printer’s supplied ICC profile |
| Bleed | 3mm on all sides, present on every page |
| Fonts | Fully embedded, not just referenced |
| Crop marks | Added outside the bleed, not inside it |
| File format | PDF/X-1a or PDF/X-4 |
Before you send anything off, proof the file at 100% scale on screen rather than a zoomed-out thumbnail view, small text errors and misjudged margins hide easily at reduced sizes. Print a single-page scaled proof at home if you can, checking that crop marks line up with where you expect the trim to fall. A proper preflight checklist also flags overprint and knockout settings and total ink coverage, both of which matter more on darker, ink-heavy designs than on simple line art.
Pro Tip: Keep a saved PDF/X export preset once you’ve built one correctly. Reusing it removes the guesswork the next time you’re exporting a batch of cards or tags.
Where to find print-ready templates
A properly built template already contains everything you need: trim size, bleed, a marked safe area, crop marks, and sometimes an optional slug layer for printer notes. Starting from one of these beats building a document from scratch every time.
- Check the layers before you touch anything. A good template keeps guides on a separate, clearly labelled layer so you can toggle them off before final export.
- Confirm the actual dimensions. Template libraries such as Printkeg’s bleed and trim guides publish sizes per product type, but always double-check the file matches the trim size you actually need.
- Craftsuprint’s own template downloads are built with craft printables in mind, card blanks, kits and paper patterns designed with bleed and margins already set correctly for home or trade printing.
- Strip guide layers before you export. Leaving them in by accident is one of the most common reasons a “finished” file comes back from a printer with visible ruler lines.
Rob’s practical tips for printing craft projects
Card stock jams more than plain paper, largely because it’s stiffer and heavier. Dropping your printer’s paper-thickness setting to “cardstock” or “heavy” and feeding sheets one at a time through a straight-path tray cuts down on smudges and misfeeds considerably.
Resolution decisions don’t need to be one-size-fits-all. Simple line art or flat colour elements on a home-printed craft project can get away with 150 DPI, but anything with fine detail, photographic elements, or intended for sale needs the full 300 DPI standard. Always print a single sheet at 100% scale first: check colours against your screen, confirm cut lines sit where you expect, and only then commit to a full batch print.
How printing materials and finishes change bleed and margin needs
Card stock, glossy photo paper and vellum all behave differently under a blade or guillotine, and that changes how much bleed you actually need. Thicker card stock tends to shift slightly more during cutting than standard paper, so a few extra millimetres of bleed reduces the risk of a visible white edge on a finished card.
Finishes complicate things further. Foiling, embossing or die-cutting all introduce their own tolerances, since the foil plate or die needs to register accurately against your artwork, and even a small misalignment becomes obvious on a folded card front. Printers working with foil or emboss finishes often specify their own bleed and registration requirements, which can exceed the standard 3mm default.
Matte and uncoated stocks also handle ink differently to gloss, spreading slightly more at the edges, so a design with fine detail near the trim line benefits from a wider safe margin than you’d use on a smooth, coated sheet. If you’re designing tags, gift wrap, or anything printed on textured or specialty stock, treat the standard defaults as a starting point rather than the final word, and ask your printer directly if the material or finish is anything other than standard card or paper.
Adjusting bleed and margins for orientation and page size
A postcard, an A4 flyer and a large poster don’t scale their bleed the same way. The 3mm default holds steady across most sizes, but the safe margin sometimes needs to grow relative to the whole page, a 3mm safe zone on a business card feels generous, but on a large poster it can look cramped and risk cutting off text if the cutter drifts even slightly.
Switching between portrait and landscape orientation doesn’t change the bleed amount, but it does change which edges carry the most visual weight. A landscape card with text running along the long edge needs that edge’s safe margin checked carefully, since horizontal text is more likely to brush against a trim line than a short vertical edge would.
Unusual or custom sizes, hexagonal tags, circular coasters, shaped gift labels, need more caution still. Non-rectangular shapes often need bleed applied around the entire curved or angled edge, not just the four straight sides you’d expect on a standard sheet. If you’re designing anything outside a standard trim size, build the file at the exact custom dimensions first, then add bleed around that shape rather than trying to retrofit it later.
Why bleed and margins affect how a printable actually feels to use
Bleed and margin choices aren’t just about avoiding a white sliver at the cut line, they shape how a finished piece feels in someone’s hands. A folded card with text placed too close to the crease reads awkwardly once folded, even if it looked perfectly balanced flat on screen.
Interactive or foldable printables carry extra risk. Pop-up cards, tri-fold invitations and layered kits all rely on precise alignment between panels, and a margin that’s too tight on one panel throws off the whole mechanism once it’s assembled. Planning margins and gutters as part of the composition rather than as an afterthought tends to produce a noticeably better result, particularly on anything that folds more than once.
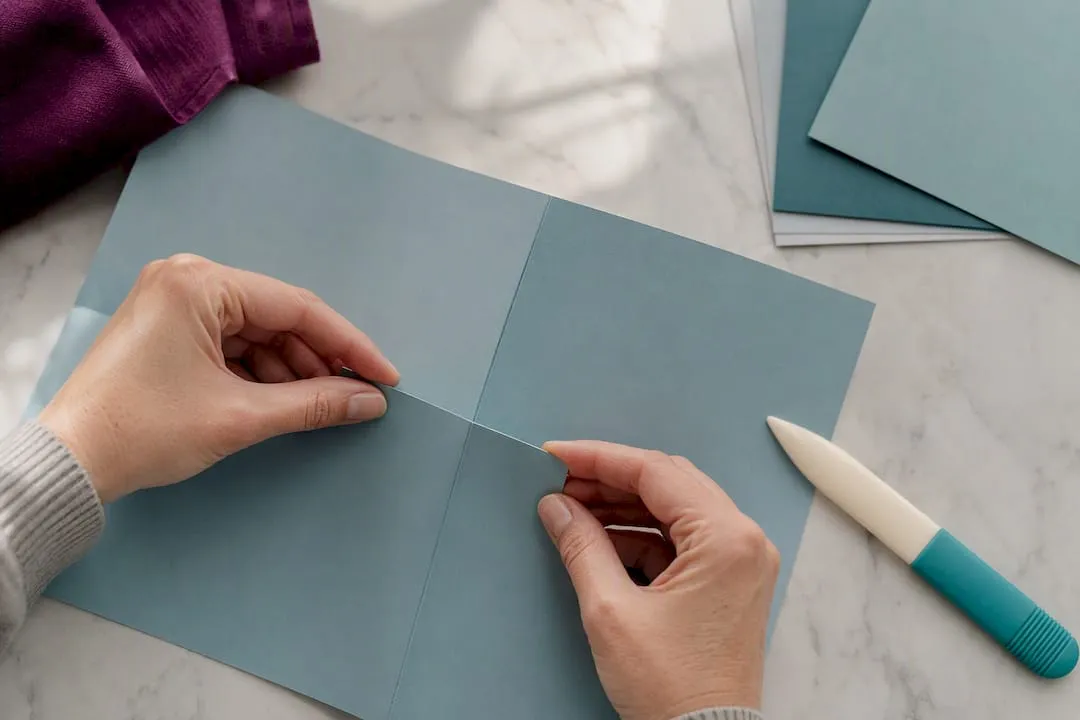
Safe margins also affect legibility after handling. A greetings card gets picked up, turned over, and read at arm’s length, so text sitting right at the edge of the safe zone can look fine on a monitor but feel cramped once it’s a physical object being passed between people. Giving folded or multi-panel printables slightly more breathing room than the bare minimum tends to pay off in how finished the piece feels, even though it costs nothing extra to print.
Where the standard advice on bleed gets it wrong
Most guides treat 3mm bleed and a 3–5mm safe margin as universal rules, and for a huge share of jobs, they are close enough. What gets underplayed is how much that changes the moment a project folds, binds or uses an unusual finish. Treating every printable as a flat single sheet is the single most common mistake crafters make, and it’s an easy one to fall into because the standard numbers work often enough to build false confidence.
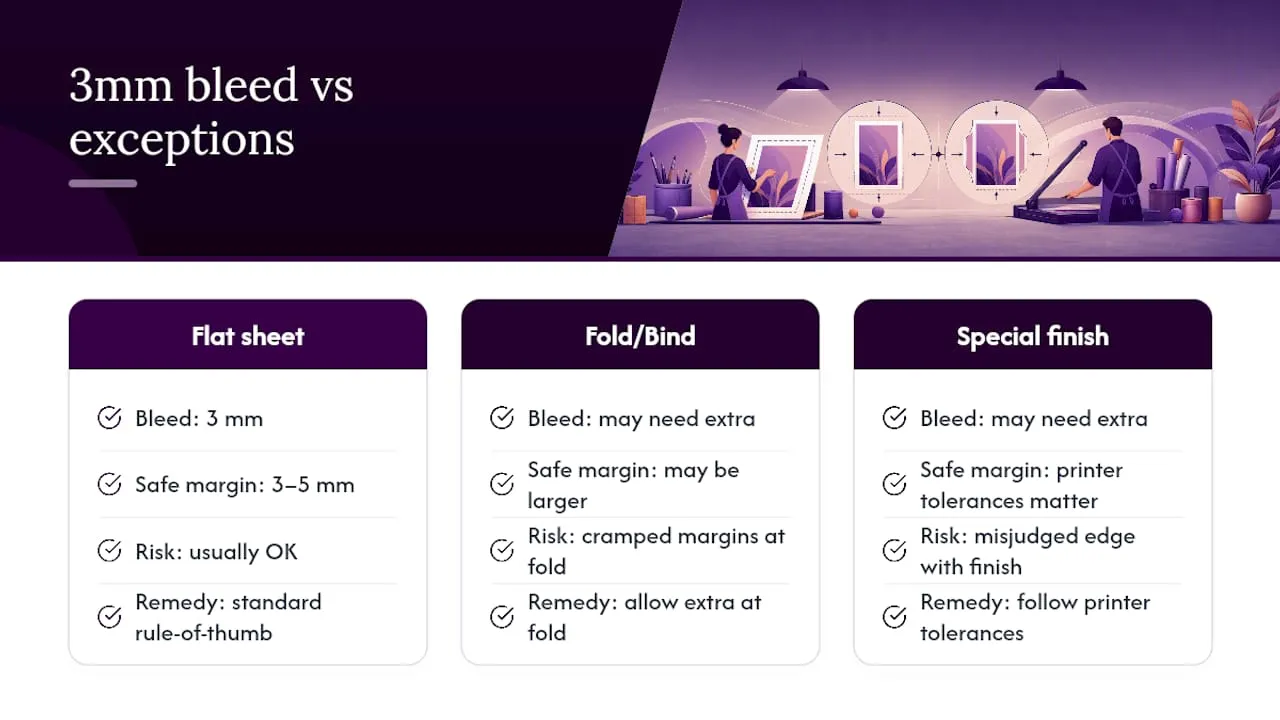
A design that looks perfect zoomed out on screen can reveal a cramped margin or a misjudged fold line the moment it’s printed at actual size. Templates help enormously here, not because they remove the need to think, but because they start you from a file that’s already been through this process once.
If there’s one thing worth prioritising over all the rule-of-thumb numbers, it’s this: check a physical proof before you trust a screen, following helpful guidance on how to prepare photos for printed albums.
— Rob
Download print-ready templates and tutorials on Craftsuprint
Craftsuprint gives you a shortcut past the whole preflight headache: templates built by working designers, with bleed and safe margins already set correctly for card making, paper patterns and kits. Instead of building a document from a blank canvas and guessing at gutter widths, you start from a file that’s already been proofed.

Downloading a ready-made template cuts out the most common source of print errors, mismatched trim sizes, missing bleed, or margins that clip text on the fold, because someone else has already tested the layout against a real print run. Browse the Create & Craft downloads for a wide catalogue of card and paper-craft designs, or check the Create & Craft members gift page for a free starting template if you’re new to the platform. Once you’ve found a design you like, pair it with the right craft supplies to match the card stock or finish you’re aiming for, and you’ll have a print-ready file running through your printer within minutes rather than hours.
Sources
- How to Prepare a PDF for Commercial Print: The Complete Checklist | PDF Press
- Set Trim Size, Bleed, and Margins
- Use margins, bleed, rulers, and crop marks
- Free Print Templates — Bleed & Trim Guides for Each Size – Printkeg
FAQ
What is the difference between margins and print bleed?
Bleed is artwork that extends beyond the trim line so colour reaches the edge after cutting, while margins mark the safe zone inside the trim where text and important content must stay to avoid being clipped.
Can I add bleed and crop marks to a PDF?
Yes, most design tools let you set bleed in document setup and export crop marks directly through a PDF/X preset; if your software lacks this, you can build a larger canvas manually and add crop marks with a separate PDF editor afterwards.
What is the standard bleed margin for printing?
The commercial-print default is 3mm (0.125in) on every side, rising to 5mm or more for large-format jobs or specialist finishes.
How can I add bleed to a PDF online for free?
Several free online PDF editors let you resize a page and manually extend artwork by the bleed amount, though the safest method remains setting bleed correctly in your original design tool, whether that’s Canva, Affinity or InDesign, before exporting.
Do craft printables need the same bleed rules as commercial print jobs?
Craft printables printed at home for personal use can often relax slightly, sometimes at 150 DPI for simple line art, but anything intended for sale or trade printing should follow the standard 300 DPI and 3mm bleed rules.