
Crafters: Resize Printables With Exact Scales in 4 Steps
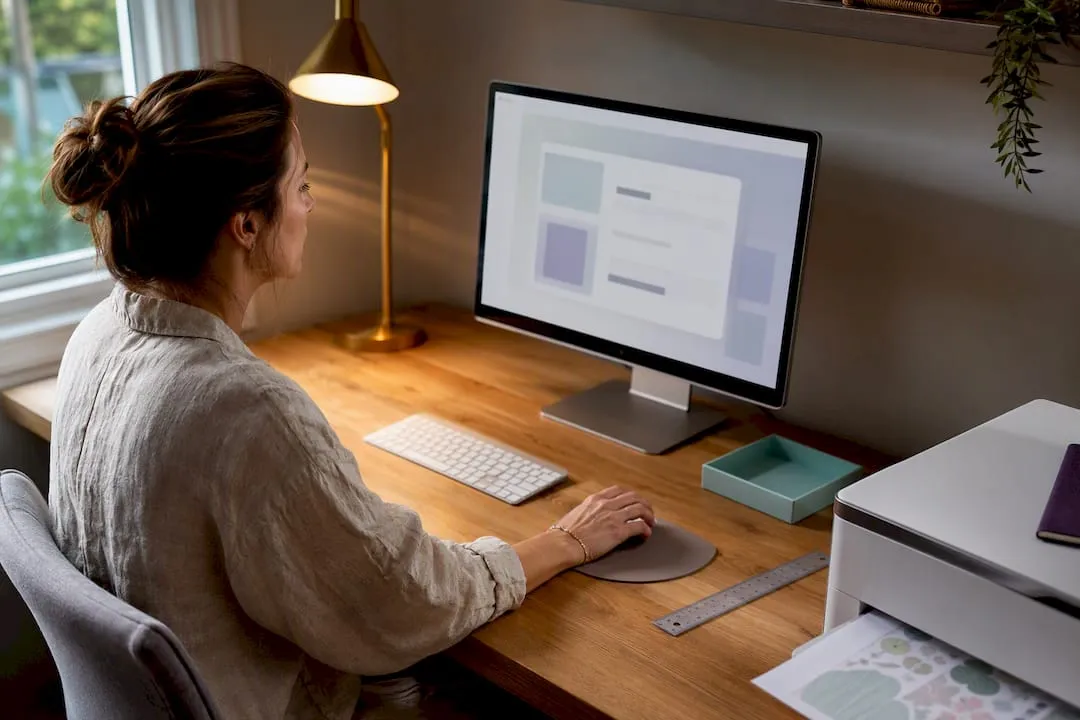
Open your PDF or image, go to File then Print, and look for “Custom scale” or “Custom page size” rather than “Fit to page”. Enter the percentage or dimension you need, check the print preview, and run one test sheet before committing to a full batch. Adobe Acrobat and PaperOrb both point to the same fix: scale deliberately, never let the printer guess.
TL;DR:
- Always measure the printed test sheet with a ruler to verify the actual size rather than relying solely on screen preview, especially when precision matters.
- Resize PDFs permanently using editing tools when repeatedly printing the same file to ensure consistent dimensions, avoiding the need for scale adjustments each time.
- Set design dimensions correctly in apps like Canva before exporting and select 300 DPI for detailed printables, rather than relying on print scaling to fix size issues.
- Use Custom Scale in the print dialog for precise sizing instead of “Fit to Page,” and confirm printer paper size, margins, and preview before printing to prevent cropping or misalignment.
- Keep the same paper size, scale percentage, and test print checklist for each batch to avoid errors and improve repeatability in print runs.
Table of Contents
- Use the print dialog: scale, fit to page and custom percentage
- Change the actual PDF page size before you print
- Resize from design apps, Canva, and browser tools
- Common size conversions and the scale percentage to enter
- Fixing cropped, off-centre, or blurry prints
- Where to go for deeper printer and resolution guidance
- Rob’s practical habits for repeatable, error-free print runs
- Get print-ready downloads and guides on Craftsuprint
- Sources
- FAQ
Use the print dialog: scale, fit to page and custom percentage
Every print dialog, whatever the platform, hides the same three settings under slightly different names. Knowing what each one actually does stops more wasted paper than any other single habit.
Fit to page shrinks or stretches your file to match whatever paper is loaded, ignoring the file’s real dimensions. Actual size (sometimes called “100%” or “No scaling”) prints the file at its stated dimensions with zero adjustment. Custom scale lets you type an exact percentage, which is what you want for planner inserts, card toppers, or anything that has to land on a specific page size. Adobe explains this split clearly in its own printing documentation: use Fit when you don’t mind minor scaling, Actual Size when the file is already correct, and Custom Scale when you need a precise result.
Working out that percentage is simple arithmetic: divide your target width by the source width, then multiply by 100. A US Letter page resized to fit a Classic Happy Planner needs a scale percentage around eighty percent, matching figures PaperOrb has published for that conversion.
The dialog itself looks different depending on where you’re printing from:
- Windows — open Print, click “Printer Properties” or “Preferences”, and look for a Scaling or Paper Size tab.
- macOS — click “Show Details” in the Print window to reveal Scale and Paper Size fields.
- Chrome or Edge — expand “More settings” and use the Scale dropdown, choosing “Custom” to type your own number.
- PDF readers (Acrobat, Preview, Edge’s built-in viewer) — the scaling options sit inside the main Print panel, usually under “Page Sizing & Handling”.
Before you hit print, run through a quick checklist: confirm the loaded paper size matches what you selected on screen, check the preview thumbnail for cropping, set the correct paper tray if your printer has more than one, and print a single test sheet.
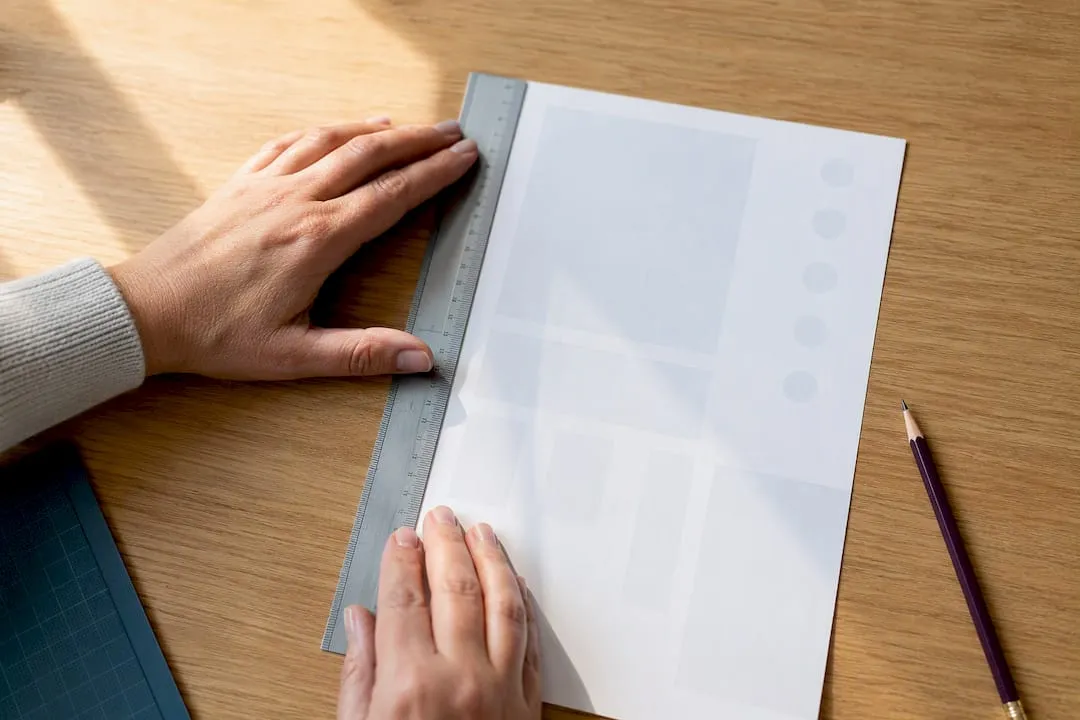
Pro Tip: Measure the test sheet with an actual ruler against your target size, not by eye. A 2% error is invisible on screen but very visible once you try to punch holes or fit a card into an envelope.
Change the actual PDF page size before you print
Scaling at print time works for one-off jobs, but if you print the same file repeatedly, it’s worth resizing the PDF itself so the scale is baked in permanently. This matters most when you’re printing onto pre-cut card stock, sticker sheets, or planner paper where there’s no room for trimming afterwards.
In Adobe Acrobat, you have two routes. The simple one is File → Print → Page Sizing & Handling, choosing Fit or Custom Scale at print time, exactly as covered above. The permanent route uses Acrobat’s editing tools to crop pages or set a new page size, then save the result as a fresh PDF. Adobe’s own resize guide walks through selecting a page size, applying it, and exporting the new file, and it flags a habit worth adopting: keep the original PDF untouched in case the resize distorts your layout or clips off bleed.
A few points worth remembering:
- Free online tools can crop pages, change dimensions, and export a new PDF without needing Acrobat installed.
- Always save the resized version under a new file name so the original stays intact.
- Never enlarge a low-resolution raster image (a JPG or PNG) beyond its native size. Vector PDFs and high-DPI source files scale up cleanly; a small screenshot does not.
Resize from design apps, Canva, and browser tools
If you’re building or editing the printable yourself, set the dimensions before you export rather than fixing them at print time. This gives you far more control and avoids surprises later.
In Canva or any similar design tool, set custom dimensions in millimetres or inches at the start of the project, not after the design is finished. Export at 300 DPI for anything with fine detail, text, or line art, since that’s the resolution most printers need to produce crisp results rather than a slightly blurred one.
A few practical habits worth adopting:
- Use the app’s own export size settings (Canva’s custom dimension field, a PDF export dialog) instead of leaving resizing entirely to the printer.
- If you’re printing straight from a browser tab, open print preview and switch the scale to “Custom” there too. Browsers apply their own default scaling that rarely matches your file exactly.
- Export a brand-new file when the change is permanent (a different planner size, a new card format); rely on print-time scaling only for occasional one-off adjustments.
- Check units carefully. Millimetres and inches look similar enough on a settings screen to cause an expensive mistake.
Common size conversions and the scale percentage to enter
These percentages are starting points, not guarantees. Printer drivers vary slightly, so always test-print one sheet before running a full batch, and check margins for bleed or hole-punch clearance once the test sheet is out of the tray.
These figures line up with the conversion table PaperOrb publishes for planner and paper resizing, which saves you from doing the width-divided-by-width maths yourself for the most common jobs.
Fixing cropped, off-centre, or blurry prints
Most printing faults trace back to one of a handful of settings, and they’re quick to check once you know where to look.
- Cropped edges almost always mean “Actual Size” was selected when the file didn’t match the loaded paper. Switch to “Fit” or, better, a specific “Custom Scale” value.
- Off-centre prints usually point to the paper tray, the page origin setting, or a margin set inside the design app itself rather than the printer.
- Duplex misalignment is easiest to solve by printing single-sided first, then re-feeding the sheets, or by checking whether your printer is set to flip on the short edge or the long edge.
- Blurry or pixelated results after enlarging almost always come from upscaling a low-resolution raster image. Start from a 300 DPI source rather than trying to stretch a smaller file.
- Hole-punch clearance needs at least 12 to 13mm (0.5in) of clean margin on the binding edge, or your punch will cut straight through the design.
Smallpdf’s printing guidance makes a point worth repeating here: “Fit to page” is convenient, but it can crop or misalign content you need positioned precisely, so custom scale is the safer default for planner inserts.
Pro Tip: If a print looks fine on screen but wrong on paper, the fault is almost never the file. It’s the scale setting the printer applied without telling you.
Where to go for deeper printer and resolution guidance
Getting the scale right solves half the problem; the other half is image quality. A guide to DPI for printables explains when 300 DPI is worth insisting on and when 150 DPI is genuinely fine, which matters once you start resizing files up rather than down.
If jams, smudging, or streaky ink are getting in the way of a clean test print, the printer settings guide for card printables covers paper handling and driver settings specific to card stock. And once your resized file prints cleanly, the creative uses roundup is worth a look for ideas beyond the obvious. Save your original files before editing anything, and always test one sheet before committing a full print run to paper you can’t get back.
Rob’s practical habits for repeatable, error-free print runs
I keep the same four things on a checklist every time: paper size, scale percentage, preview, test print. Skipping any one of them is where mistakes creep in, usually the preview step, because it’s tempting to trust the file. Save frequently used custom page sizes in your printer driver if it allows it, and batch-print by target size rather than switching settings between every job.
— Rob
Get print-ready downloads and guides on Craftsuprint
Practising the steps above is far easier with a file built for print from the start. Some Create & Craft downloads give you print-ready card kits and paper patterns designed at sensible resolutions, so you’re testing your printer settings rather than fighting a badly sized source file.

If you want to practise without spending anything first, a free Create and Craft members’ gift can be a useful starting point: download it, run it through the custom scale and test-print steps covered above, and you’ll know your printer’s quirks before you commit to a paid kit. From there, browse craft supplies for card stock and materials that suit whatever size you’ve settled on. Download the free sample today and put your print settings to the test.
Sources
- How to Change Print Size: The Complete Guide to Scaling Printables for Any Paper | PaperOrb
- Smallpdf printing and scaling guidance
FAQ
How do I resize a print out?
Open the file’s print dialog, choose Custom Scale instead of Fit to Page, and enter the percentage you calculated by dividing your target width by the source width. Always preview and run a single test sheet before printing multiples.
How do I set print to actual size?
In the print dialog, select “Actual Size” or “100%” rather than “Fit” or “Shrink to Fit”. This tells the printer to use the file’s real dimensions with no automatic scaling applied.
How do I scale an image to fit the printable area of the paper?
Check the printable margins your printer supports, then use Custom Scale in the print dialog or resize the image in your design app before exporting, rather than letting “Fit to Page” stretch it and risk cropping. Custom Scale is generally the safer choice for anything that needs precise alignment, such as planner inserts or cards.
How can I resize a PDF file before printing it?
Use a PDF editor such as Adobe Acrobat to change the page size permanently, or apply Custom Scale in the print dialog for a one-off adjustment. Adobe’s resizing guide recommends keeping the original file untouched in case the resize affects layout or bleed.