
Hobby Crafters: Craftsuprint Photo Card Templates and 3mm Bleed Tips
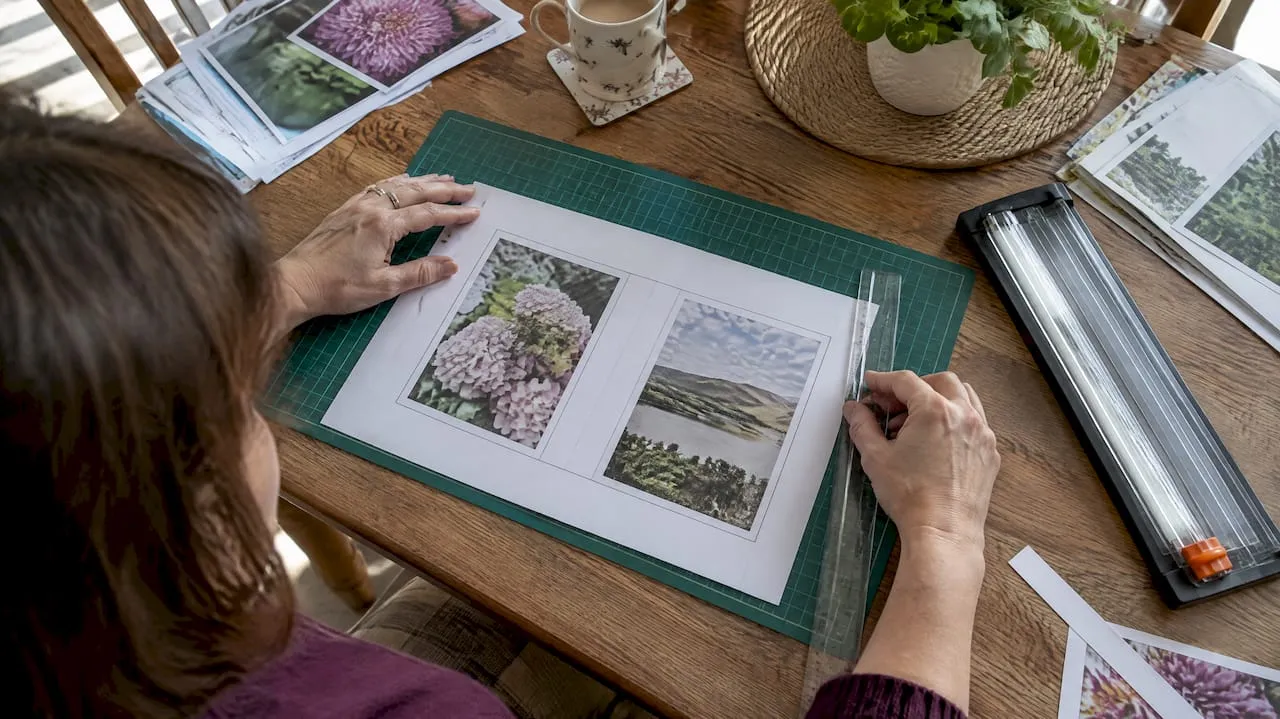
Photo card templates are ready-made layouts with photo frames, fold lines and text zones built in, so you only need to drop in pictures and a message. The fastest route to a finished card is to pick an editable template, usually a PDF, add your photos and text, then export it as a print-ready PDF with 3mm bleed. Printable templates and tutorials are available on Craftsuprint for those who want a head start.
TL;DR:
- Printable templates are available in formats like PDF and SVG, suitable for home printing, professional shops, or die-cutting machines.
- Using a 300 pixels per inch resolution ensures photos remain sharp, and placing faces inside safety margins prevents cut-offs.
- Home printers handle paper weights from 160 to 200gsm reliably, while heavier stock requires special feeding and calibration.
- Export final files as high-quality PDFs with bleed and crop marks; run a test proof before full batch printing to avoid costly mistakes.
- Most personal-use templates prohibit reselling, but check license terms for commercial projects, especially if planning to sell handmade cards.
Table of Contents
- Where to find editable photo card templates and which file types to choose
- Template types, finished sizes and folding options to pick the right layout
- Preparing images and arranging the layout for crisp printed results
- Paper weight, finishes and printer settings hobby crafters should use
- Tool categories and a simple export checklist to create print-ready files
- Craftsuprint tutorials, printable templates and support resources to help you finish and print
- Overview of licensing and usage rights for template downloads
- Common mistakes to avoid during customization and printing
- Step-by-step printing workflow from template to final card
- Recommendations for professional printing services vs. home printing
- How to customize templates effectively
- Tips for matching templates to occasion and style preferences
- Author view: why printable templates speed projects and a craftsperson’s finishing tips
- Where to browse and download printable photo card templates and supplies on Craftsuprint
- FAQ
- Sources
Where to find editable photo card templates and which file types to choose
Your choice of source depends on how you plan to print. Marketplace downloads, including the ones in our Card Making category, typically arrive as print-ready PDFs, SVG files, or cutting files for crafters who use a die-cutting machine. These formats suit anyone printing at home or sending files to a local print shop, because the layout and fold lines are already set.
Browser-based editors and office templates, such as those built into word processors, are a quicker option when you want something simple without installing software. Word and Publisher both include built-in greeting card templates that accept photos and text, then export to PDF for printing at home or professionally.
A few things to check before downloading:
- Confirm the file format matches your workflow: PDF for straightforward printing, SVG or cutting files if you use a cutting machine.
- Check the template includes fold and score guides, not just a flat design.
- Match the template’s finished size to the paper or card blanks you already own.
- Look for a preview image so you know what the folded card looks like before committing to a download.
Template types, finished sizes and folding options to pick the right layout
Finished size and fold format decide how your photos will sit once the card is made, so it is worth settling this before you touch any photos.
- A6 (105 x 148mm) suits a simple folded card, often made from an A5 sheet folded once, and is a common choice for birthday or thank-you cards.
- A5 folded from A4 gives a larger canvas for bigger photos or multiple images, useful for photo collage style cards.
- 148mm square cards suit a single strong photo, popular for wedding or greetings cards with a modern look.
- Postcard format, flat with no fold, works well when you want the photo to fill the whole front without a crease running through it.
Fold choice matters as much as size. A half-fold card (one crease down the middle) is the simplest to print and trim at home. A quarter-fold needs more careful alignment, since the design wraps around two creases, and is worth avoiding until you are comfortable with your printer’s registration. A flat postcard avoids folding issues altogether but needs sturdier card stock to feel substantial in the hand.
Whichever layout you choose, align the template to a standard paper size your printer and trimmer both handle comfortably, usually A4 for home printing. Keep a 3mm bleed around the edge and a safety margin inside that for faces and text, so nothing important sits too close to a fold or trim line.
Preparing images and arranging the layout for crisp printed results
Photo quality decides whether your card looks professional or pixelated, so it is worth checking resolution before you start arranging anything.
Aim for 300 pixels per inch at the card’s final print size. A quick way to check: if your photo is 1800 pixels wide and you are printing it at 6 inches wide, that gives you exactly 300ppi, which is the sweet spot for sharp, clean prints.
- Crop photos so faces and key details sit well inside the safety margin, away from fold lines and trim edges.
- Use sRGB colour for anything printing at home, since most desktop printers are calibrated for it.
- If you are sending files to a professional printer, check whether they want CMYK instead; many do for colour accuracy.
- Before exporting, hide or delete any guide layers, proofread all text twice, and flatten the file unless your printer has asked for layered artwork.
Pro Tip: Zoom to 100% and check faces and text at actual size before exporting, since on-screen thumbnails can hide small crops or blur that only show up once printed.
Paper weight, finishes and printer settings hobby crafters should use
Card stock weight, measured in GSM, determines how your printer handles the sheet and how the finished card feels. Home printers commonly manage 160 to 300gsm depending on the model, though that top end usually needs a rear or manual feed path rather than the standard tray.
| GSM range | Best for | Feed method |
|---|---|---|
| 160 to 200gsm | Everyday home printing, easy feeding | Standard tray |
| 160 to 300gsm | Premium cards, more rigid finish | Rear or manual feed, printer-dependent |
160 to 200gsm is the reliable range for most home printers, according to Mankey Monkey’s guide to GSM, while heavier stock only works if your printer explicitly supports it.
Inkjet printers generally produce richer colour for photographic cards, while laser printers dry instantly and resist smudging, which suits text-heavy designs. For thicker cardstock, feed one sheet at a time through the rear or manual path, select a cardstock setting if your printer offers one, and allow extra drying time before handling. Our printer settings guide covers the exact adjustments that stop jams and smudging on card stock. Pre-scored blanks remove the guesswork of folding neatly along a straight line. Always run a single test proof, check alignment against your trim marks, and only move to a full batch once that proof looks right.
Tool categories and a simple export checklist to create print-ready files
Which editing tool suits you depends on how much control you want over the layout. Word-processing templates work well for simple, text-led cards and are the fastest option if you already have Word or Publisher open. Browser-based canvas editors suit drag-and-drop photo placement without installing anything. Desktop design software gives the most control over layers, fonts and precise positioning, useful once you are making cards regularly.
Before exporting any file for printing, run through this checklist:
- Embed fonts, or convert text to outlines, so wording does not shift or default to another typeface on a different machine.
- Set a 3mm bleed on all sides, and add crop marks so a printer knows exactly where to trim, a standard most professional printers expect.
- Export as a high-quality PDF, choosing PDF/X if your software offers it, since this locks colour and font settings for printing.
- Save a flattened PNG or JPEG only if you are sharing the card digitally rather than printing it.
- Double-check that guide layers are hidden, resolution is correct, and multi-page files are in the right order before sending to print.
Craftsuprint tutorials, printable templates and support resources to help you finish and print
For print prep specifically:
- A post on printable card design ideas covers layout inspiration alongside practical print tips.
- A cardstock weight guide explains GSM, pt and lb measurements in plain terms.
- A card creator tool lets users start building a card directly on the platform.
Download a free template first, test one sheet, then move on to paid designs or pre-scored blanks once you know your printer’s limits.
Overview of licensing and usage rights for template downloads
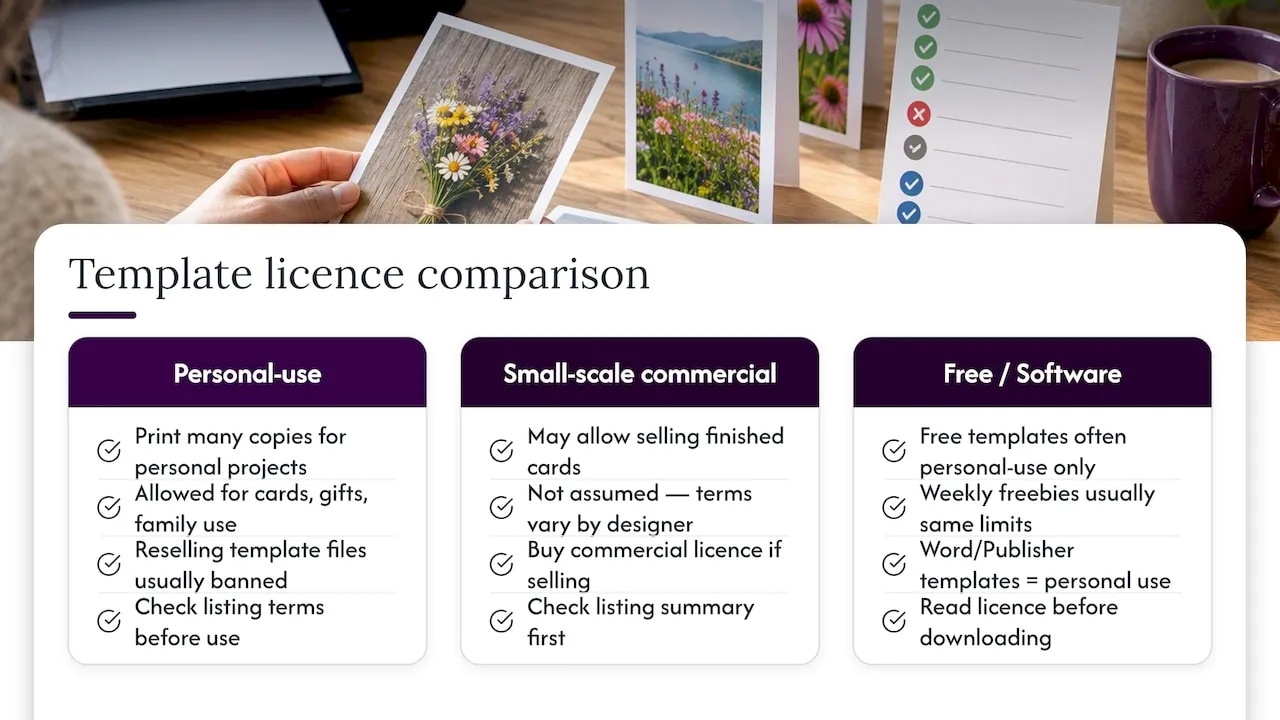
Every template download carries its own licence terms, and these decide what you are allowed to do with the finished file. Most digital craft downloads are sold for personal use, meaning you can print as many copies as you like for your own cards, gifts or small family projects, but reselling the template itself, or the raw design files, is usually against the terms.
Some designers extend licences to cover small-scale commercial use, which matters if you plan to sell handmade cards using a purchased template. This is never assumed: check the specific listing, since terms vary designer to designer even within the same marketplace.
Free templates, including weekly freebies, usually carry the same personal-use restriction as paid downloads, so a free price tag does not mean fewer restrictions. Word and Publisher’s built-in card templates are generally licensed for personal use within those software packages, which covers the vast majority of home card-making projects.
A good habit is reading the licence summary before downloading rather than after, particularly if you are buying a template for a project with any commercial element, such as cards for a small craft stall or an online shop. When in doubt, use the template for personal cards and buy a separate commercial licence, or a designer’s explicitly commercial-use product, if you intend to sell what you make.
Common mistakes to avoid during customization and printing
The most frequent mistake is placing faces or text too close to the fold or trim edge, which then gets cut off or distorted once the card is folded and trimmed. Keep anything important inside the safety margin, well clear of both the bleed and the fold line.
Low-resolution photos are another recurring problem. A picture that looks fine on a phone screen can turn blurry or pixelated once enlarged to fill a card front, so always check the image is close to 300ppi at the size you are printing it.
Leaving guide layers or template instructions visible in the exported file is a mistake that only shows up after printing, when faint lines or text appear where they should not. Hiding or deleting guide layers before export avoids this entirely.
Skipping the test print is the costliest mistake, since running straight to a full batch means any alignment or colour issue repeats across every card you print, wasting card stock. A single proof print, checked against your crop marks, catches most problems before they become expensive.
Finally, forgetting to account for fold direction when designing text can leave wording upside down or on the wrong panel once folded. Always fold a blank test sheet first to confirm which way the paper turns before finalising your layout.
Step-by-step printing workflow from template to final card
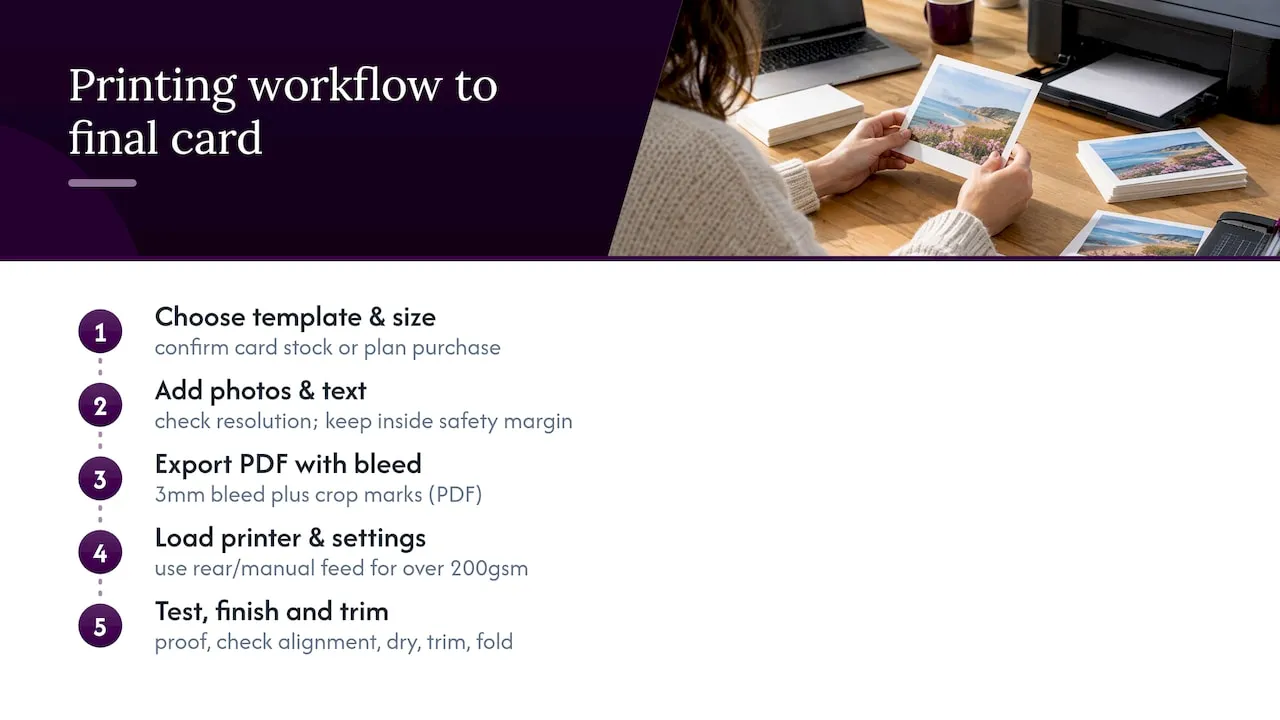
Start by choosing your template and finished size, then confirm it matches card stock or paper you already have, or plan to buy. Add your photos and text, checking resolution and keeping everything inside the safety margin.
Export the file as a PDF with 3mm bleed and crop marks, following the professional printing standards most print shops expect, even if you are printing at home.
Load your printer with the correct card stock, using a rear or manual feed for anything above 200gsm, and select the matching print setting if your printer offers one, following manufacturer guidance on printing on card.
Run a single test proof. Check alignment against the crop marks, colour accuracy and that nothing has shifted during export. Only once that proof looks right should you move to a full print run.
Allow extra drying time before handling printed cards, particularly with inkjet printers on heavier stock, then trim along the crop marks using a paper trimmer or craft knife for a clean edge. Fold along any score lines, using a bone folder for a sharp, professional crease if you have one.
Recommendations for professional printing services vs. home printing
Home printing suits low volumes, quick turnaround and full control over the process, and it is the cheaper option if you already own a printer that handles your chosen card weight. It works particularly well for personal cards, test runs, and anyone experimenting with new templates before committing to a design.
Professional printing becomes worth considering once you need a large batch, a finish your printer cannot manage, such as very heavy card or spot varnish, or consistent colour accuracy across dozens of copies. Professional printers also expect your file prepared to print-ready standards, with bleed and crop marks already set, so the export checklist above matters even more here.
A practical middle ground is printing a handful of proofs at home to test layout and colour, then sending the finalised, print-ready file to a professional service for the full run. This keeps costs down during the experimental stage while still giving you a polished batch for the cards that matter most, such as wedding stationery or cards for a larger family gathering.
How to customize templates effectively
Start with the text. Keep wording short on a photo card, since the photo is doing most of the work, and choose a font that stays legible at the card’s finished size rather than one that looks good only when zoomed in. Two fonts at most keeps the design feeling considered rather than cluttered, pairing a decorative heading font with a simple body font for any message.
Colour choices should echo something already in the photo, whether that is a background tone or a colour from someone’s clothing, since this ties the design together without needing extra decoration. Avoid overly bright or clashing colours behind a photo, as they compete with it rather than frame it.
Layout adjustments are usually about restraint. Move text and decorative elements until the photo has clear space to breathe, rather than filling every corner of the template. If a template includes multiple photo slots, vary the crop and angle slightly between them so the layout feels intentional rather than mechanical.
Save your customised version separately from the original template file, so you always have an unedited copy if you want to reuse the design for a different occasion later.
Tips for matching templates to occasion and style preferences
Birthday cards tolerate the most playful templates, with bold colours and multiple photo slots working well, since the mood is celebratory rather than formal; for more ideas, see our popular UK gift suggestions to inspire your card occasions. Sympathy or memorial cards call for restrained, single-photo layouts with muted tones and generous white space around the image.
Wedding and anniversary cards suit the 148mm square format and flat postcard layouts particularly well, since both give a single strong photo room to dominate without a fold cutting across it. Family holiday cards, by contrast, often work better with multi-photo layouts, letting you fit several images from the year into one card.
Seasonal templates are worth downloading slightly ahead of the occasion, since the best designs tend to be snapped up early during busy periods such as the festive season. If you are unsure which style suits your photo, a flat postcard with minimal text is close to foolproof, as it lets a strong image carry the design with almost no layout risk.
Author view: why printable templates speed projects and a craftsperson’s finishing tips
Templates trade some customisation for speed, and that is a fair swap for most occasions. My finishing tip: buy pre-scored blanks whenever you can, since a machine-scored fold always looks sharper than a hand-folded one. Weekly freebie downloads and designer templates are worth exploring too, since they often teach layout tricks you would not think to try yourself.
— Rob
Where to browse and download printable photo card templates and supplies on Craftsuprint
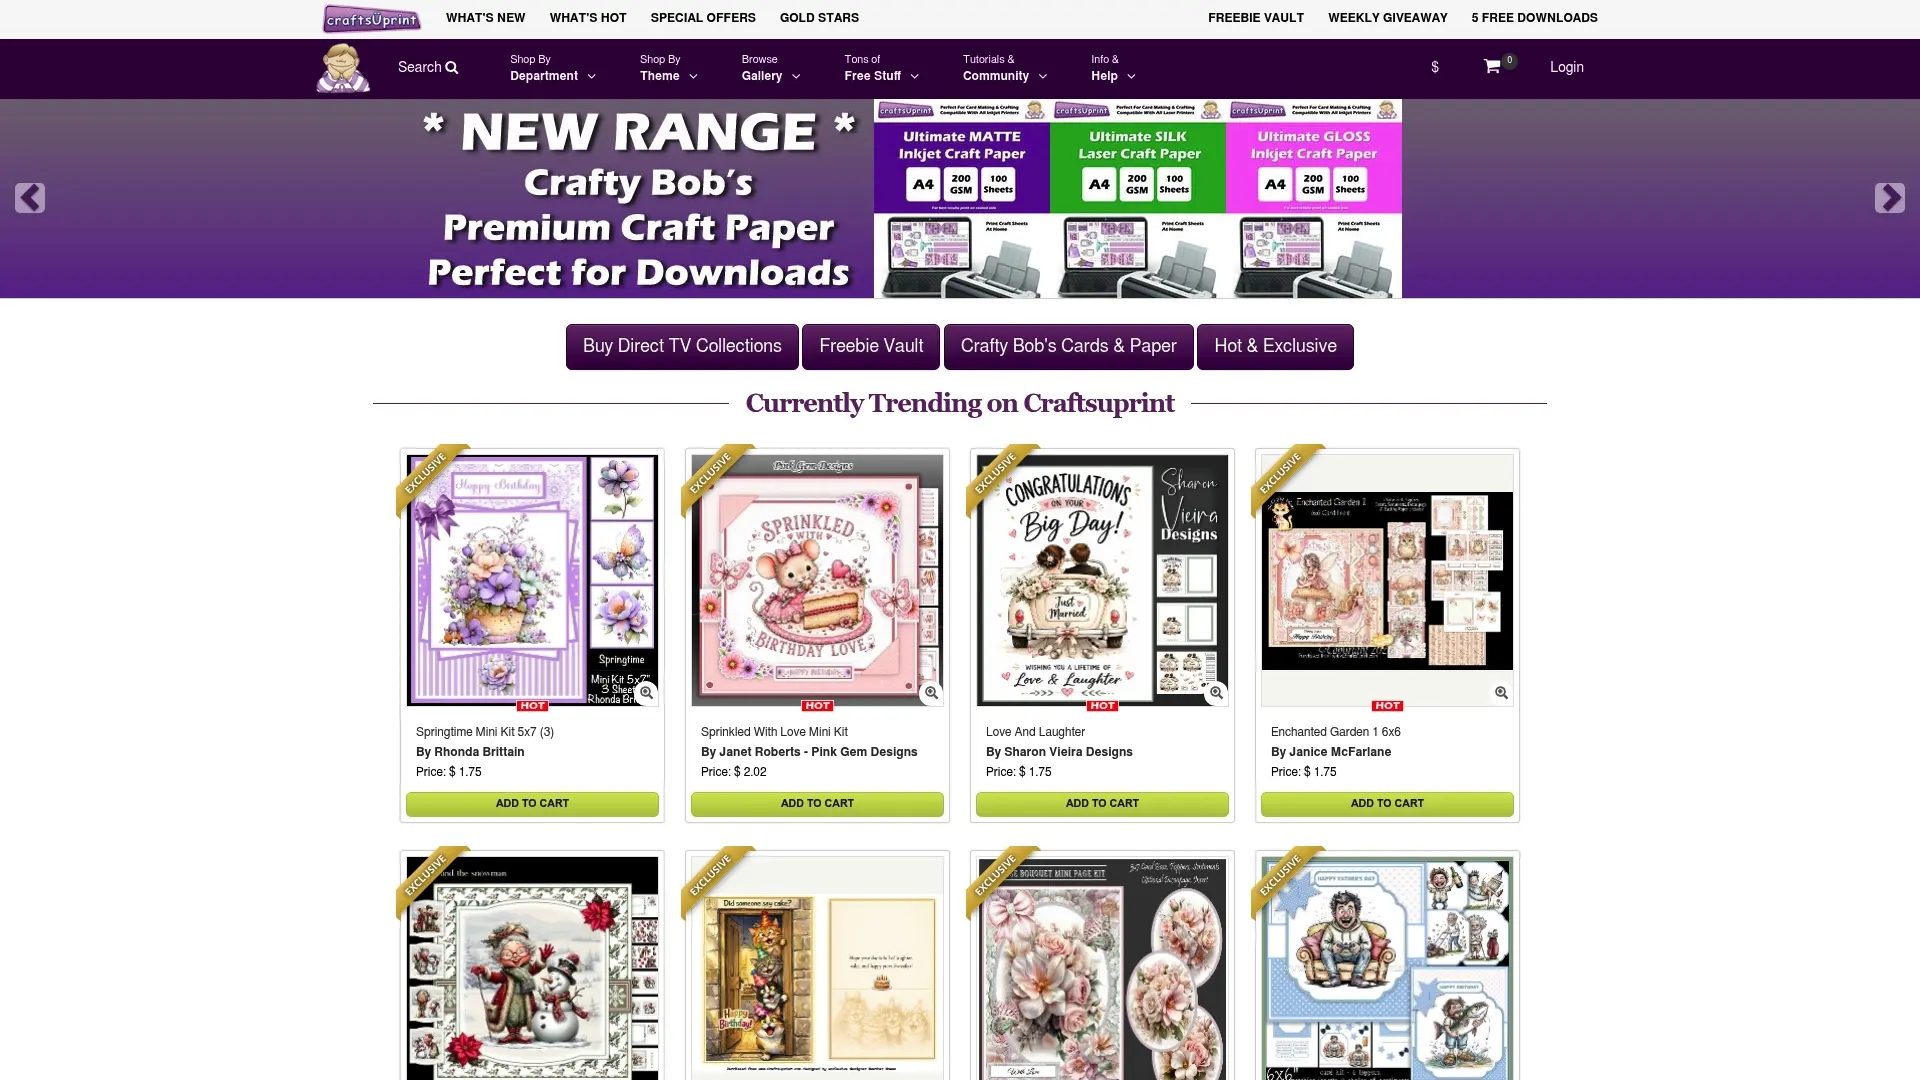
We stock printable photo card templates, cutting files and pre-scored card blanks in one place, so you are not juggling a design file from one site and blanks from another. The Card Making category offers ready-to-print templates across most fold formats and sizes discussed above, while Craft Supplies includes card stock and pre-scored blanks for users who want a clean fold without trimming at home.
Getting started takes three steps:
- Browse the Card Making category and download a free weekly template to test your printer settings.
- Try the card creator if you want to build a layout directly on the platform.
- Pick up pre-scored blanks from Craft Supplies once you know the GSM and finish you prefer.
FAQ
How can I create my own photocards?
Choose an editable template in a format like PDF, add your own photos and message, then export it as a print-ready PDF with 3mm bleed and crop marks. Browser editors, desktop design software and word processors all support this workflow, depending on how much layout control you want.
How to make your own photo card template?
Start from a blank canvas in a desktop or browser design tool, set your finished size and fold lines first, then add photo frames and text zones. Keep a safety margin inside the bleed so nothing important sits near a fold or trim edge once the card is finished.
How can I create a photo card?
Pick a ready-made template, drop in your photos, adjust text and colours, then export as a high-quality PDF before printing. Run a single test proof to check alignment and colour before printing a full batch.
Is there a card template in Word?
Yes, Word includes built-in greeting card templates that accept photos and custom text, and these can be exported to PDF for home or professional printing. Microsoft also offers free customisable templates through its browser-based design tool, which works without installing the desktop app.
Sources
- What GSM can my printer handle? | Mankey Monkey
- How to print on card | Brother support
- Brother photo paper | Cartridge People