


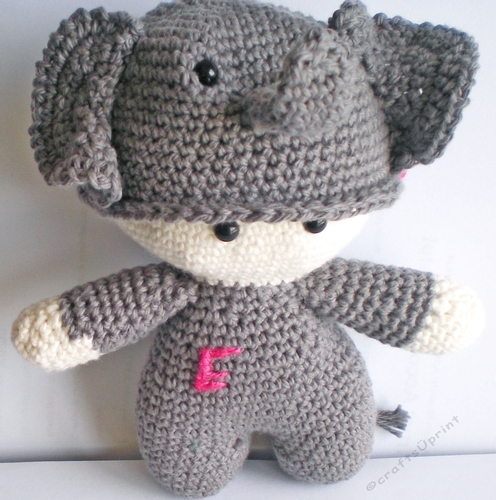


Amigurumi Elephant Onesie Doll
This is a crochet pattern for a tiny doll wearing an elephant onesie suit. I have included easy to follow, detailed descriptions and photographs. The pattern is written in U.S. crochet terminology for craft style cotton yarn and the doll is fully washable, cheap and easy to make.
You will need to use washable fibre fill for the stuffing and alternative eyes if this is made as a gift for a child under 3 years of age.
Reverse Single Crochet (rvsc) This is a decorative stitch sometimes used as a finishing edge to garments. It does have another purposes as it prevents knitted garments from rolling and crochet garments such as the top edges of socks and slippers from rolling.
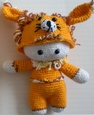
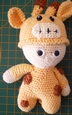
In this tutorial I have used a hat which I have made for the patterns I have uploaded, cup1099284_21027, Elephant Amigurumi Onesie Doll, being one of the patterns.
This yellow hat is for the Lion doll. I first learned to knit as a 4 year old. My Grandmother was able to teach me, and together we made my first jumper with many stripes from all her ss of wool.
I was hopeless at picking up the stitches to complete the crew neck, so my Gran showed me how to crochet using the knitting hold.
I still use this when my arthritic hands are not happy and for tiny spots and corners. and small crochet hooks.
This method is a simple no fail way to achieve this stitch and look to your finished edge. Instead of working right to left, you will need to work from left to right.
This causes a problem for right handed crochet workers as the next stitch you want to work is hidden by the work itself, the crochet hook and the left hand hold of the yarn.
Those who work and write left handed have this problem all the time. To Work Reverse Single Crochet For crochet work the usual hold of the yarn is looped through the fingers of the left hand and the hook is held in the right hand.
For this stitch, hold and loop the yarn in the right hand ( as if you are knitting using the right hand method) AND hold the hook in the same hand, steadying and holding the garment in the left hand. Step 1: place hook into next stitch to be worked (in the examples here I have used both loops of the next stitch for a firm finish) I have photographed the 5 completed stitches and with the one loop from previous completed stitch on the hook have inserted the hook into the next stitch through both loops. Step 2: Yarn over hook.
It is essential to make sure the yarn from the last stitch comes under the back of the hook and around to the right side of the hook in performing this step (YOH) yarn over hook.
This photograph shows how the yarn sits as you finish the previous stitch.
This photograph shows holding the garment firmly with the left hand and the yarn almost over the hook. This is step 2 completed. Step 3: pick up and pull loop through the hook.
You will now have 2 loops on the hook. Step 4: Yarn over hook (yoh) and pull through both loops. The above photograph shows the stitch completed and a view from the top looking down on the completed stitches. Thank you for looking at this tutorial.
I hope you will try this method for easily working this stitch. I am available for any help or questions through this site. Pamela Horton The whispering Platypus.

More Products from Pamela Horton The whispering Platypus
