
UK Crafters: Build a Smooth A6 Slider with Metric Cuts, Test 10 Times
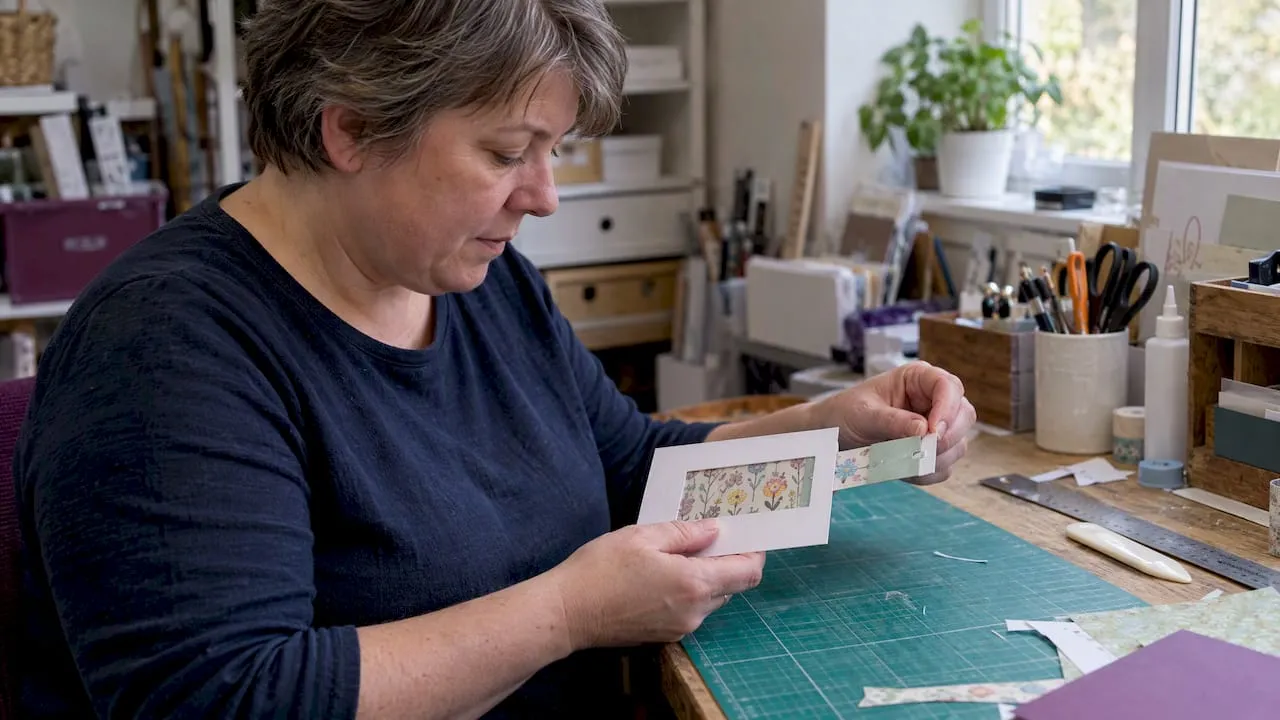
Follow a metric cut plan and you can build a working slider card, an A6 design with a panel that glides across a window to reveal a hidden message or image. The mechanism is a simple track slider: a captive strip moves behind a front panel, guided by a channel cut into the base. By the end of this tutorial, you will have one finished A6 slider card with a moving focal element, built, tested and ready to decorate.
TL;DR:
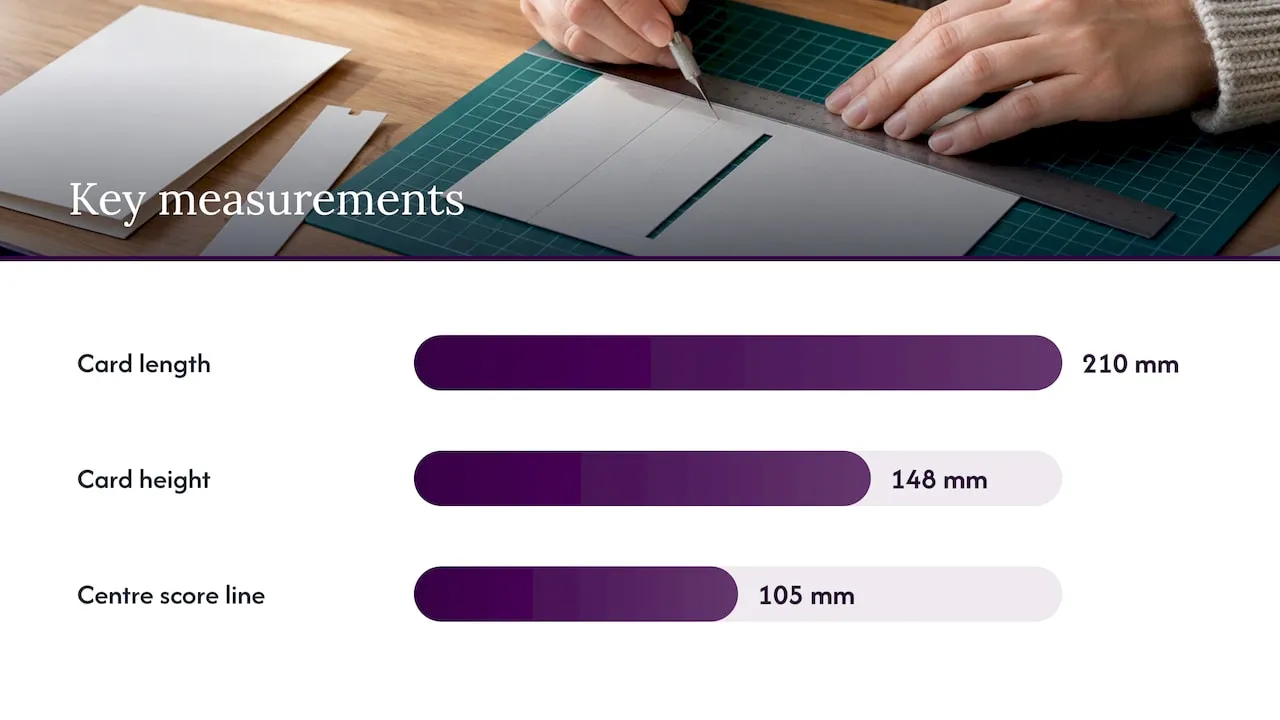
- Score the 210 mm by 148 mm base at 105 mm, and leave a small clearance gap so the strip neither drags nor wobbles.
- Attach channel guides only at their outer edges, keep adhesive away from the track, and run the slider at least ten times before decorating.
- Keep heavy or raised embellishments on the stationary panel; extra weight on the moving strip can impede travel, while powder can reduce tack near the channel.
- If the channel stays too tight, recut the slider strip narrower; if it is loose, add a thin card shim along one guide.
- Print templates at 100% and check a known reference measurement; set cutting software to millimeters before sending an SVG job.
Table of Contents
- What you need: materials, tools and card sizes
- The cut plan: metric measurements for an A6 slider
- Step-by-step: building the slider mechanism
- Decorating ideas and variations for every occasion
- Fixing common slider problems
- Using video tutorials and downloadable templates
- Templates can speed up your slider build
- What actually matters when you build a slider card
- Download templates and cutting files to speed up your next card
- FAQ
- Sources
What you need: materials, tools and card sizes
The mechanism only works smoothly when the cardstock weights are right. A base that is too light will not hold its shape under repeated sliding, and a slider strip that is too heavy will drag and jam.
For an A6 card, aim for a base weight suitable for cardstock, and use something lighter for the moving slider strip itself. Lighter card glides more easily through a tight channel, and it is less likely to bulk up where it overlaps the base.
You will need:
- A sharp craft knife or a fresh blade in your trimmer, plus a steel ruler for clean, straight cuts.
- A scoring board or bone folder for crisp, accurate folds along the base.
- Double-sided tape and a PVA or craft glue for fixing static layers without affecting the moving parts.
- Tweezers for positioning small embellishments and guiding the slider strip into its channel.
- A powder tool or a light dusting of talc to reduce tack on adhesive edges near the moving parts.
Embellishments add bulk, and bulk is the enemy of smooth movement. Flat elements such as printed panels or thin card toppers sit well on a slider strip, while dimensional add-ons like gems, buttons or foam-mounted shapes belong on the static front panel, away from the channel. If you would rather skip hand-cutting your own focal panels, printable card making downloads give you ready-to-print designs sized for exactly this kind of project.
The cut plan: metric measurements for an A6 slider
An A6 card folds to a typical size used in card making, which gives you a front panel to work with before you cut anything away. Keep proportional measurements in mind as you plan your layout, such as scoring the base card in half, marking a window sized to fit your design, cutting a slider strip sufficiently long to travel the full width of the window with a visible “hidden” starting position, attaching channel guides to hold the slider in place while allowing it to move freely, and leaving a small clearance gap between the slider strip and its channel guides. Too tight and the strip drags, too loose and it wobbles or falls out of alignment.
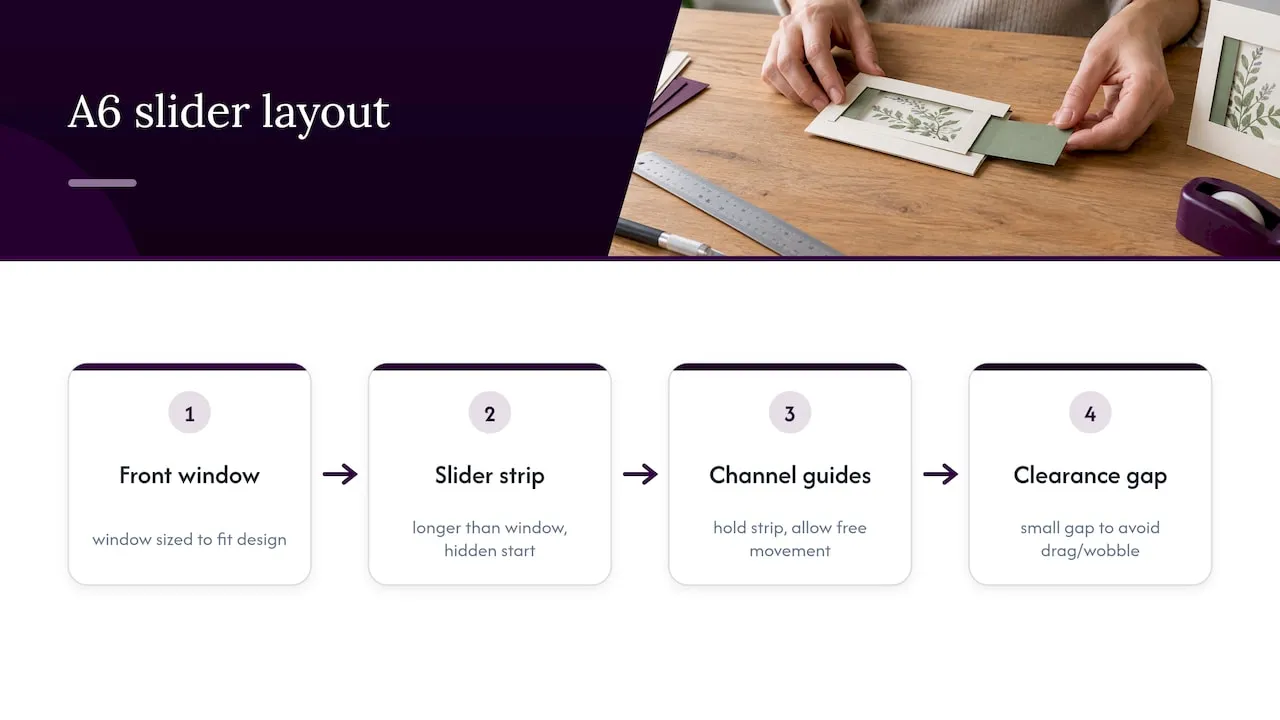
For a narrower pull-tab style, reduce the slider strip width and keep the window smaller, so the moving element reveals a single word or small image rather than a full scene.
If you want to scale this plan up or down for a different card size, keep the ratio between window width and slider strip length similar so the hidden portion stays concealed until you pull it across.
Step-by-step: building the slider mechanism
Getting the mechanism right matters more than decorating it well, since a sticky or misaligned slider is much harder to fix once embellishments are glued down. Work through these steps in order, and test before you commit to any decoration.
- Score and prepare the base. Score your 210mm by 148mm card at the 105mm centre line, fold firmly with a bone folder, and set it aside flat under a light weight to hold the crease.
- Cut the window and prepare the slider strip. Cut your window into the front panel using a sharp blade and a steel ruler, checking all four corners are square. Cut the slider strip to length and width, then round or trim one end slightly so it slides into the channel without catching.
- Build the captive moving element and attach it with care. Fix your channel guides to the inside of the front panel first, checking the clearance gap at both ends of the strip’s travel path, not just the middle. Slide the strip into place before you add any glue, confirming it moves the full width of the window without binding.
- Assemble the track and test the movement. Glue the channel guides down at their outer edges only, keeping adhesive well clear of the area the slider strip passes over. Run the strip back and forth ten or more times, checking for resistance, catching, or uneven drag on one side.
- Test before you decorate. Run the slider through its full range of motion repeatedly, feeling for any point where it slows or sticks. If the movement feels tight anywhere along the track, widen the clearance at that point by a fraction of a millimetre rather than redoing the whole channel.
This test-first approach matters because once embellishments are glued to the slider strip or the front panel, correcting a sticky mechanism becomes far harder. A UK-adapted slider gate-fold tutorial demonstrates this same testing principle on a gate-fold variant, running the mechanism through its motion before any decoration goes on, and supplies a printable PDF measurement guide alongside a video walkthrough for readers who want to see the movement in action.
Pro Tip: Run the slider mechanism at least ten times before you add a single embellishment: friction problems only show up with repeated motion, not a single test pull.
Decorating ideas and variations for every occasion
Once your mechanism runs smoothly, decoration becomes the fun part, and the slider format adapts well to almost any theme. A birthday card might use a bright focal panel that slides to reveal “Surprise!” behind a cake motif, while a seasonal card could hide a snow scene behind a plain winter tree silhouette. Thank-you cards work nicely with a simple sliding ribbon or bow effect, and baby cards suit soft pastel panels that reveal a name or birth weight.
Beyond the basic panel slider, there are a few mechanism variations worth trying:
- A single pull-tab slider, where a small tab at the card’s edge pulls a hidden word or image into view, ideal for minimalist designs.
- A reveal strip slider, where a longer strip uncovers a full scene or message as it travels, better suited to larger focal windows.
- A captive coin or “penny slider”, where a coin-sized disc sits in a channel sized so it cannot escape, held with a foam spacer narrower than the coin itself so the adhesive never touches the channel walls.
Keep heavy or dimensional embellishments on the static front panel rather than the moving strip, since even a small amount of extra weight changes how freely the slider travels. For flat panels and toppers, double-sided tape works well; for anything raised, such as foam-mounted shapes or gems, use foam pads sized smaller than the element itself so no adhesive edge touches a moving part. If you want to convert the basic design, a gatefold slider opens outward before the panel moves, a double slider runs two strips in opposite directions for a more dramatic reveal, and a simple reveal window swaps the sliding strip for a card that lifts instead. Printable gate fold templates give you a starting layout if you want to try that conversion without measuring from scratch.
Fixing common slider problems
Most slider faults come down to one of three things: too much adhesive near the moving parts, a channel cut slightly out of square, or embellishments added before testing. Here is how to spot and fix each one.
- Sticky or slow movement: reduce adhesive tack near the channel, or dust the area lightly with a powder tool to cut friction.
- Misalignment or the strip catching on one side: re-seat the moving element, checking the channel guides are parallel along their full length, not just at the ends.
- Rubbing or fraying edges on the slider strip: re-cut that edge slightly narrower, or add a thin shim of card to widen the channel at the tight point.
If a channel is cut too tight throughout, it is usually faster to re-cut the slider strip narrower than to redo the whole base. If it is too loose, a shim along one guide edge tightens things up without starting again. After any repair, run the same ten-cycle test from the assembly steps before moving on to decoration.
Pro Tip: A wobbly slider is almost always a clearance problem on one side only, so test by pushing the strip toward each edge of its channel in turn rather than just pulling it straight through.
Using video tutorials and downloadable templates
Watching the motion happen is often clearer than reading measurements off a page, so it is worth playing a video alongside these written steps if you are building your first slider. A good template file includes cut lines, score lines and fold lines, often with more than one size option so you are not stuck with a single scale.
Before cutting from any downloaded template:
- Print the file at 100% scale and measure a known reference line, such as an A6 fold mark, to confirm nothing has shrunk or stretched in printing.
- If importing an SVG into a home cutting machine, check the software’s units are set to millimetres rather than inches before sending the cut job.
- Work through the sequence in order: print, check scale, cut, then assemble, testing the mechanism before you decorate.
Templates can speed up your slider build
A card panel and template library can help projects like this, where getting the proportions right the first time saves a lot of trial-and-error cutting. Printable panels arrive pre-sized, so you spend your time assembling and decorating rather than measuring out a focal image from scratch.
Our Create Your Card tool lets you compose a focal panel directly to A6 proportions, matching the cut plan above without extra scaling guesswork. Combine a downloaded panel with your own cut mechanism by downloading the design, printing it at full scale, trimming it to fit your window or slider strip, then assembling as normal.
What actually matters when you build a slider card
Most slider card advice online focuses on decoration first and mechanism second, which is backwards. A beautifully decorated card with a sticky slider gets abandoned in a drawer, while a plain, smooth-running slider gets finished and sent.
The conventional wisdom treats the cut plan as a rough guide and the testing stage as optional. In practice, the clearance gap between your slider strip and its channel is the single detail that decides whether the whole project works, and it is worth getting that millimetre or two exactly right before you touch a single embellishment.
If you take one thing from this tutorial, prioritise the test-before-decorate habit over speed. Cut your mechanism, run it through its full motion repeatedly, fix whatever drags or catches, and only then start adding panels and focal pieces. Rushing to the decorating stage is the most common reason sliders end up in the bin rather than the post box.
— Rob
Download templates and cutting files to speed up your next card
Building a slider from scratch teaches you the mechanism, but once you know how it works, a ready-made panel or cutting file saves a good deal of measuring and trimming. Our Card Making section holds printable panels sized for projects exactly like this one, and our Cutting Files downloads work directly with home cutting machines if you would rather plot the cut lines than score and cut by hand.
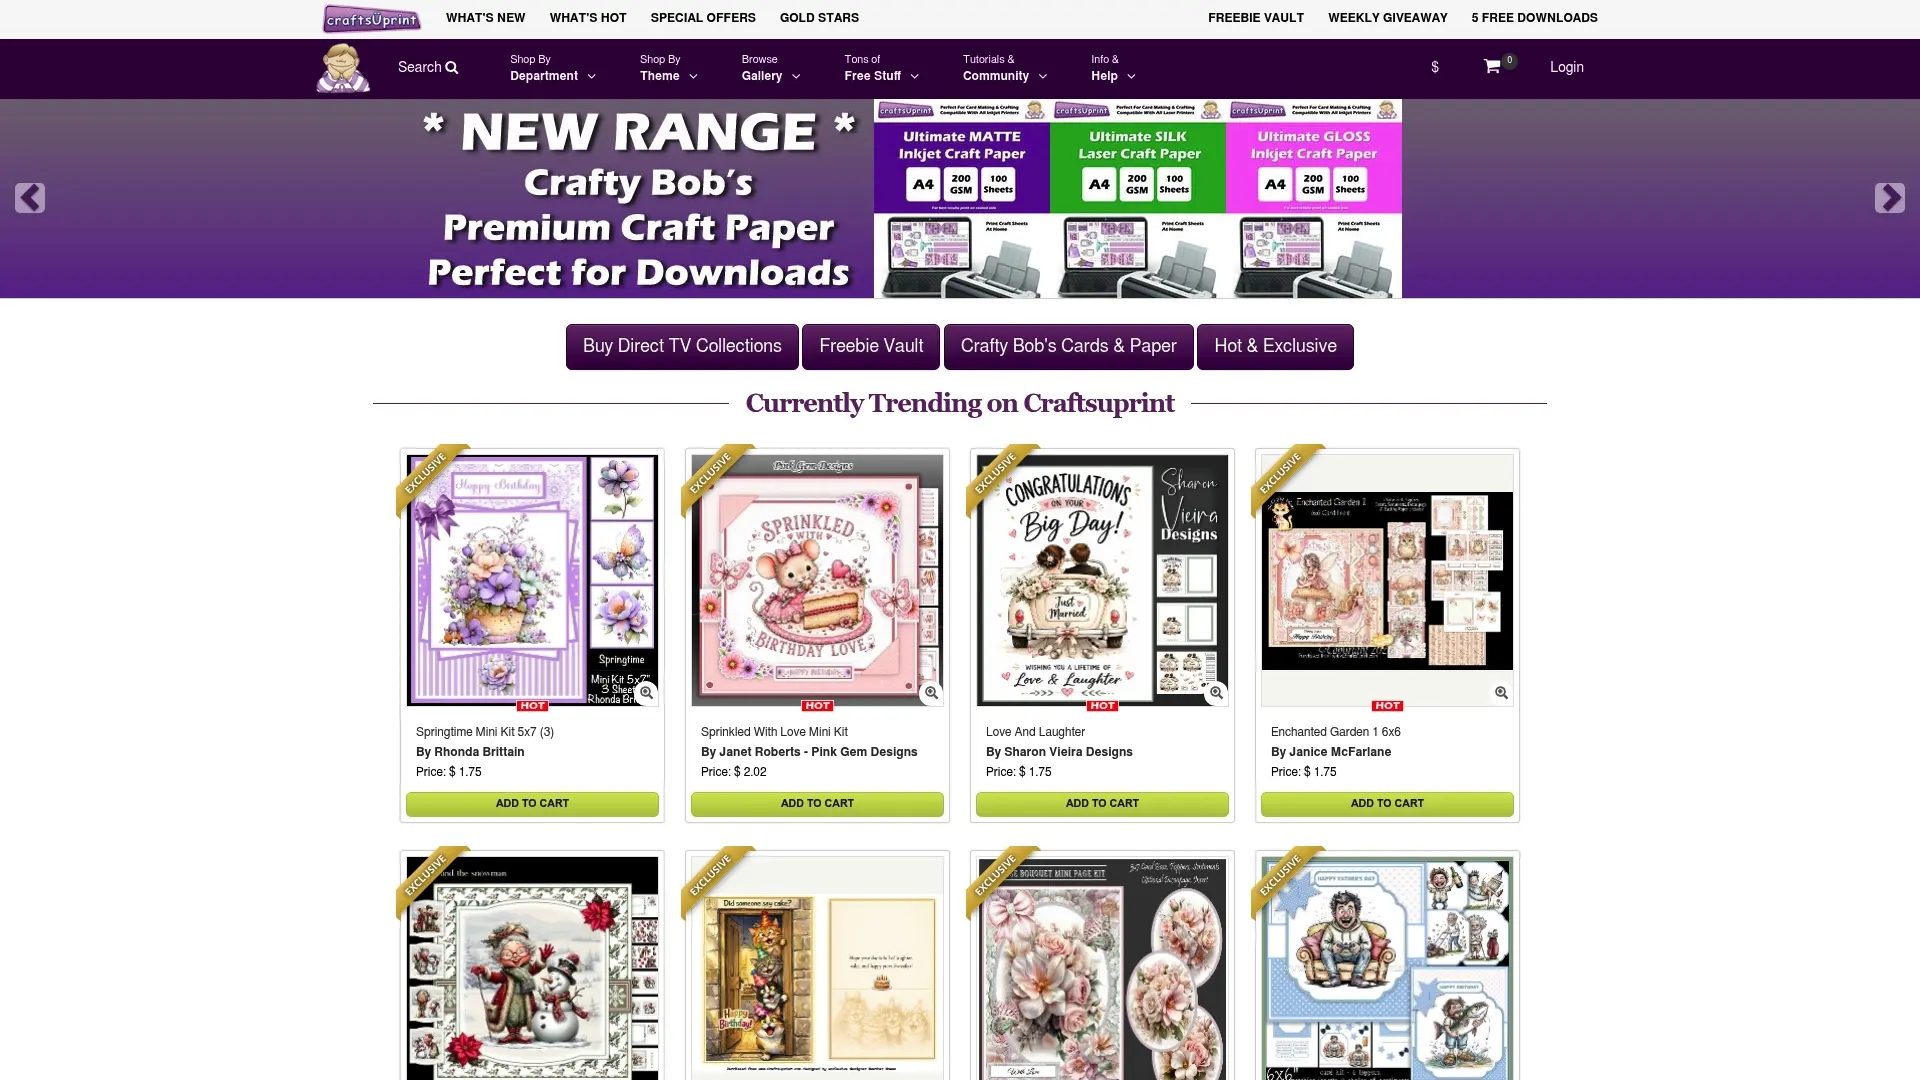
Try pairing a printable panel with the A6 cut plan above, or use a design tool to lay out your own focal design before you print and trim.
FAQ
What size should an A6 slider card be?
A standard A6 card folds to a typical size used in crafts, cut from a base folded in half. This size gives enough room for a window large enough to reveal a hidden message and a slider strip long enough to travel across it.
How much clearance does a slider mechanism need?
A small clearance gap between the slider strip and its channel guides usually gives smooth movement without wobble. Too tight causes dragging, while too loose lets the strip slip out of alignment during use.
Can I post a decorated slider card through the post?
Yes, provided the finished card and envelope fit within standard UK letter or large letter dimensions, since thickness from a slider mechanism can push a card into a higher postage band. Our UK card sizes guide covers envelope sizing and postage notes in more detail.
What is the best adhesive for a slider card?
Double-sided tape suits flat panels and the static front layers, while foam pads work for raised embellishments kept well away from the moving parts. Keep all adhesive clear of the channel itself, since tack transfer onto the slider strip is the most common cause of sticking.
Do I need a cutting machine to make a slider card?
No, a slider card can be built entirely by hand with a craft knife, steel ruler and scoring board, following the metric cut plan in this tutorial. A cutting machine simply speeds up repeat projects once you have a template file set up.