Layered Christmas – Winter LandscapeI have drafted this tutorial for my Layered Christmas series of cards.
Here we will use the Winter Landscape card, but it is the same for all the others, if the one you have has more layers for the front, then just repeat the process below for the additional layers.My personal preference is to cut out and assemble the cluster separately from the card body, and then apply the completed cluster to the card at the end.
Cut out the back of the card. If you wish to cover the hinges that will be produced on the back of the card, use this back as a template to produce your cover.
If you want to write on the back of the card then obviously you need to use a plain finish.
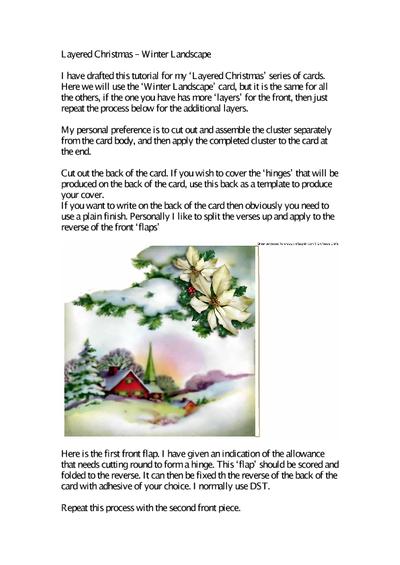
Personally I like to split the verses up and apply to the reverse of the front flaps Here is the first front flap.
I have given an indication of the allowance that needs cutting round to form a hinge. This flap should be scored and folded to the reverse.
It can then be fixed th the reverse of the back of the card with adhesive of your choice. I normally use DST.Repeat this process with the second front piece. If you are covering up the flaps then turn the whole card over and affix the covering you prepared earlier to the reverse of the card.Turn the card back with the front facing you and apply the decoupage cluster.