Print sheet s 1 and 2 on to good quality card . Print the side plate on to card which is more flexible (maybe 120-160gsm) . Print the elements sheet on to good quality card or photo paper.
Shiny photo paper will make the elements stand out more on your card. Cut out all the parts on the elements sheet. Add any glitter you want to use on them at this stage and leave to one side to dry. Now take sheets 1 and 2 and cut in half so you have the 4 pieces.
Cut out the inner parts of three of them so you will be able to see through to the back layer of the card.
To make the side panels, cut out, then take the side plate pieces and fold them in half, now fold again until you have 4 mountains and 3 valleys.
Take the picture of the castle and stick or glue into the side panels you have already folded.
The last tab of the side panels need to be attached to the back of the castle picture piece. Take the front picture with the soldiers and glue to the front of the concertinaed side pieces. The tabs need to be attached to the back of the layer so they cant be seen. So now you should have a box like shape which can support itself.
At this stage you can decide which order to put the other two frames. Glue or stick them into place. Now attach the princesses to the back piece using foam pads or silicone glue so they stand out. Decide where you want to place the other pieces. Maybe the knight and the dragon together. Attach them with double sided sticky tape.
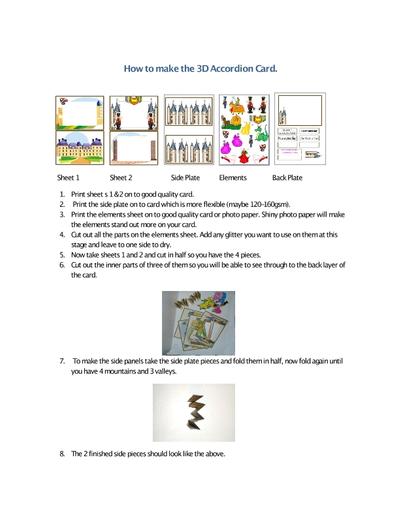
You can, of course, place the elements as you choose onto the card. Finally attach the two soldiers and shield to the front. You can then add any sentiments if you wish like Happy birthday. There is a back plate included which you can attach to the back of the card if you like.
You can add your own words on the back plate.