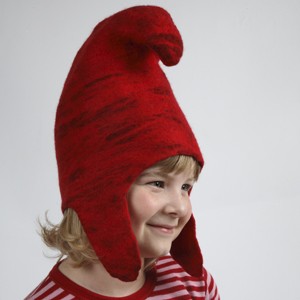
An unusual and cheeky pixie hat, wet felted from Merino Wool over a foam template.
The template fits size 50-52. Print and cut out the templates, and then glue them together. Make new templates for the wet felting by copying the printed templates onto foam rubber or bubble wrap.
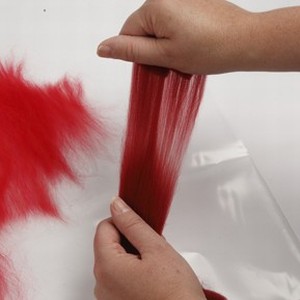
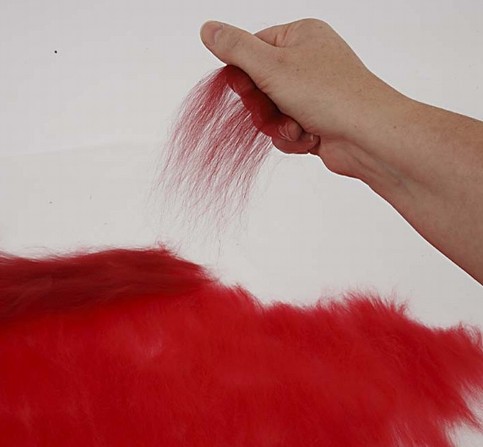
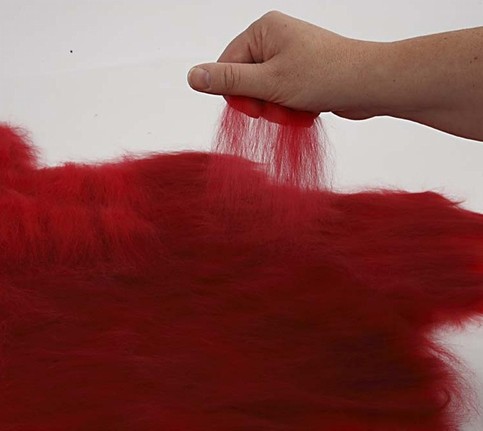
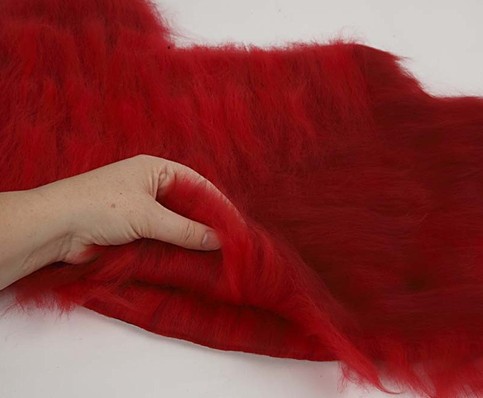
You will need approx. 60 g Merino Wool for the hat: 20 g dark red and 40 g Christmas red. Divide the wool in two - a pile on each side of the hat. Now divide again the Christmas red Merino Wool in two. Place wads of Christmas red Merino Wool over the template as a base covering the template. Place the wool so it also goes over the edges of the template. The wads of wool should be torn apart – never cut. Place the wads of wool staggered in the same direction.
Place dark red Merino Wool as the next layer, but across the first layer.
Now place another layer of Christmas red Merino Wool across the dark red Merino Wool. Now the template is covered by three layers of Merino Wool.
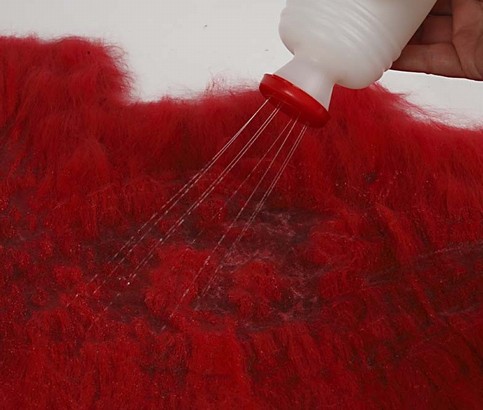
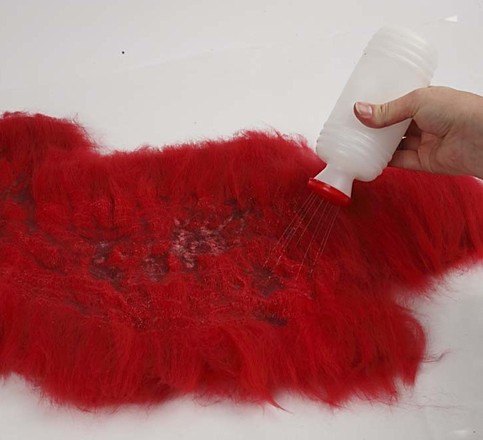
Moisten the wool with a spray bottle containing water and soap. The edge must remain dry. Squeeze the water together with the wool and felt a little (making circular movements).
Place the foam rubber/bubble wrap template over the wet felt.
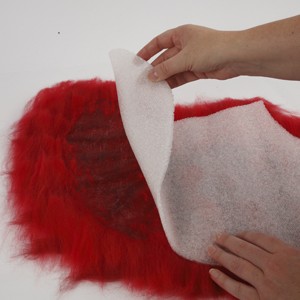
Fold the dry edges over the template.
Now place another three layers of Merino Wool over the template (Christmas red / dark red / Christmas red) as described above. Make it go approx. 4cm beyond the edge.
Moisten the wool, but leave the edges dry!
Turn the whole thing over.
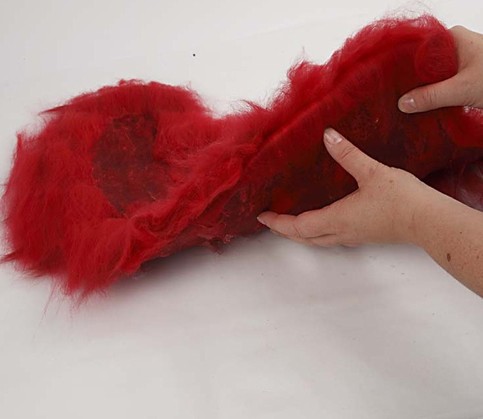
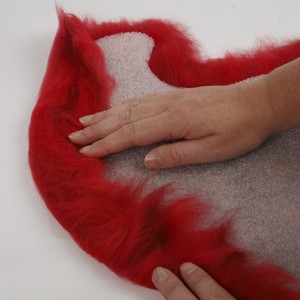
Now fold in the dry edges over the template.
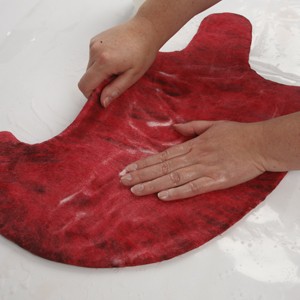
Moisten the wool and felt by hand. Make sure the edges are felted thoroughly. Continue felting until the template feels a little too big and the wool is well on the way to being felted.
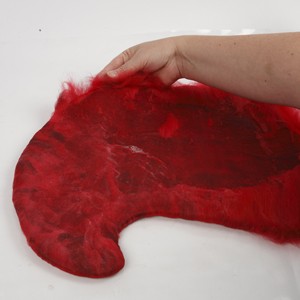
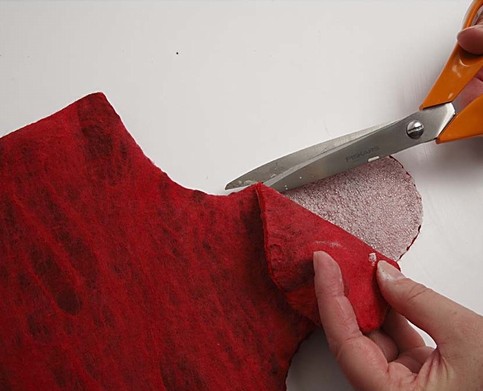
Now cut open the base of the hat and remove the template.
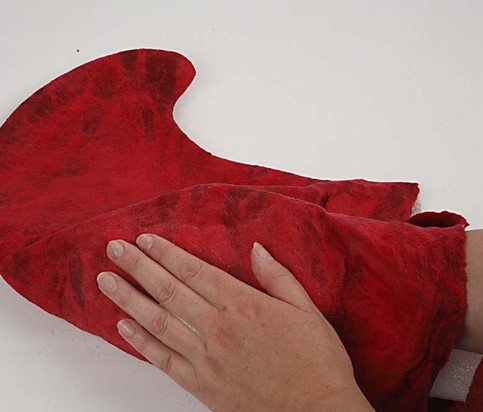
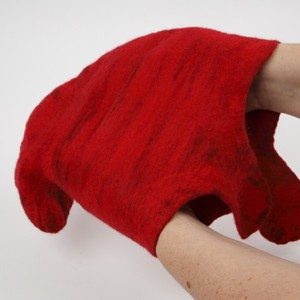
Insert one hand into the hat. Continue felting with the other hand. You may add water/soap. Finish the felting by hand or in the tumble dryer. If using the tumble dryer, make sure to keep an eye on the hat, preventing it from suddenly becoming too small.
Rinse the hat free of soap (the last soap residue can be removed with a little vinegar in the last rinse water). Pull the hat into shape.
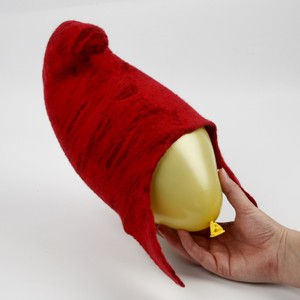
Dry the hat – you may put it over a blown up balloon.