Merry Christmas Topper with 4 PoinsettiasCompleted by Taina Kankare
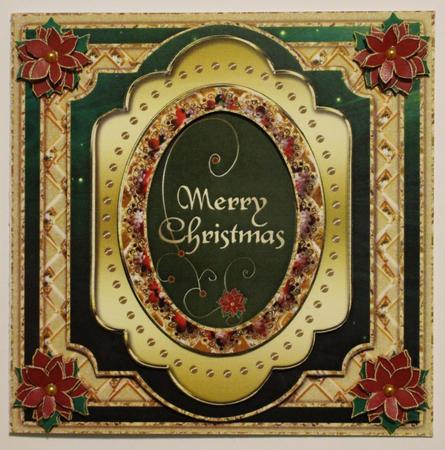
OccasionThis sheet is excellent as a card front, but I wanted to make a 3D-card from it. So I printed it 3 times on regular copy paper. Then I trimmed all the three pictures. I made a card base from white cardboard.
Before attaching the bottom layer I carefully cut out the flower border around the Merry christmas text to be used later as a layer.
I attached the bottom layer with double sided tape and glue. Then I cut the second sheet at the golden area between the two green borders. I attached it to cardboard and trimmed it. Then I attached it on the card base with foam stickers.
Then I cut the third sheet. I took the golden "plate" with flower border and center text. I attached it to cardboard and trimmed. Then I attached it on top of the other layers. Then I took the center of the sheet which I cut from the bottom layer.
I attached it on cardboard and trimmed the outer edge. Then I cut out the center. This way I got a flower frame. I attached it on the card. Then I checked my scrap and cut all 8 poinsettias. I attached them into the corners of the card.
I tried to shape the upper layer to make the poinsettias look more real. As a finishing touch I added gold colored half pearl in the middle of each poinsettia.

Make your Own, Buy the Download!
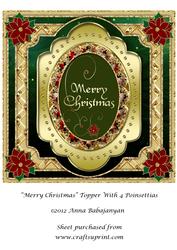
Merry Christmas Topper with 4 Poinsettias
Beautiful large topper designed with my oval frame and Merry Christmas greeting on it, 2 more shaped base layers and my poinsettia flowers designs.
This topper is suitable for using on 8x8 inch card b ... Read More