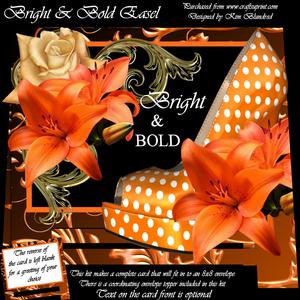
Bright & Bold EaselCompleted by Amandah Allen
OccasionBefore i did anything with this cup image i printed out the instructions first.
I WOULD STRONGLY RECOMMEND THAT ANYONE LOOKING TO MAKE THIS CARD DO THIS FIRST!!
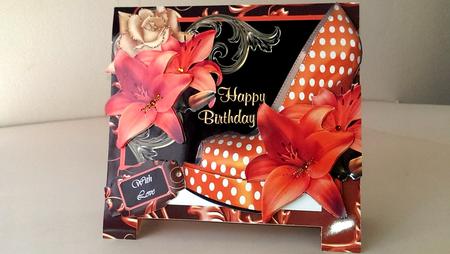
Once i'd read through all the instructions i then printed out the images onto glossy photo paper, let them dry then began to complete the design of the card.
I used mini foam pads to decoupage the elements.
I used the non-text main image so that i could add my own sentiment, which i did using a Gold coloured, good ole fashioned rub-on sentiment.
Once all the elements were stuck on, i added fine glitters on the pale rose & Orchid Lilly's plus flat back gems, and also on the 'With Love' sentiment tag.
Another tip i recommend is this: Use thicker photo paper/card than the norm and if not available, then print off the all flower print design sheet onto 250gsm card and use it to reinforce the back of the card, as it will bow and not stand.
AND cut out the 2 white long panels on the front & back of the Easel, (this is NOT stated in the instructions and i didn't reaslise until too late) this is so that you can see the inside design of the card.
I made this for my eldest niece who turns 24 in June.

Make your Own, Buy the Download!
Bright & Bold Easel
These easel kits are designed to create a complete card without the use of a card blank. The finished item will fit in to an 8x8 envelope and there is a coordinating envelope topper in each kit. Th ... Read More