

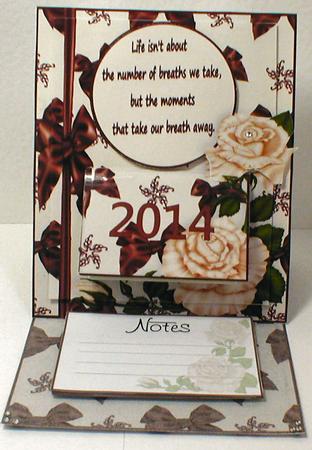

Coffee and Cream Easel CalendarCompleted by ScouseMouse Creations
OccasionI printed the base on pearlised card, then put it back through to print the backing sheet on the other side, I then printed the front and calendar cover sheet on gloss paper and the notes and months on good quality paper.
I cut out and layered up the top using silicone and while it was setting cut out the rest of the pieces.
I folded the base of the easel where marked and then began assembling the calendar and notepad, I just cut the notes out and stapled them at the top, I did the same with the calendar and put the cover on with double sided tape.
Once the main topper was dry I attached it to the easel base, added the completed calendar and stuck the notepad on the base as the easel stop.
I added a few gems for corners on the base and for a couple of accents on the topper. I found this lovely to do, the instructions clear and precise and really quite easy to do
