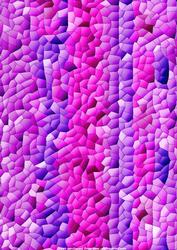


Mosaic Background Paper 22Completed by Gail Pennycuick
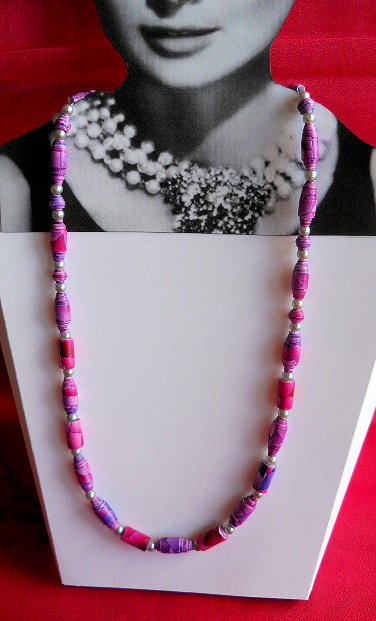
OccasionI decided to use this design to make a necklace with. So I printed it onto quality white paper and cut it out. On the back I ruled pencil lines top to bottom, measuring each strip carefully and varying their widths.
So some were straight and some had a small end compared to their other end. I cut along the pencil lines and then used a bamboo skewer to roll each strip, always starting with the biggest end where applicable and with the white side facing me.
I then rolled it towards me.
I applied glue along the last inch or so of the white side and smoothed it down gently. Next I coated the whole bead in glue (I used PVA) and eased it off the skewer, putting it to dry on a toothpick I'd stood in some polystyrene.
I did this with each of the strips and left them a few hours to dry.
To assemble the necklace I used silver beading string and with some silver beads I had, laid out a pleasing design.
Then I threaded them all and tied off the ends, attaching clasp findings. This has formed a lovely necklace, with wonderful variations in the colouring due to the mosaic. It would work equally well as a background for a card.

Make your Own, Buy the Download!
Mosaic Background Paper 22
Background paper with a pink/purple stripe mosaic design.