
Finish a Waterfall Card in 40 Minutes: Hobby Crafters' Tested Template

The pull-tab waterfall mechanism is the method we recommend for your first card, and this tutorial takes you from a flat sheet of cardstock to a working, cascading card. You will find tested measurements, a step-by-step build sequence, printable templates, and fixes for the faults that trip up most beginners. Set aside around 40 minutes for your first attempt.
TL;DR:
- Use an 11-inch by 2-inch mechanism strip with five hinges spaced half an inch apart for a reliable first waterfall card setup.
- Score and crease the mechanism strip carefully, folding the lines backward and forward to ensure smooth panel movement and avoid sticking.
- Decorate panels before attaching them with double-sided tape to prevent smudging and misalignment during assembly.
- Reinforce the pull tab with punched circles or eyelets to withstand repeated use and avoid tearing or failure.
- Printable templates with pre-marked measurements speed up construction and help avoid measurement errors, especially for beginners.
Table of Contents
- Materials and tools you need before you start
- Getting the measurements and template right
- Building your waterfall card step by step
- Fixing the most common waterfall card problems
- Variations and decoration ideas worth trying
- Why printable templates speed up your first build
- When a waterfall card is worth the extra effort
- Get waterfall templates and supplies in one place
- FAQ
- Sources
Materials and tools you need before you start
Gather everything before you cut a single piece of card. Stopping halfway through to search for the right tape is how hinges end up misaligned.
A few tools make the difference between a mechanism that glides and one that jams. A paper trimmer or a metal ruler with a scalpel gives you clean, straight edges, which matters more on a waterfall card than almost any other fold because a wonky panel edge throws off the whole cascade. A bone folder burnishes your score lines so they crease cleanly rather than crumpling. A scoring board or a stylus and ruler lets you mark fold lines accurately.
Adhesive choice matters just as much as cutting accuracy:
- Red liner tape holds the holding piece firmly in place and copes with the repeated pulling action without lifting.
- Half-inch double-sided tape fixes each panel to its hinge without adding bulk.
- Liquid glue is best avoided on moving parts: it takes too long to set, can warp thin cardstock and rarely holds up to repeated flexing.
For cardstock, aim for 175 to 216 gsm for the panels and the card base: light enough to fold crisply, heavy enough to hold its shape once the mechanism is loaded with decoration. Optional extras include eyelets for reinforcing the pull tab, a corner rounder for softer panel edges, and a length of ribbon if you want a decorative pull rather than a plain paper tab.
Pro Tip: Keep a spare offcut of your chosen cardstock to test scoring pressure before you touch your good sheet.
Getting the measurements and template right
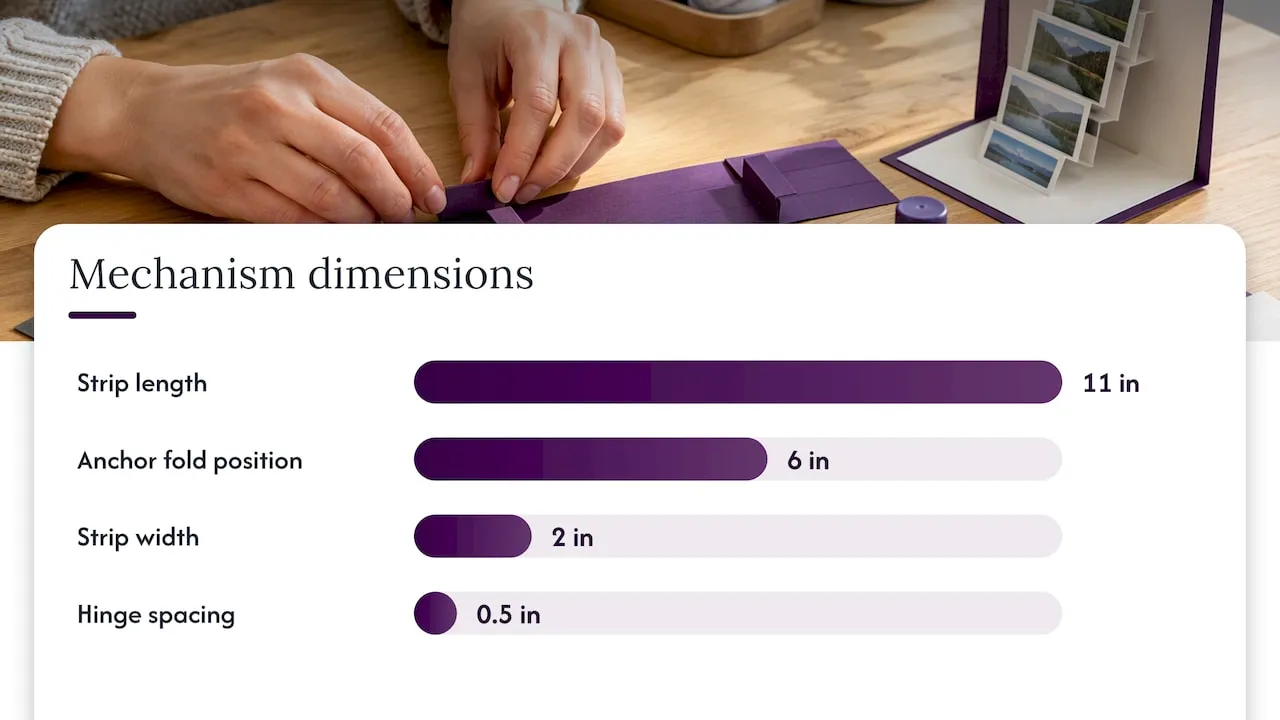
A waterfall card lives or dies on its measurements, so start with a configuration that is already known to work rather than guessing your own. A reliable starting point uses a mechanism strip 11 inches long by 2 inches wide, with a big anchor fold at the 6-inch mark and five further score lines spaced half an inch apart to create the panel hinges.
- Mechanism strip: 11in x 2in, scored at 6in for the anchor fold.
- Hinge spacing: half-inch intervals from the anchor fold to the end of the strip.
- Panel count: five panels is a dependable starting number for a first build.
- Panel height: matched to your card front, typically slightly shorter than the base so nothing catches on the envelope.
Panel height and hinge spacing are locked together: if you change one, you need to adjust the other, or the cascade will gape in places and bunch in others. If you want a bigger or smaller card, scale the whole strip proportionally rather than changing just the hinge width or just the panel size.
Rather than measuring and scoring from scratch every time, printable waterfall card sheets give you the mechanism pre-marked and ready to cut. Even with a template to hand, cut a scrap version first and run the mechanism through its paces before committing your good cardstock.
Building your waterfall card step by step
Work through these steps in order, and resist the temptation to skip the burnishing or decorate-first stages: they are what separate a smooth mechanism from a stiff, sticky one.
- Cut all your pieces first. You need the card base, the mechanism strip, five (or your chosen number of) panels, and the holding piece that will sit behind the mechanism. Cutting everything before you score anything keeps your workspace tidy and your measurements consistent.
- Score the mechanism strip. Mark the big anchor fold at the 6-inch point and the half-inch hinge lines along the remaining length. Fold each score line backwards and forwards rather than in one direction only: this breaks the paper fibres along the crease and is the single biggest factor in whether your panels flip smoothly or catch.
- Decorate the panels before attaching them. Stamp, print or ink each panel while it is still a loose, flat piece. Trying to decorate panels once they are taped to hinges is fiddly and increases the risk of smudging or misaligned stamping.
- Tape the panels onto the hinges one at a time, using half-inch double-sided tape. Start with the panel closest to the anchor fold and get that one exactly square before moving to the next, because any drift at the first hinge compounds down the whole strip.
- Attach the holding piece behind the mechanism with red liner tape, then mount the whole assembly onto the card front. Add your pull tab at the free end of the strip and reinforce it, since this is the part that takes the most repeated strain.
- Test the pull, make any final adjustments to loose hinges or sticking panels, then fold the card flat. A well-built waterfall card should close flush enough to go through a standard envelope without forcing the mechanism.
Most crafters budget around 40 minutes for a first waterfall card, with scoring and alignment taking up most of that time. Once you have built a couple, the cutting and scoring stage speeds up considerably because you already know where every crease needs to go.
A few points are worth dwelling on. The decorate-before-assembly order in step three feels backwards if you are used to building a card shell first and adding embellishment last, but on a waterfall mechanism it saves real time: once five panels are taped onto hinges half an inch apart, there is barely room to get a stamp or inkpad between them. Likewise, the alignment advice in step four matters more than it sounds. A fraction of a millimetre of drift on the first hinge barely shows, but by the fifth panel it can throw the whole cascade off centre, so it pays to go slowly on panel one and let the rest follow its lead.
Fixing the most common waterfall card problems
Most faults come down to one of four causes, and all of them are fixable without starting again.
- Panels stick together or drop two at once: check for stray adhesive on the hinge edges and dust them with anti-static powder or a little talc; re-burnish the hinges if the fold itself feels stiff.
- The pull tab tears or won’t move: reinforce the tab by gluing a small punched circle to both faces where the strain concentrates, or add an eyelet for a stronger, decorative finish. Pull straight along the strip rather than at an angle, since sideways leverage is what tears a weak tab.
- Panels flip up instead of dropping down: this usually means a hinge has been creased the wrong way. Check which direction each fold needs to go and re-crease it rather than forcing the panel.
- Durability and posting: keep embellishments light near the fold line and avoid anything bulky on the panels closest to the anchor, since extra weight there is what causes mechanisms to sag or jam in transit.
Pro Tip: If a hinge still feels stiff after re-burnishing, flex it gently by hand a few times before giving up on it. Fresh score lines often loosen with a little use.
Variations and decoration ideas worth trying
Once the basic mechanism is reliable, it is easy to adapt. Dropping to three panels gives you a simpler, quicker card, while stretching to seven panels on a longer strip creates a more dramatic cascade, as long as you extend the hinge spacing proportionally rather than cramming extra panels into the same length.
- Easel waterfall: combines the cascade with an easel stand, which suits photo keepsakes that need to stay upright on display.
- Hidden waterfall: conceals the mechanism until an opening action triggers it, which works well for reveal or surprise cards.
- Printed photo panels: turn each panel into a small photograph for a memory card or anniversary gift.
- Themed printable sheets: birthday, floral and Christmas designs give you ready-made panel artwork without any extra stamping.
- Layered mats and stamping: adding a mat behind each panel or stamping a border gives the cascade more visual depth without changing the mechanism itself.
Why printable templates speed up your first build
Working from a printable template removes most of the guesswork that causes mismatched hinges and uneven panels. Our waterfall card sheets come with the mechanism already marked out, so you spend your time cutting and decorating rather than measuring.
- Themed packs cover everything from florals to seasonal designs, so you can match a template to the occasion rather than building panel artwork from nothing.
- Weekly freebies and community galleries give you a steady supply of fresh ideas and a place to see how other crafters have decorated their own waterfall cards.
- Contests and the Gold Star programme give designers a reason to keep adding new themed sheets, which means the template library keeps growing.
Whichever template you start from, cut a scrap version first and run it through the full build before committing your good cardstock.
When a waterfall card is worth the extra effort
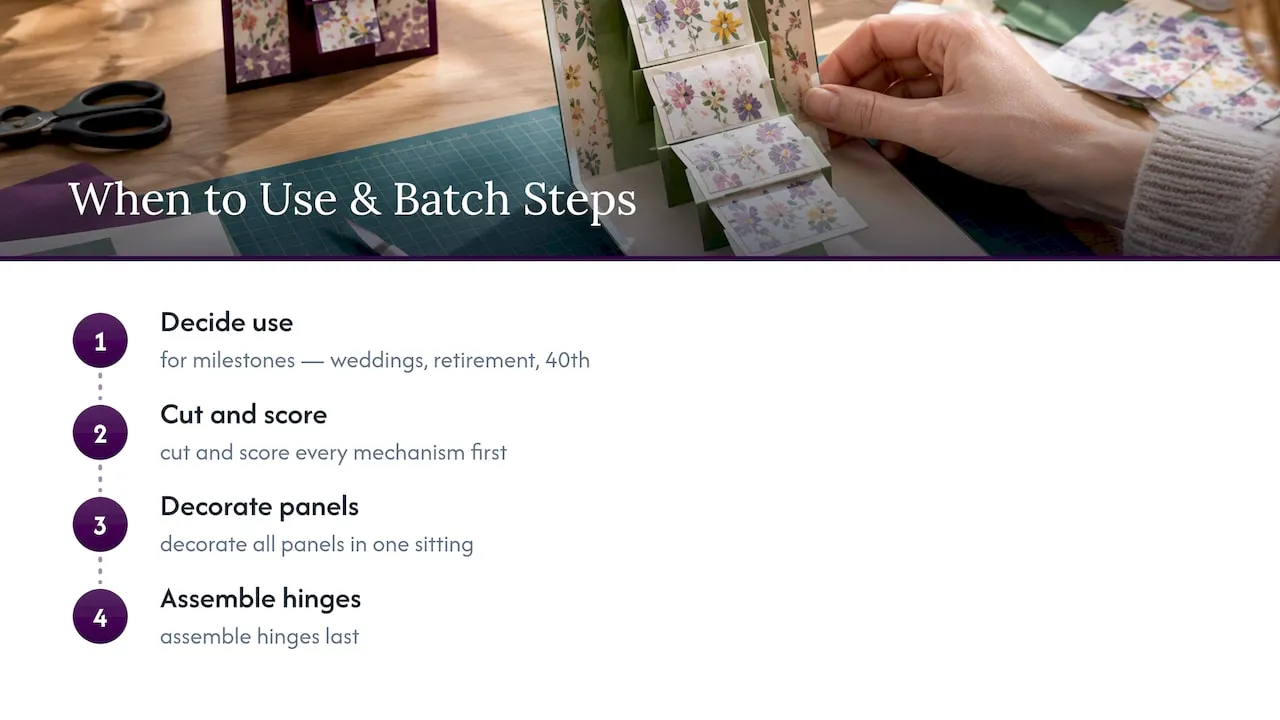
A waterfall card earns its place for milestones: a 40th birthday, a retirement, a wedding, anything where the recipient will spend a moment pulling the tab and watching the panels fall. For everyday cards, a simpler fold often serves just as well.
If you are making several at once, batch the work: cut and score every mechanism first, decorate all the panels in one sitting, then assemble hinges last. Treating it like a small production line cuts down on handling mistakes and makes a run of five or six cards far less tiring than building them one at a time. Once you have a finished card you are happy with, it is worth sharing in a maker community gallery, if only to see how differently the same template can turn out in someone else’s hands.
— Rob
Get waterfall templates and supplies in one place
Cutting your own mechanism from scratch is a good skill to have, but a printable template saves you the measuring and scoring guesswork on the days you just want to get a card finished. Our waterfall card sheets come pre-marked with the panel and hinge layout, so you can go straight from printing to cutting.
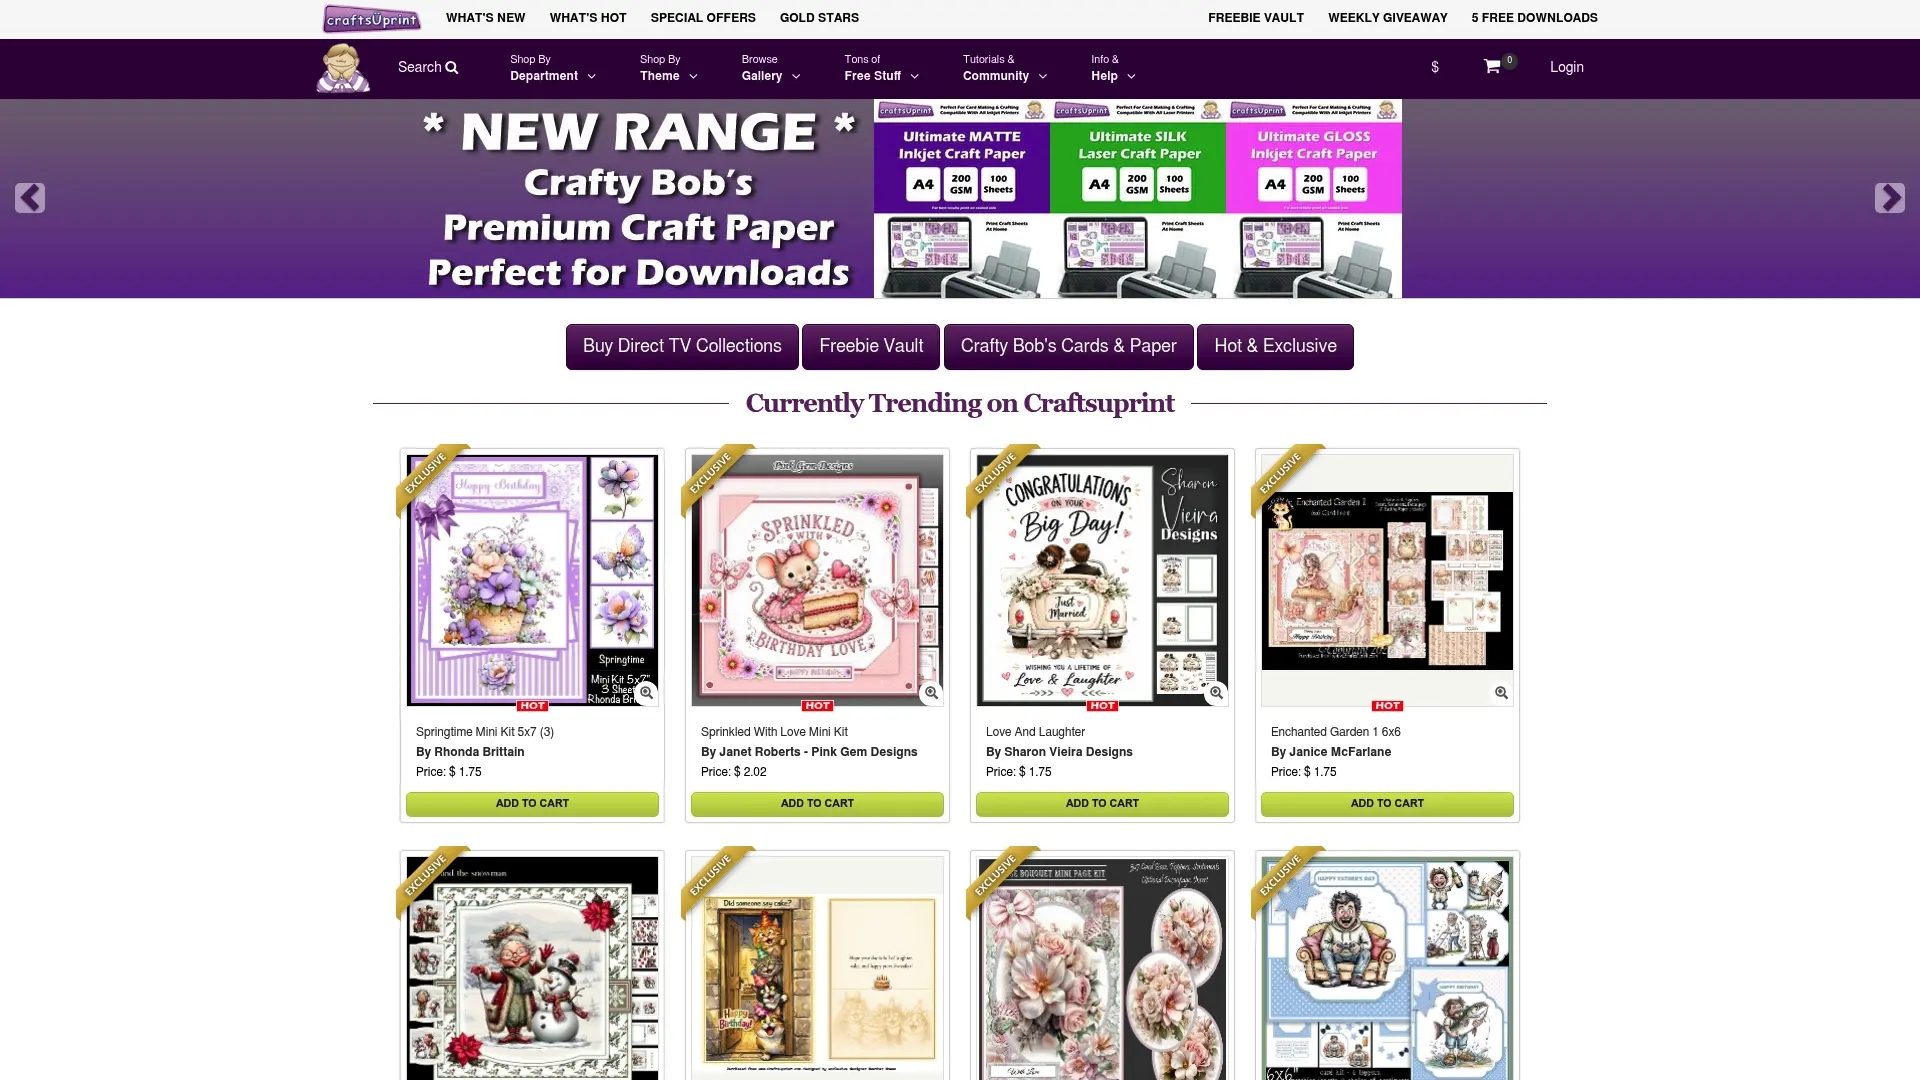
- Browse themed waterfall sheets for birthdays, florals and Christmas, with the mechanism already laid out for you.
- Pick up matching card making supplies in one place, from cardstock to finishing touches.
- If you want decoration ideas beyond stamped or printed panels, pressed and dried natural materials make an unusual addition to panel fronts, and dried flower decoration ideas are worth a look for inspiration.
Start with one of our printable sheets and a scrap test strip, and you will have a working waterfall card finished within the hour.
FAQ
What is a waterfall card and how does the mechanism work?
A waterfall card uses a scored strip with panels attached to hinges, spaced half an inch apart; pulling a tab makes the panels flip and cascade down in sequence. The effect comes from the hinge spacing matching the panel height, so each panel clears the one above it as the tab is pulled.
How long does a first waterfall card usually take to make?
Most crafters budget around 40 minutes for their first attempt, with scoring and alignment taking up the bulk of that time. Subsequent cards go faster once you are familiar with the folding sequence.
Why do my waterfall card panels stick together or drop two at a time?
This is usually caused by stray adhesive on the hinge edges or static holding the panels together. Dusting the hinges with anti-static powder and re-burnishing the fold lines usually solves it.
What size should I cut the mechanism strip for a standard waterfall card?
A reliable starting size is an 11-inch by 2-inch strip, with an anchor fold at 6 inches and five further hinges spaced half an inch apart for five panels. You can scale this up or down, but panel height and hinge spacing need to change together to keep the cascade even.
Can I use printed templates instead of measuring my own waterfall card?
Yes, printable waterfall sheets come with the mechanism already marked out, which removes most of the measuring errors that cause uneven panels. Our printable waterfall sheets include themed designs so you can choose artwork to suit the occasion.
Sources
- How to Make a Pull Tab Waterfall Card - Step by Step
- Waterfall Card Tutorial – A Fun Interactive Fold with 3 Card Ideas - Karina Chin
- How to Make a Pull Tab Waterfall Card - Jennifer Maker
- Tutorial 3 – Waterfall Easel Card | Craftybabs Creative Crafts