
3D Decoupage Printables: Free Sheets or Layered SVGs for UK Crafters
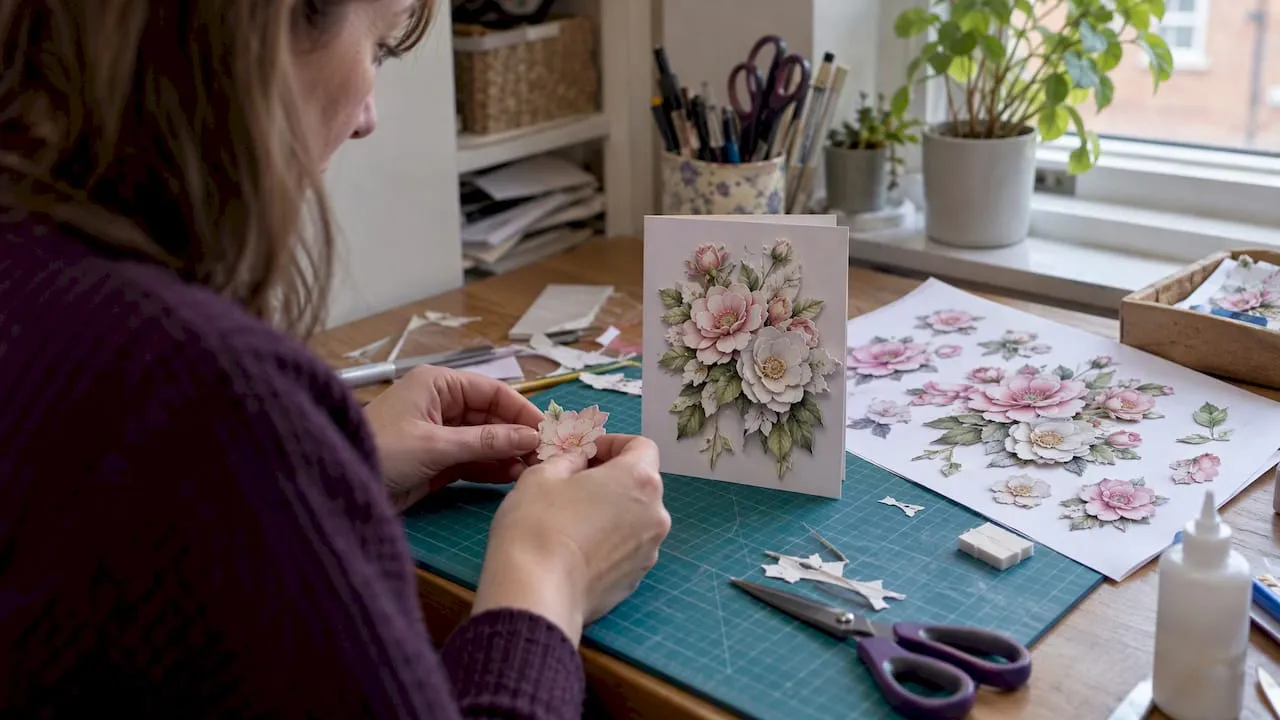
3D decoupage printables are layered paper designs, usually multiple repeated images cut and raised on foam, that build a sculpted, shadow-box effect on cards and papercraft projects. Choose a free A4 or 6x6 die-cut sheet if you’re practising or making a quick card, and pick a layered SVG or PDF designer file if you’re cutting on a Cricut or Silhouette. Free galleries and paid marketplaces, including our own, both carry solid options.
TL;DR:
- Free sheets often limit use to personal, noncommercial projects, so check each file’s license before selling cards or choose a pack marked for commercial use.
- Use 200 to 250 gsm cardstock for base layers, 160 to 180 gsm stock for top pieces, and 1 to 3 mm foam for lift.
- Choose prepunched A4 or 6x6 sheets for quick handcut cards, but use layered SVG or PDF files when a Cricut or Silhouette will cut pieces.
- Print a test copy first, then print the final sheet at 100% and assemble largest to smallest; let silicone glue tack before adding another layer.
- For commissions or special occasion cards, paid packs often include multiple sizes and layer diagrams that reduce guesswork and wasted cardstock.
Table of Contents
- Where to find free and paid 3D decoupage printables
- Common printable formats and sheet types
- Tools, paper and adhesives you need for consistent results
- Step-by-step: print, cut and assemble a layered 3D decoupage topper
- Craftsuprint’s resources, tutorials and community freebies for decoupage makers
- Organising and storing 3D decoupage printables and finished projects
- When free printables are best and when to choose a paid designer pack
- Where to browse Craftsuprint for decoupage printables
- FAQ
- Sources
Where to find free and paid 3D decoupage printables
Free galleries are the easiest starting point. They typically offer single-design freebies and simple pyramid sheets with a licence note restricting use to personal, non-commercial projects, so check the small print before selling anything you make. These are ideal for testing a technique or building confidence before you invest in a paid pack.
Paid designer packs go further. They usually include pre-punched or pre-cut sheets ready for assembly, multiple size options for the same design, higher-resolution artwork that prints cleanly at A4 and 6x6, and an assembly diagram showing layer order. For commissions or show-stopping cards, that extra guidance saves time and reduces wasted cardstock.
Before downloading anything, free or paid, it helps to check a few things:
- Look at the file preview to confirm the design has enough layers for the depth you want.
- Check whether printed instructions or a layer diagram are included.
- Read seller reviews or ratings where available to gauge reliability.
- Confirm the file format matches your printer or cutting machine.
Browsing our card making downloads gives you a sense of how designer packs are typically presented, with previews and size options listed against each design.
Common printable formats and sheet types
Decoupage printables come in a handful of standard formats, and the right one depends on your project and your tools.
- Die-cut or pre-punched sheets (A4 or 6x6): quick to use since the shapes are already separated, ideal for beginners and fast card fronts.
- Pyramid or stacker sheets: identical images repeated in graduated sizes, designed to be cut progressively and stacked for a tiered, pyramid-like lift.
- Layered SVG or PDF files for Cricut or Silhouette: editable layers that a cutting machine reads directly, giving precise cuts without manual trimming.
- Standard print-and-cut PDFs: flat sheets you print at home and cut by hand or with a manual die-cutting machine.
Die-cut and pyramid sheets suit cards and quick toppers where speed matters. Layered SVGs suit anyone with an electronic cutter who wants frames, shadow-box decor or repeatable designs across multiple cards without hand-cutting each layer.
Tools, paper and adhesives you need for consistent results
The materials you use affect the finished depth and durability of a decoupage build as much as the design itself.
Cardstock in the 200 to 250 gsm range holds its shape well for the base layers, while lighter 160 to 180 gsm stock works for the thinner top pieces that need less rigidity. Foam adhesive, whether foam pads or foam strips cut to size, is what creates the lift and shadow that define the technique, and is typically used in thicknesses of 1 to 3mm depending on the depth you want. Silicone glue gives a liquid alternative for fine details, glue dots suit small accents, and a tape runner is useful for flat-mounting the base layer to your card blank.
- Use a sharp craft knife or a scalpel for manual cutting of intricate shapes.
- Choose a cutting mat and grip setting that match your cardstock weight on electronic cutters.
- Keep tweezers on hand for placing small or fiddly pieces without smudging glue.
- A jewellery file smooths rough punch points, and a Tombow marker’s brush end is useful for inking edges.
Double-sided adhesive squares are widely available from craft suppliers, including general retailers that stock adhesive squares in bulk packs if you get through them quickly.
Pro Tip: Keep your foam pads in a shallow tray by thickness so you can grab the right size mid-build without stopping to sort through a mixed bag.
Step-by-step: print, cut and assemble a layered 3D decoupage topper
Getting a clean result comes down to following the same sequence every time.
- Test print first. Print one copy on scrap paper to check scale, bleed and that your printer feeds cardstock without jamming.
- Print the final sheet at 100% scale on your chosen cardstock weight, letting the ink dry fully before handling.
- Cut the pieces in order, largest layer first, and lay them out left to right in the sequence you’ll glue them, which papercraft tutorials consistently recommend to avoid wasted cardstock and mixed-up layers.
- Mount the base layer flat to your card blank with a tape runner or flat glue.
- Build upward, adding foam pads or foam strips between each layer, working from the largest piece to the smallest.
- Let silicone glue tack for a few minutes before adding the next layer if you’re using it instead of foam, since adding weight too soon flattens the lift you’re trying to create.
- File any raised punch points with a jewellery file and ink the cut edges with a marker to hide the white core.
Using 4 to 5 identical copies of a single image, rather than a pre-made decoupage sheet, is a technique experienced crafters use for full control over which details get raised and which stay flat, a method well suited to one-off designs with no pre-printed sheet available.
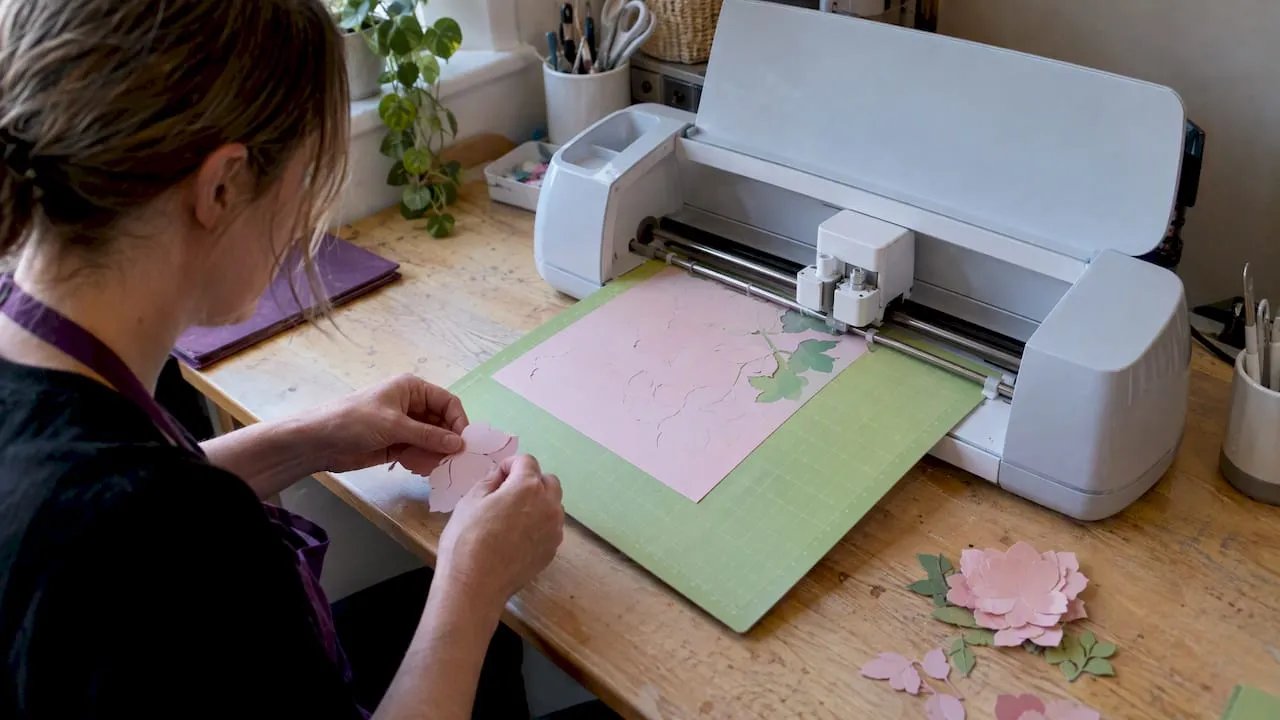
If you’re cutting on a machine, the workflow barely changes: upload the layered SVG, cut each layer on cardstock, then assemble exactly as above with foam adhesive doing the same job it does in hand-cut projects.
Craftsuprint’s resources, tutorials and community freebies for decoupage makers
We provide step-by-step decoupage sheets, moveable pop-up decoupage designs and themed tea-bag folding sheets alongside standard layered toppers, covering various card-making project formats. Our tea bag folding printable sheets sit alongside our decoupage ranges as a related folding technique worth trying if you enjoy layered paper effects.
- Our step-by-step decoupage tutorial walks beginners through a full build from print to finished topper.
- Our moveable pop-up decoupage designs add movement to a layered card for a more dynamic finish.
- Independent designers list their own decoupage packs on our marketplace, with weekly freebies and community contests running alongside paid releases.
- A commission program lets designers earn income when their decoupage sheets sell, encouraging new designs to be added regularly.
Organising and storing 3D decoupage printables and finished projects
Loose decoupage sheets and cut pieces are easy to lose or crease, so a little organisation goes a long way. Store uncut printed sheets flat in labelled plastic wallets or a ring binder, sorted by theme or occasion, so you can find a Christmas or birthday design without digging through a pile.
For cut pieces you haven’t assembled yet, small divided craft boxes or stackable trays keep layers grouped by project and stop tiny pieces from scattering. Label each compartment with the design name if you’re working on several projects at once.
Finished cards and decoupage panels are best stored upright in a card storage box with dividers, or flat between sheets of acid-free tissue if the build has a lot of raised height, to avoid crushing the layers. Keep digital files organised too: a simple folder structure by occasion or designer name saves time when you want to reprint a favourite sheet later.
When free printables are best and when to choose a paid designer pack
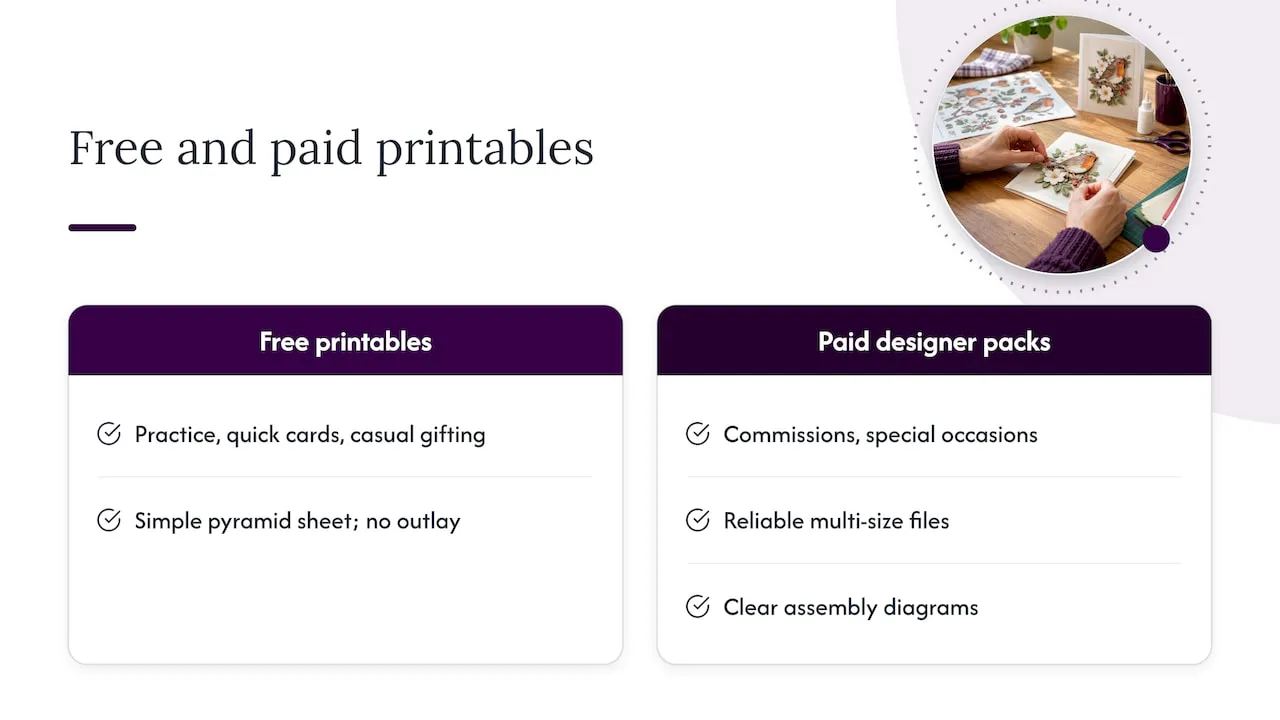
Free printables earn their place for practice runs, quick cards and casual gifting, where a simple pyramid sheet does the job without any outlay. Paid designer packs make more sense for commissions, special-occasion cards or any project where you need reliable multi-size files and clear assembly diagrams rather than guesswork.
One small but practical point: match your paper weight to the project rather than defaulting to the heaviest cardstock available, since lighter stock for top layers reduces waste and still holds its shape under foam.
Where to browse Craftsuprint for decoupage printables
We bring free and paid decoupage printables together under a few key categories, so it’s worth starting with freebies before committing to a designer pack for a special project.
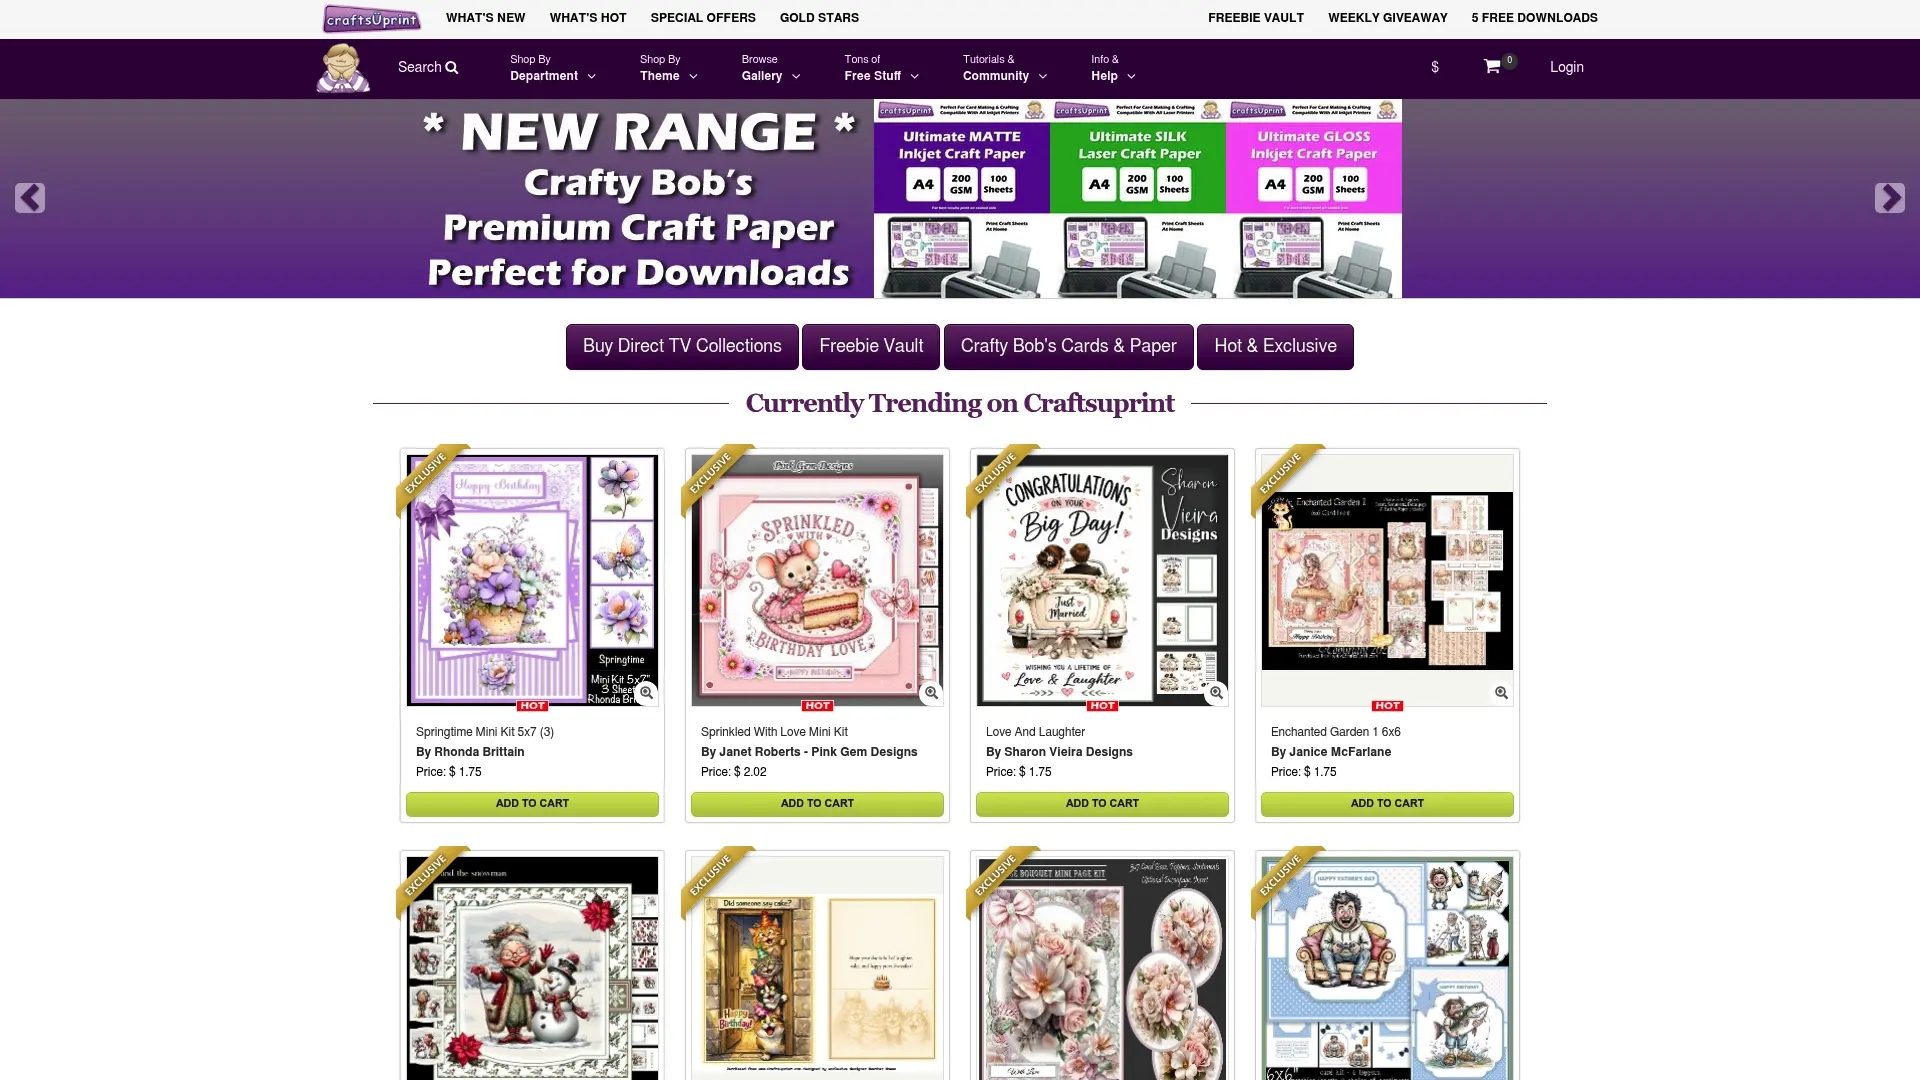
- Our card making section covers decoupage sheets, toppers and pop-up designs.
- Our cutting files category holds layered SVGs for Cricut and Silhouette users.
- Our paper craft range includes broader printable kits beyond card fronts.
Try a free design first to get a feel for layering, then explore a designer pack when you want a finish that matches a commission or a one-off gift.
FAQ
What are 3D decoupage printables?
They’re layered paper designs, usually three to five repeated copies of the same image cut progressively and raised with foam adhesive to create a sculpted, shadow-box effect. You print them at home or on a cutting machine, then assemble by hand.
What’s the difference between a decoupage sheet and tea bag folding?
A decoupage sheet uses repeated images layered with foam for depth, while tea bag folding uses small folded paper squares arranged into flat medallion patterns. Both are printable papercraft techniques, but tea bag folding relies on folding rather than layering.
Can I resize a decoupage printable for a different card size?
Yes, most PDF and SVG decoupage files can be scaled up or down in a printer dialogue or cutting software, though scaling too far can affect how neatly the layers stack.
Can I sell cards made from free decoupage printables?
This depends entirely on the licence attached to the specific download, and free sheets often restrict use to personal projects only. Always check the licence note on the file itself before selling anything made from it, and look for packs explicitly marked for commercial use if you plan to sell.
What adhesive is best for 3D decoupage?
Foam pads or foam strips in 1 to 3mm thicknesses are the standard choice because they create the raised, shadowed look the technique is known for. Silicone glue works for finer details, though it needs a few minutes to tack before adding the next layer.
Sources
- 3D Layered Paper Project with a Cricut - Hey, Let’s Make Stuff
- 3D Decoupage Instructions - The Paper Craft Room