


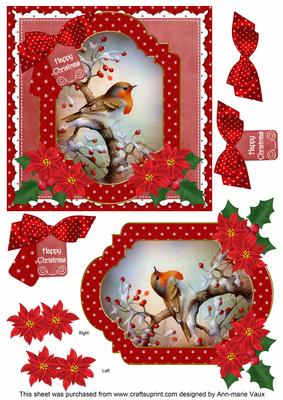

Red Robin Happy Christmas 6in Christmas Step by Step
I have designed these gorgeous step by step toppers as 6inch squares and they have up to 5 layers that can be used to make the topper.
The step by steps are easy and quick to make, great for craft fairs and you simply cut out the main image and attach to your card as a base, then build up the layers using 3D foam.
Each step by step topper has the co-ordinating insert available so please take time to have a look. Lots of other sentiments and styles available. Matching Happy Christmas Inserts start at cup632147_10
 Blue Church Happy Christmas 6in Christmas Step by Step
 Cerise Trio Happy Christmas 6in Christmas Step by Step
 Choirboys Happy Christmas 6in Christmas Step by Step
 Winter Lady Happy Christmas 6in Christmas Step by Step
 Dteal Church Happy Christmas 6in Christmas Step by Step
 Green Tree Happy Christmas 6in Christmas Step by Step
 Lilac Snowscene Happy Christmas 6in Christmas Step by Step
 Winter Pub Happy Christmas 6in Christmas Step by Step
 Snow Tree Happy Christmas 6in Christmas Step by Step
 Winter Sunset Happy Christmas 6in Christmas Step by Step
 Winter Walk Happy Christmas 6in Christmas Step by Step

Photographs from the Community

, I attached the main image to a scalloped edge card and added the other layers with 2mm foam pads, I finished off by adding glittery border peel offs around the edges and I used glitter glue to highlight the snow on the branches and the centre of the flowers. I also used matching insert cup632147_10 on the inside.
This is a beautiful Christmas design.
)

Printed onto glossy photo paper and cut out all the pieces (so easy as there are no fiddly bits), I attached the main image to a scalloped edge card and added the other layers with 2mm foam pads, I finished off by adding glittery border peel offs around the edges and I used glitter glue to highlight the snow on the branches and the centre of the flowers. I also used matching insert cup632147_10 on the inside.
This is a beautiful Christmas design.


Printed on 135 gsm paper, I cut out all of the elements and decoupaged using foam pads, I then mounted the image onto the card using dst.
This is a beautiful design.
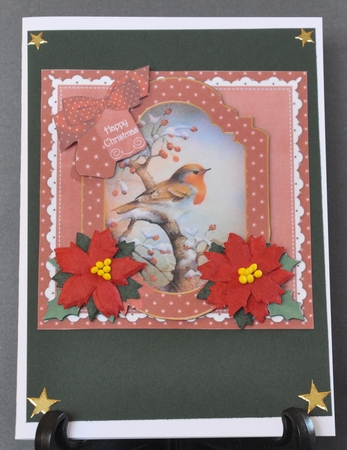
I printed the design onto good quality white card and cut out all the elements. I inked the edges of all the decoupage elements and assembled the card using spongy tape.
I mounted the topper onto a dark green mat, added a couple of poinsettias and a gold sticker to each of the four corners.
A very pretty and simple card.